
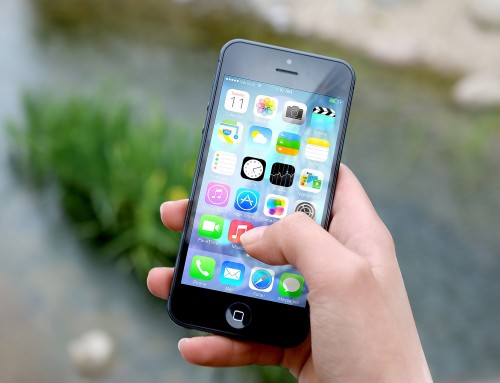
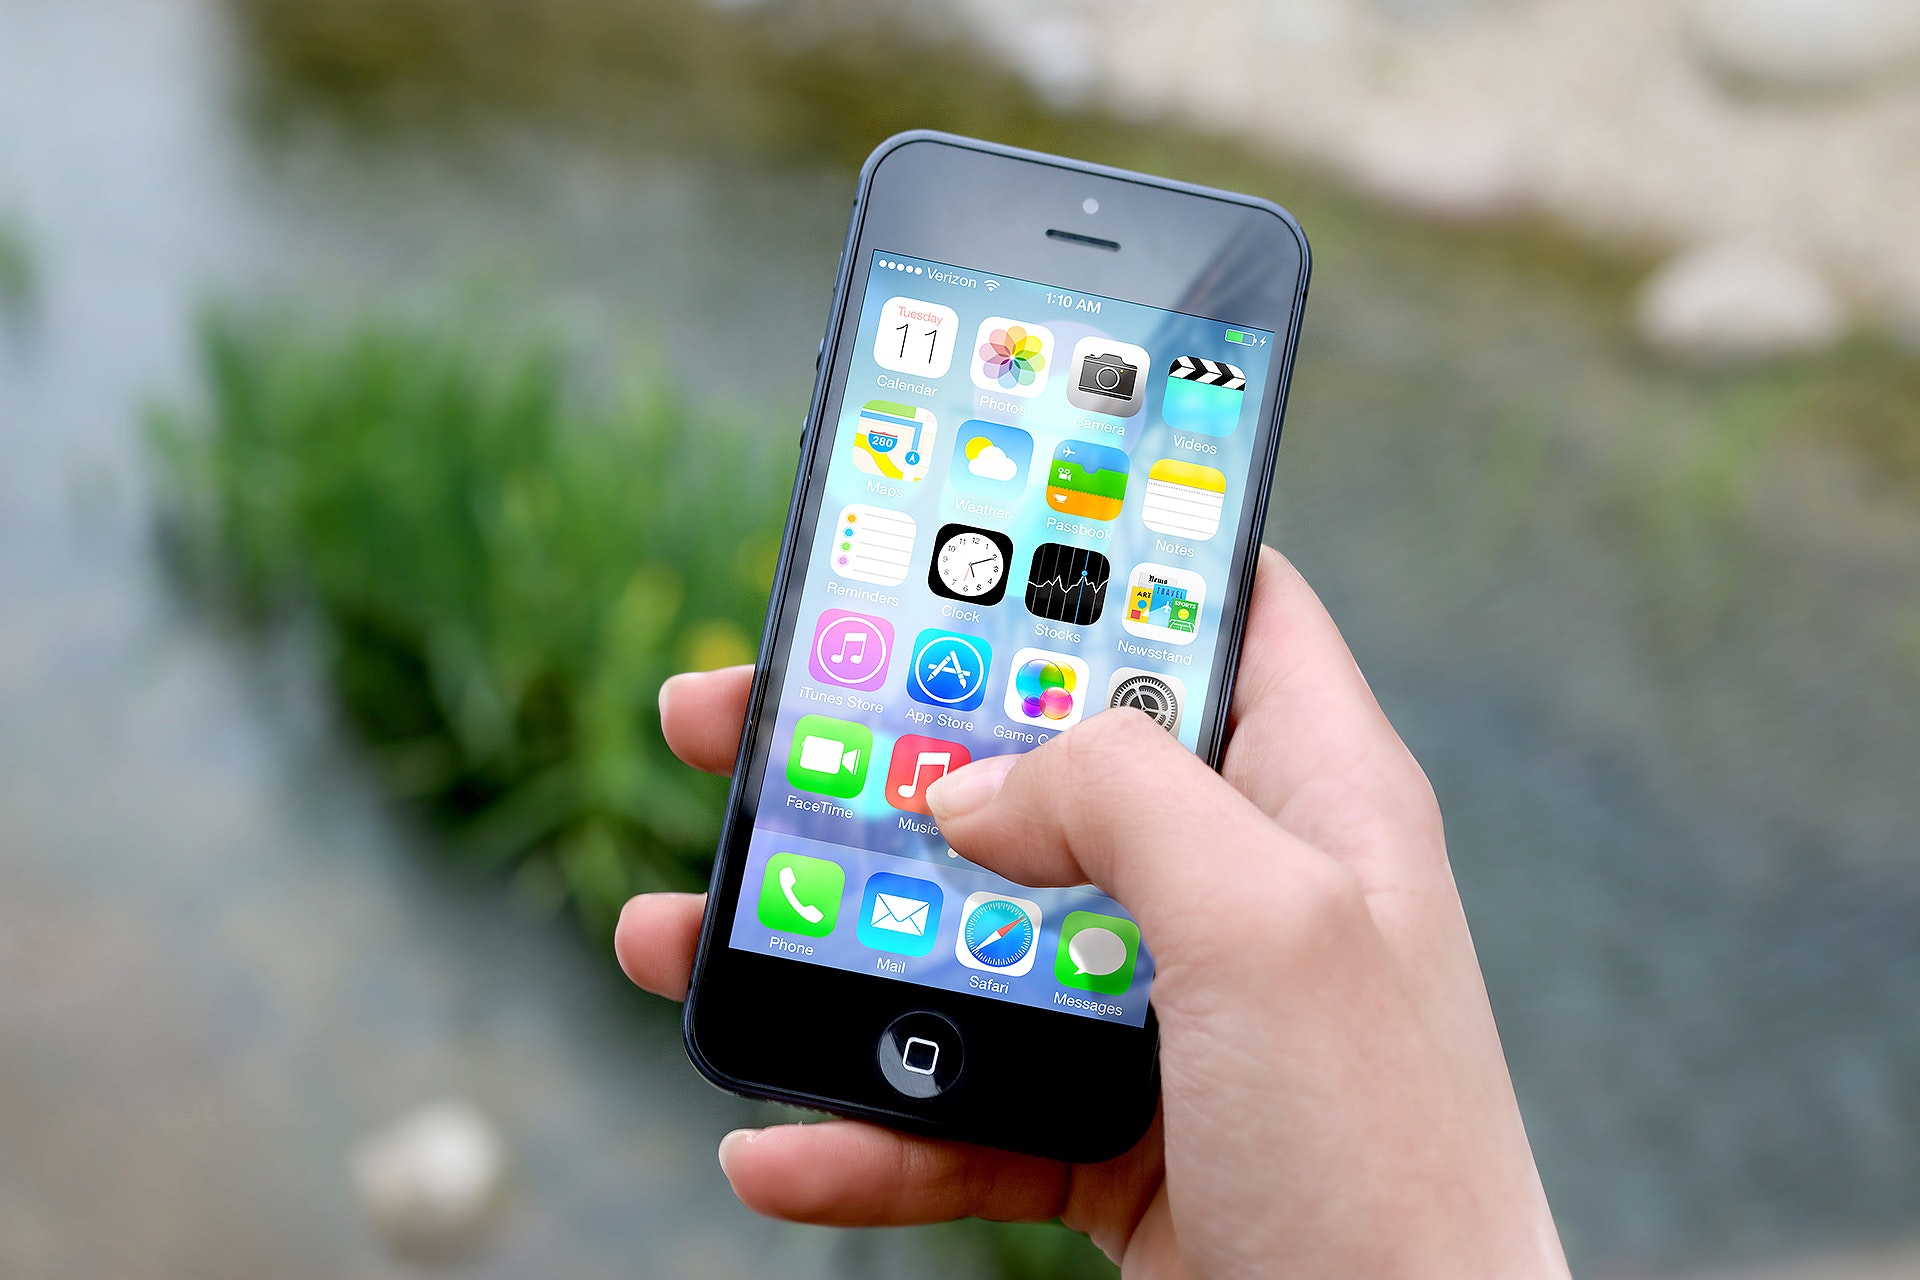
I’m sure we have all been in the same situation. We had been shooting tons of pictures with our iPhone, and they all looked just fine when you view on your tiny screen. Alas, you found out that this was just an illusion, as soon as you download your photos to your desktop computer and view them on a bigger screen the real truth came out! Many of the photos were blurry and out-of-focus! In short, they were fail … big time.
So how can we check if our shots are of good quality, in focus and sharp?
One way of doing this is by viewing the photo at what is called ‘100% zoom level‘. A seasoned Photographer would understand perfectly what this means, but it basically refers to a method of viewing a photo where you apply a 100% magnification level where each pixel of the screen (e.g. your iPhone screen) represents ‘exactly’ one pixel of photo, a 1 to 1 representation.
In the world of Film Photography (you remember those days right?), people usually use a magnifying glass on the printed photo or on the slide to check the quality. When the digital photo came along, professionals use imaging software, like for example the ubiquitous Photoshop, to digitally zoom into the photo.
And then came the mobile photography revolution. Whilst we could still use the desktop software to achieve this effort, often we just want to check the result of our shot right there and then. This is especially true in a few fields/genre of photography such as journalism, fashion, design, etc. which demand top notch quality almost at all time. In anyway if you are serious about your photography, you would want to do this too.
Introducing Photo Quality Check App
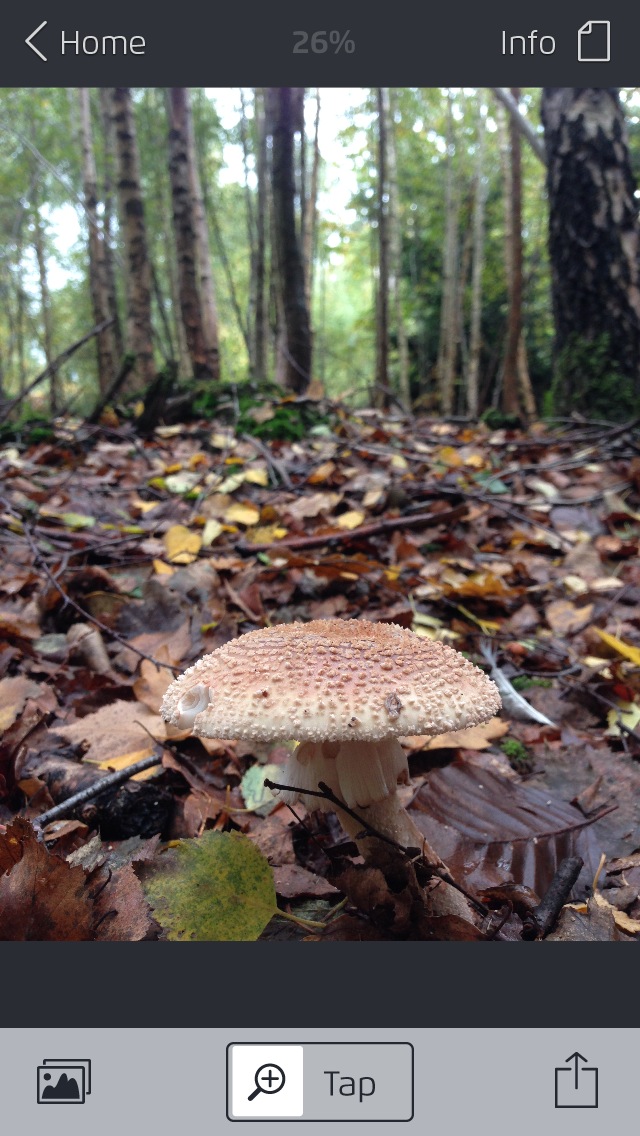
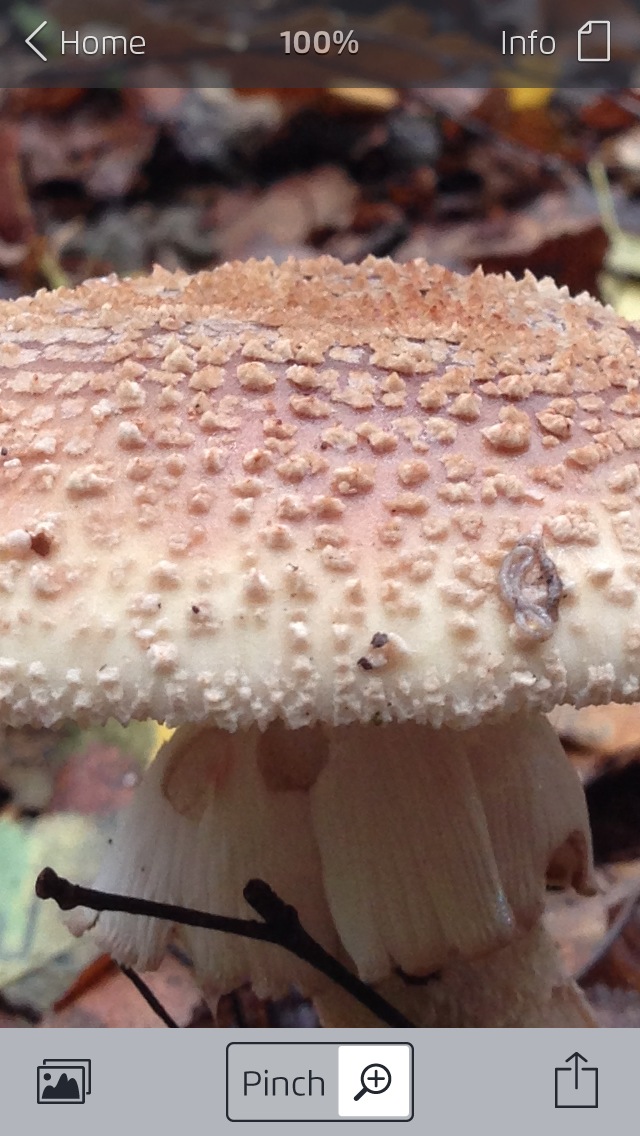
Photo Quality Check (PQC) is an iOS App that has very simple functionalities, but this simple thing is one of the most important in Photography. PQC allows you to view your photo at 100% Zoom Level, and it does this intuitively.

The app has 2 zoom mode, the Tap and the Pinch mode, you can swap between the two very quickly from the main interface. Between the two, the Tap mode is the quickest and most versatile. After you select the photo that you want to check, ‘Tap and Hold‘ anywhere on the photo. PQC will automatically magnify the photo to 100% zoom level and hold it on that level as long as you keep your finger on the screen. Then while holding you can drag your finger around to see other part of the photo.
The Pinch mode is the slowest but using this mode you will have more freedom in the viewing process. You can swap the mode by tapping the mode selector at the bottom of the main screen. Load a photo to inspect and start pinching it like you usually do when you want to magnify something in any other iOS apps. You can gradually zoom up to more than 100% zoom level, but for having freedom of movement (i.e. you don’t need to keep holding the screen) you are limited to 100%. Above this level you will have to move around the photo with two fingers tapping and holding the screen.
In both modes, the current zoom level is written at the top of the screen in real time.
-

- Pinch 50%

-
- Pinch 100%
Many of you might shout and point out to me that we can already do this in the iOS standard Photo Album. Indeed you can zoom in to your photo in the Photo Album by double-tapping or pinching the photo. But whilst the actions do seem to be similar, the result is slightly different. The magnification that you get from iOS Photo Album is not necessary 100% zoom level. As a matter of fact, we don’t know what zoom level it belongs because unlike PQC, the Photo Album doesn’t show you the magnification level.
Invaluable Additional Info
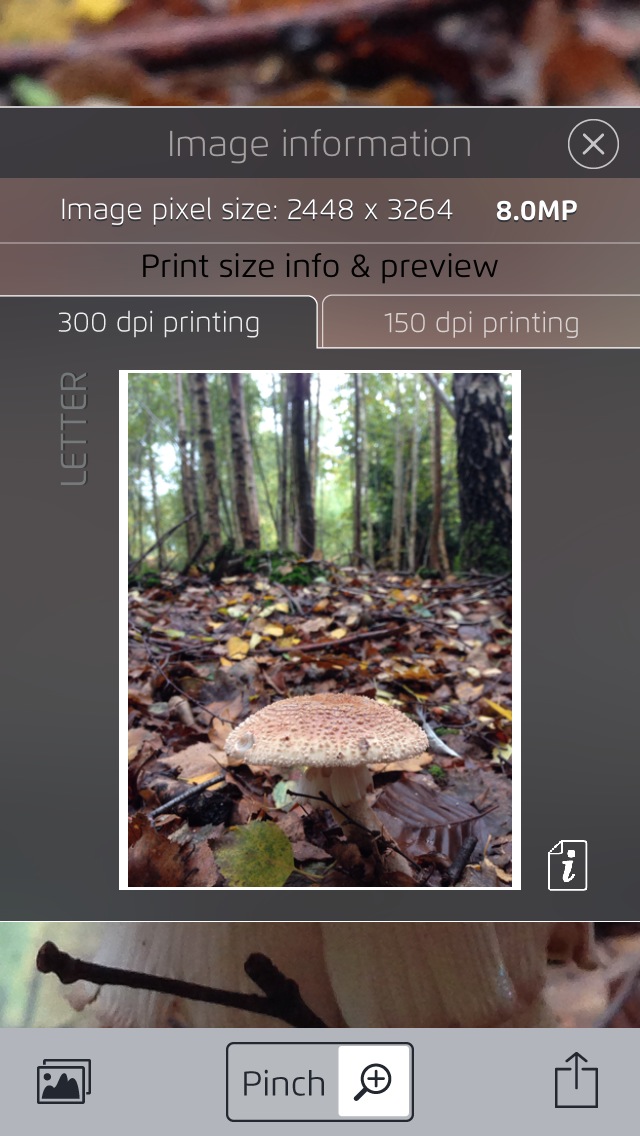
In addition to the zoom feature, PQC also give you more information about the photo. This info is particularly useful if you want to ‘print‘ your photo.
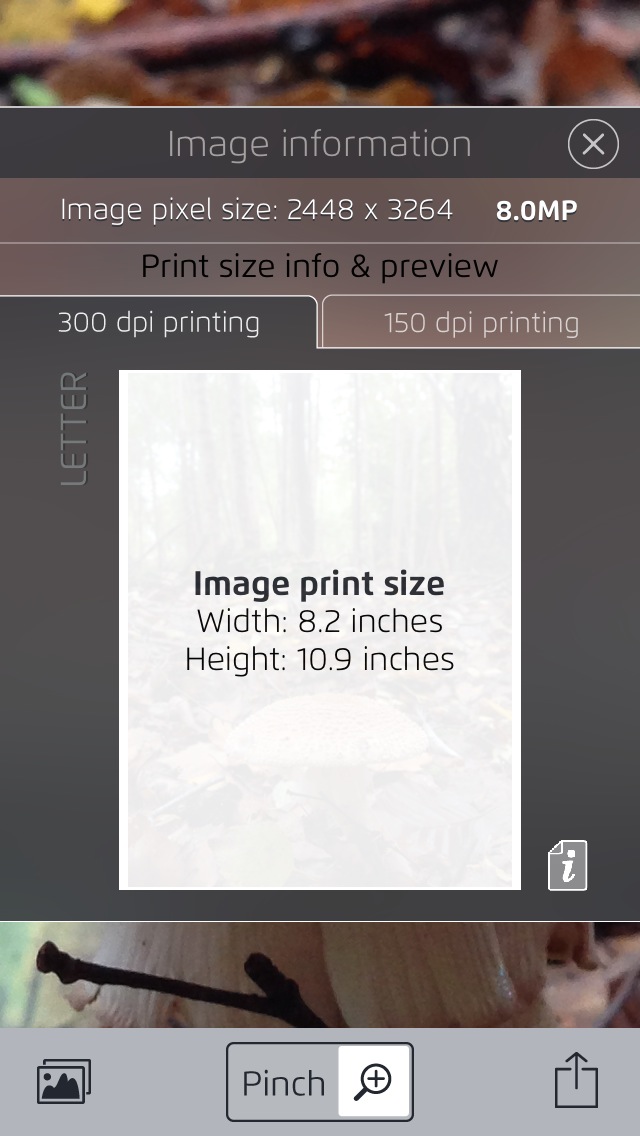
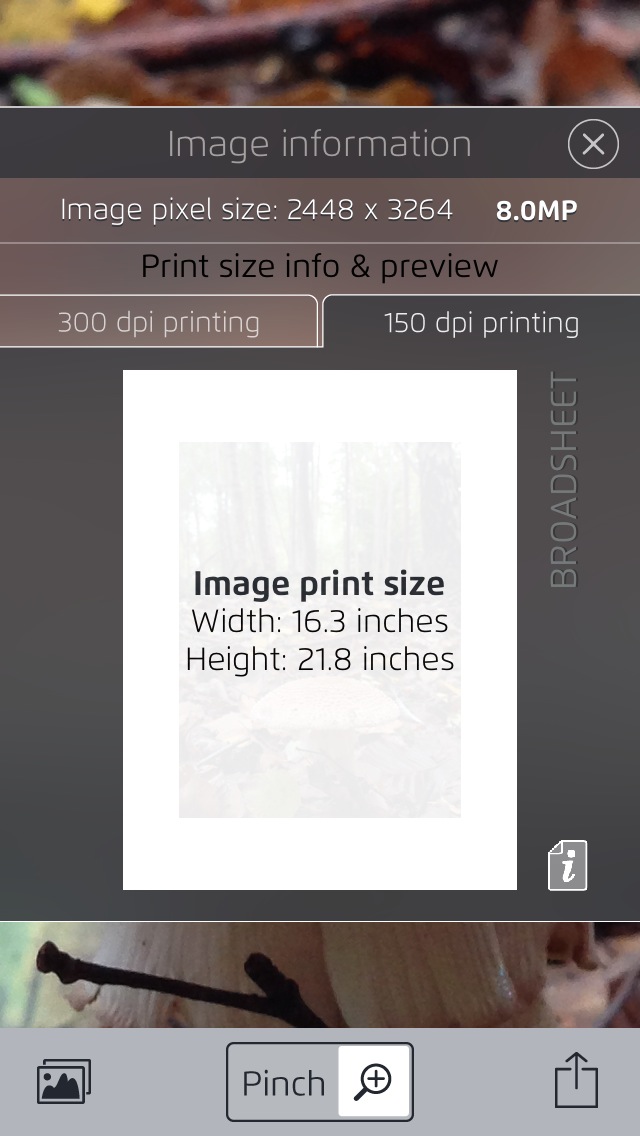
So if you tap on the ‘Info‘ icon at the top-right corner of the main screen, you will be presented with the Image Information screen. Here you can read the photo’s pixel resolution and image size.
Underneath this info there are 2 tabs, both will show a ‘Print Preview‘ of the photo on a particular size of paper, if it were printed for either 300dpi offset printing or 150dpi inkjet or laser printing.
-
- 300dpi
-
- 150dpi
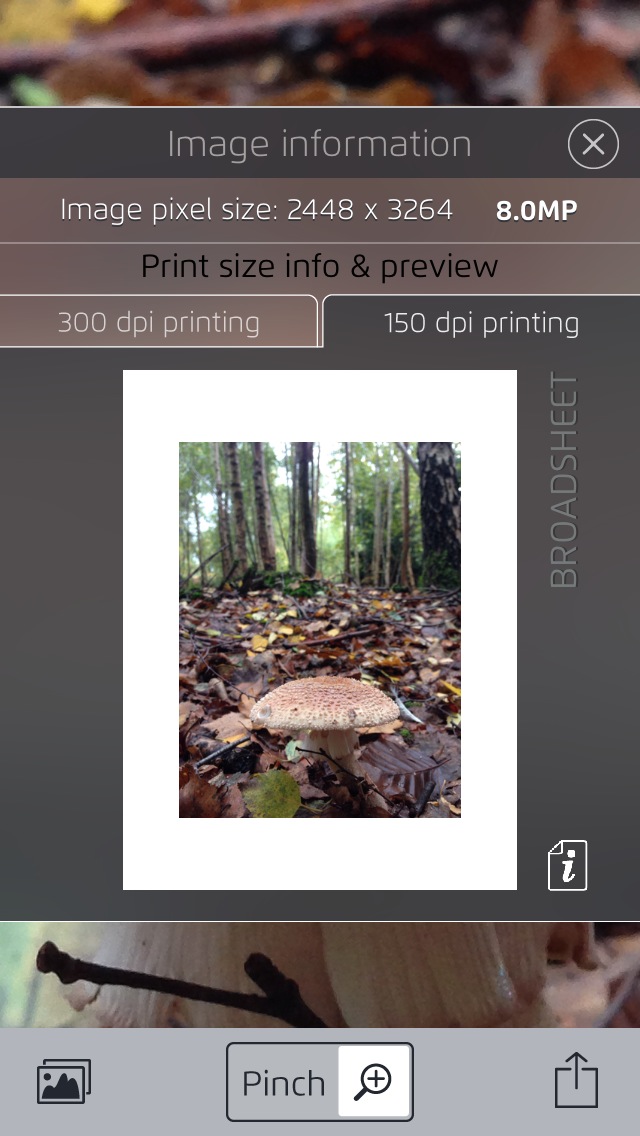
The preview shows you the maximum advisable print size, and the paper on the background shows you the standard paper size large enough to print the photo. Moreover, tapping on the ‘i’ icon on the bottom-left corner will show you the exact size measurement in Inches, or Centimeters (you can change this on the settings).
-
- Image Print Size for 300dpi
-
- Image Print Size 150dpi
This is for me a very useful feature, because let me ask you one thing. How many times have you wondered what is the biggest print size you can do for your photo before it starts going down in quality (get pixelated and blurry).
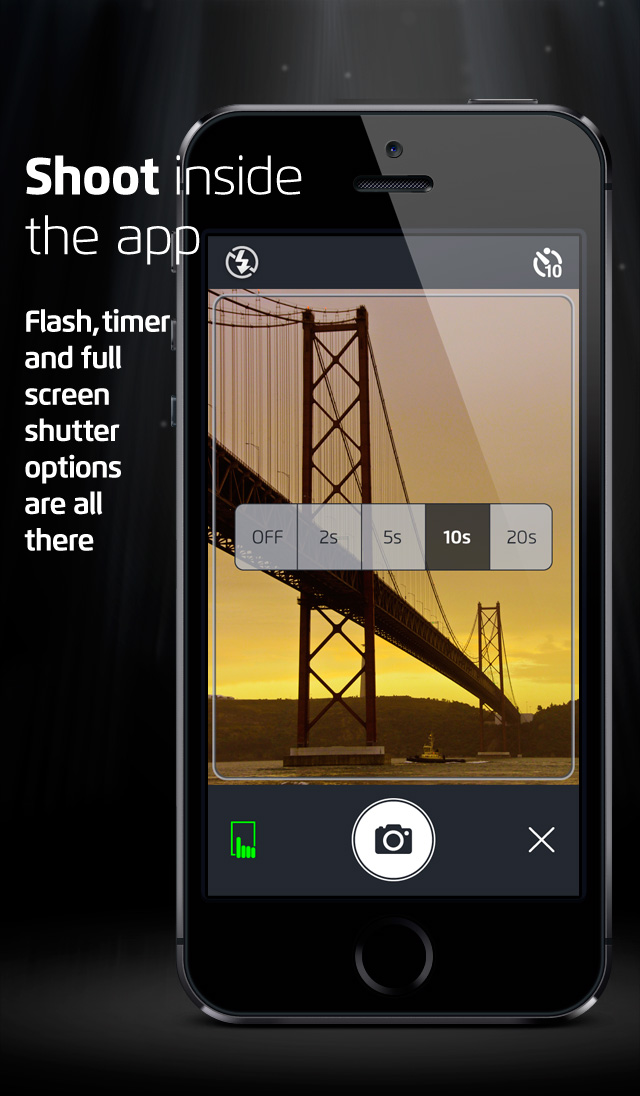
Built-in Camera
Interestingly, PQC also comes with its own Camera. Personally I see the inclusion of a camera here as just a matter of convenience. You can use this camera to take photos and immediately check the quality, if you satisfy with your shot you can save it to the main Photo Album, otherwise you can discard it and shoot another one.
But any experience mobile photographer that I know would’ve already used one of the more advance camera replacement app. So for this type of user the addition of a camera in this app is totally superfluous.
![]() PQC has becoming one of the app that is worthy of the honour to be included in my personal virtual Camera Bag and I use it regularly to check my photo. In my opinion it is a must have app for all serious mobile photographer out there.
PQC has becoming one of the app that is worthy of the honour to be included in my personal virtual Camera Bag and I use it regularly to check my photo. In my opinion it is a must have app for all serious mobile photographer out there.
The app itself is still very young and there are still so many things that can be improve, and new features can be added. Indeed I’ve been in contact with the Dev Team at SmallBlackRoom and discussing new ideas to enhance the app. The outcome from this discussion is quite promising, I’m looking forward to the next update.
Do you have other similar tool that you use regularly? Let me know on the comment.
Photo Quality Check costs £1.49, but if you feel lucky you can try to win one of the 10 Promo Codes I am giving away by entering a simple Sweepstakes below, after the video.
a Rafflecopter giveaway

One Tap Shortcut To Check Your iPhone Photo Quality On The Go + Promo Code Giveaway http://t.co/8Rrc0LlG8X
One Tap Shortcut To Check Your iPhone Photo Quality On The Go + Promo Code Giveaway http://t.co/ryxdfWKvqL
One Tap Shortcut To Check Your iPhone Photo Quality On-The-Go + Promo Code Giveaway http://t.co/s8VMdAmTPA
Check iPhone photo quality on the go. Good review (and giveaway) on Moblivious: http://t.co/whZ08lh48Q
One Tap Shortcut To Check Your iPhone Photo Quality On-The-Go + Promo Code Giveaway http://t.co/WWOy6fTyMq
RT @fernando__cruz: One Tap Shortcut To Check Your iPhone Photo Quality On-The-Go + Promo Code Giveaway http://t.co/WWOy6fTyMq
Check out iPhonographer’s Chris Prakoso in-depth review of the Photo Quality Check app @Moblivious http://t.co/sF78D2Wdkz
RT @smallblackroom: Check out iPhonographer’s Chris Prakoso in-depth review of the Photo Quality Check app @Moblivious http://t.co/sF78D2Wd…
Thank you for making the effort to write this! 🙂
I really like photography apps. Has anyone else used the Photo 365 app?
I’s very good for individuals such as me who take photos on a regular basis.
It easily saves your photos to a nice little calendar and you can even print a photo book of each day!
Would you like me to review it? Send me a Promo Code if so.
[…] And here are the 100% Zoom comparison of those edges from the 4 apps (you can do this with an app called Photo Quality Check): […]