
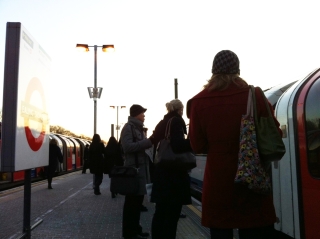
No matter how careful we are when we are out and about taking pictures, and no matter how much knowledge we have about Photography, once in a while we will still get into some incident where the photo we took had come out dark or underexposed (in photographic term).


With Mobile Photography these incidents (or sometimes could be also accidents) are even more likely to happen since the camera in our smartphone has a limited control over the exposure, unlike its bigger and more professional siblings (AKA DSLR).
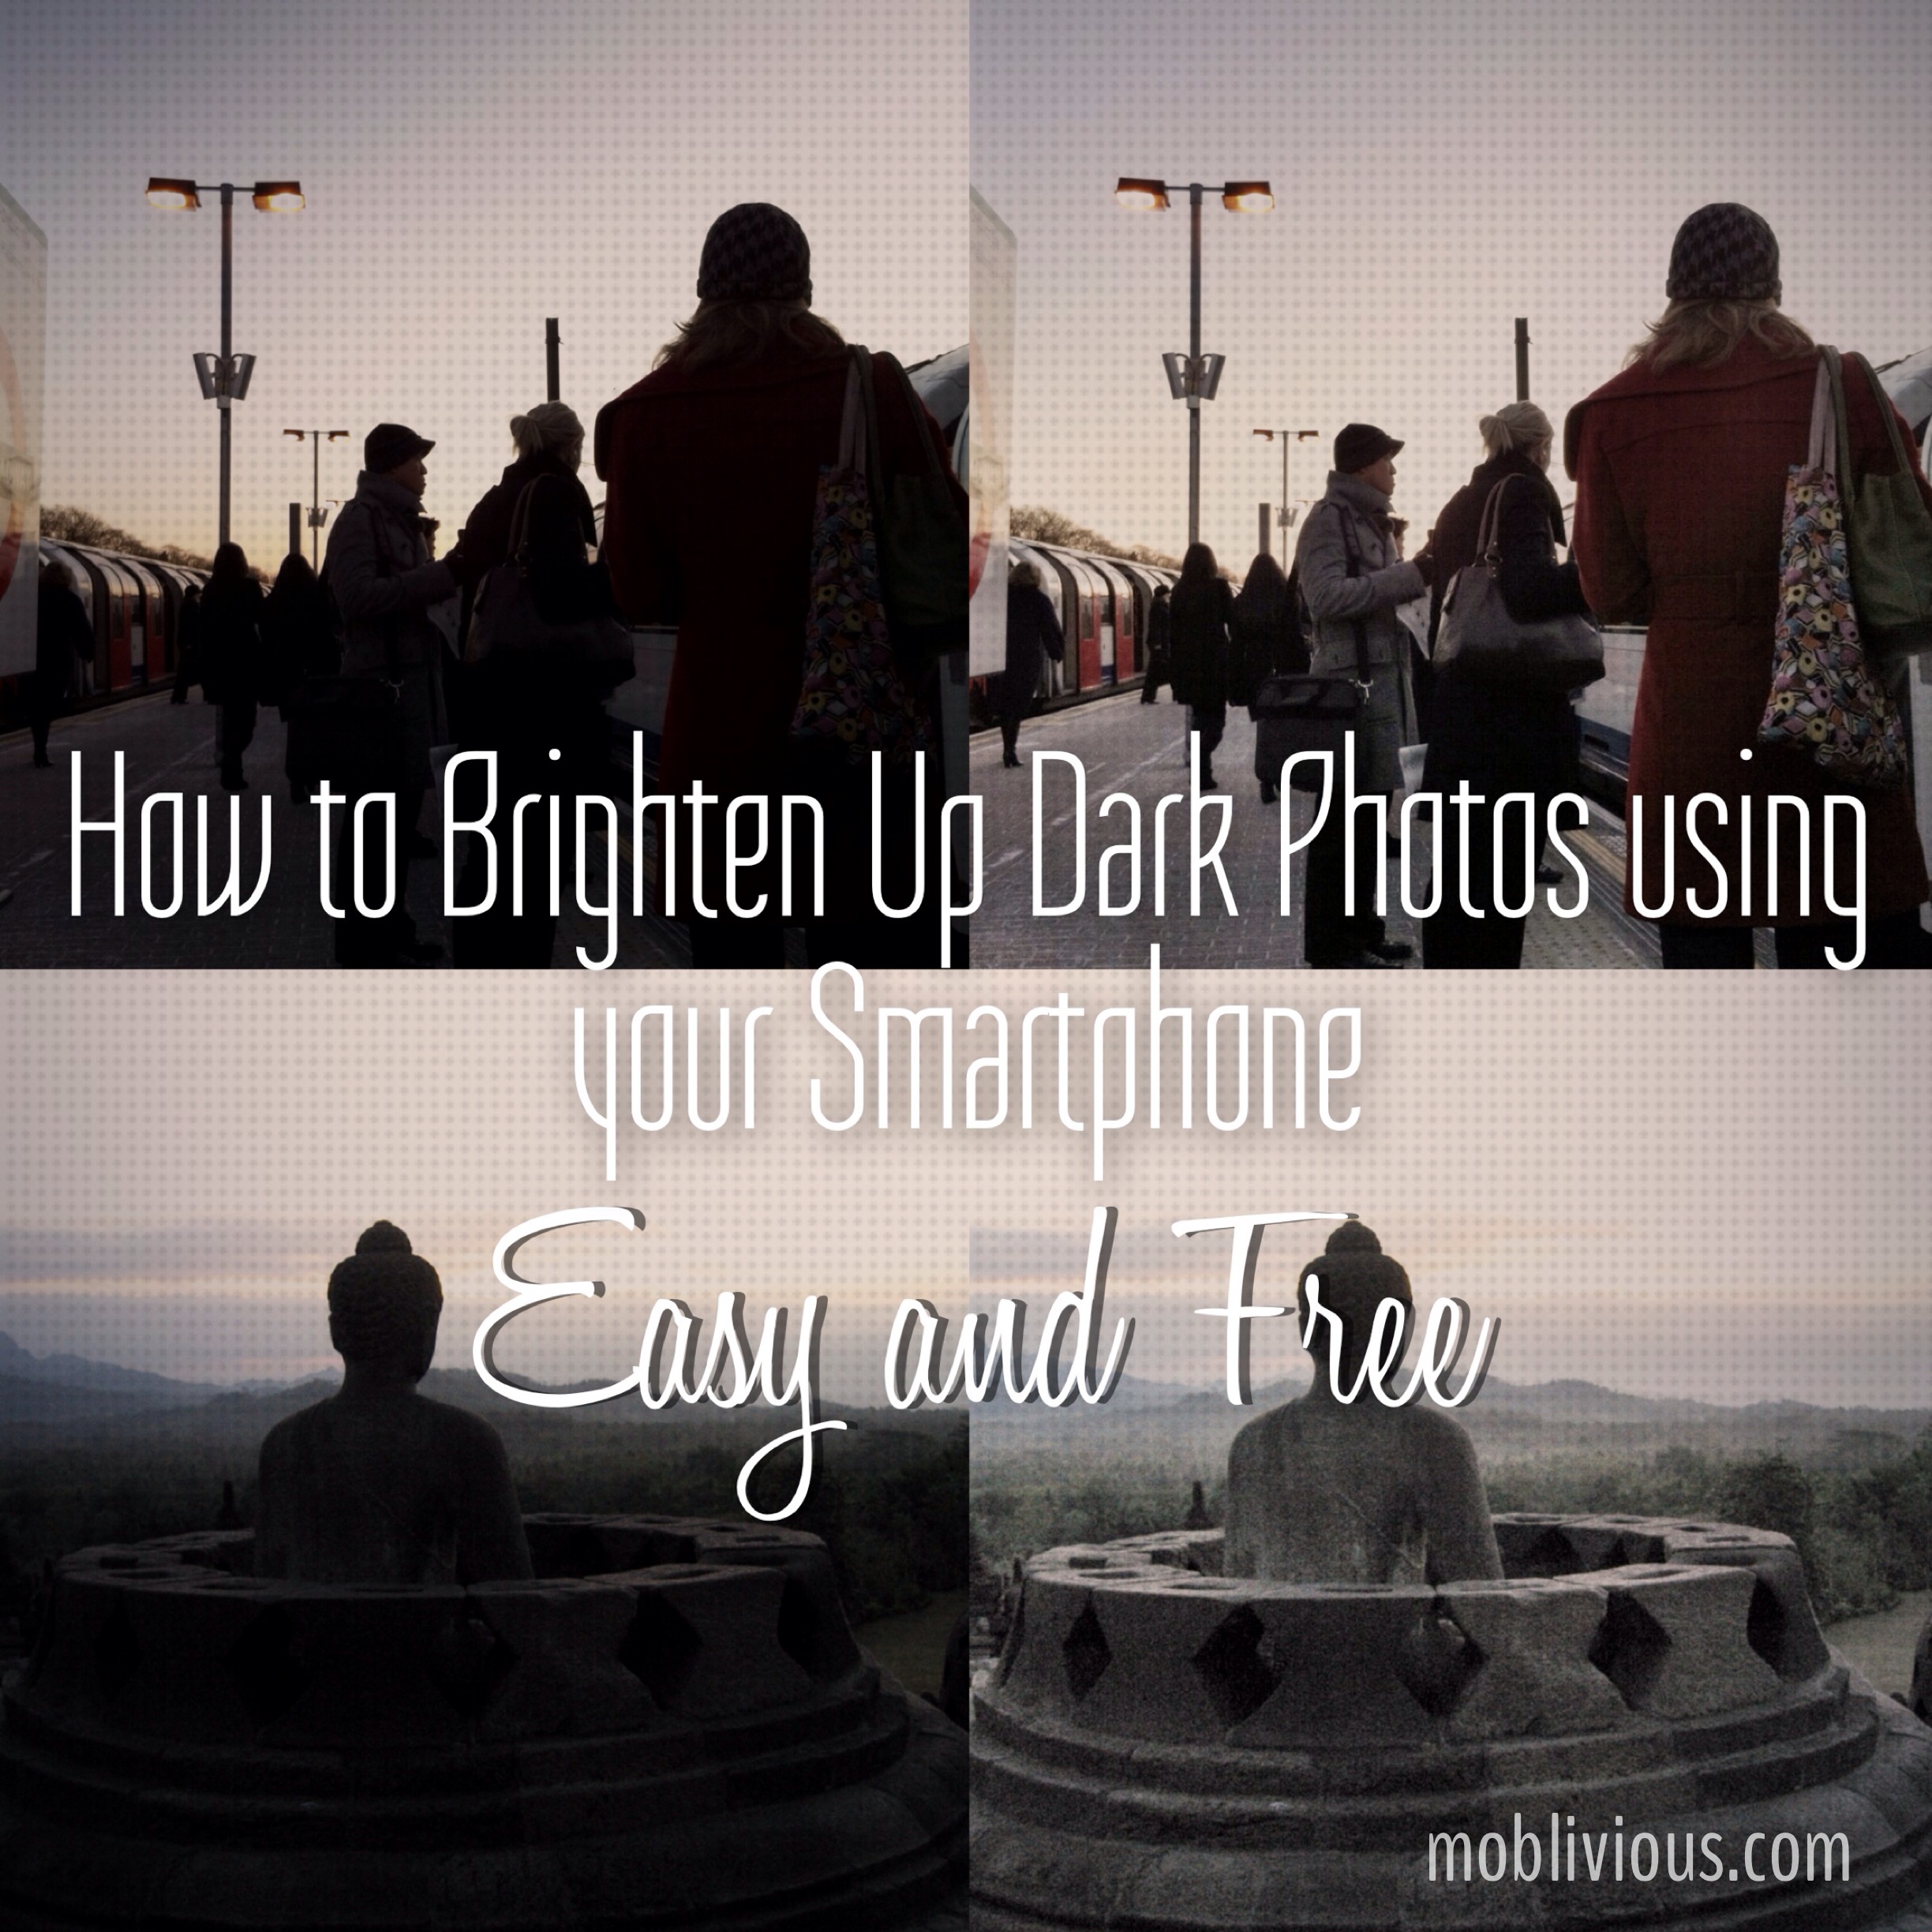
So, what can we do about it? Is it possible to ‘fix‘ those dark underexposed photos? Can we, let’s say, brighten them up a bit so at least we can see something? The answer is a resounding ‘YES‘!
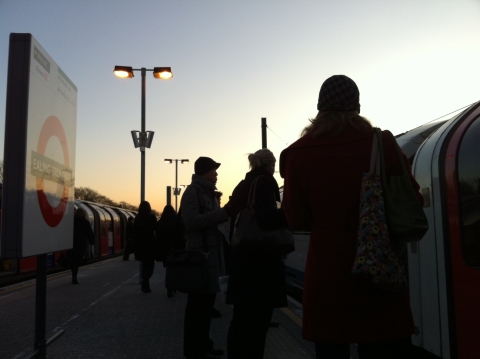
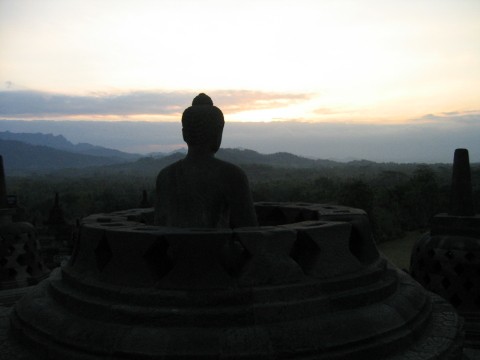
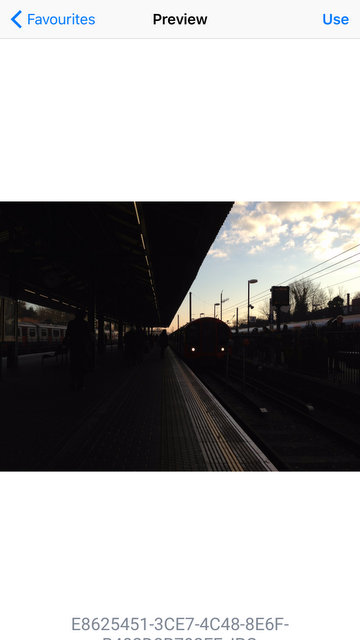
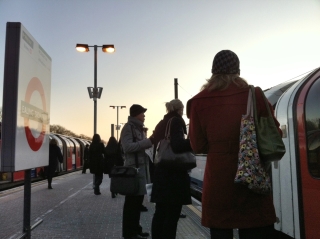
The original dark and underexposed image
See Also: Turn your photos into beautiful watercolour sketches
Now, usually to do this type of image manipulation, you would need a desktop class imaging software, something like Photoshop for example. But this type software are usually quite expensive. Besides, you would need a PC or a Mac to run the software, which is yet another complication.
Well not anymore! I am going to tell you the easiest way to brighten up your dark photos. And not only that you can do this only using your smartphone or tablet, but also you can do this for FREE!
Just follow the steps below and you’ll be fine:
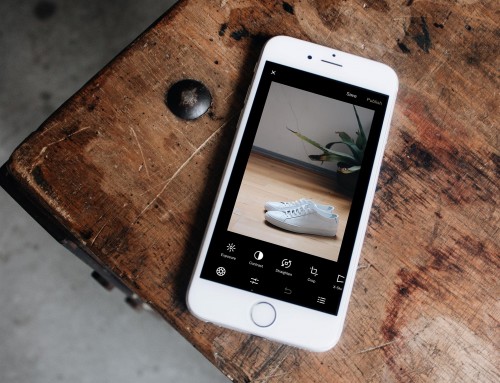
1. First you need to get Snapseed App. This app is FREE and available for iOS and Android devices. Snapseed is a very powerful editing app from Google, and it has been my go to app since it was first released. If you haven’t installed it yet, this is the best time to get it.
![]()
2. Open the app, and load your photo that is underexposed. Tap on the ‘Select from device’ menu item. This will open your photo album where you can choose your image.
Tap on the ‘Use’ button on the preview page to edit the selected image.
-

- Open Snapseed
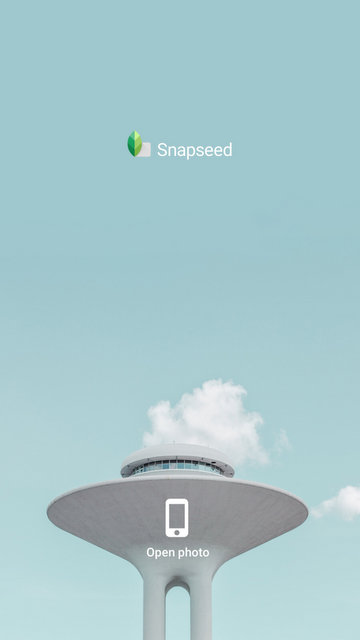
-
- Select ‘Open from Device’
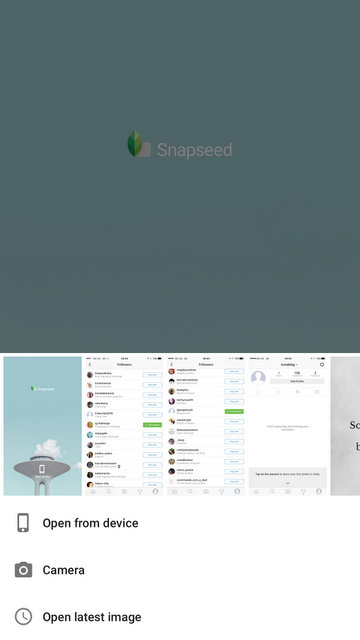
-
- Tap on ‘View’ to edit this picture
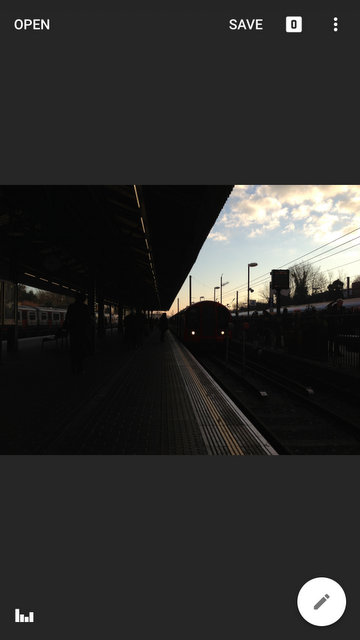
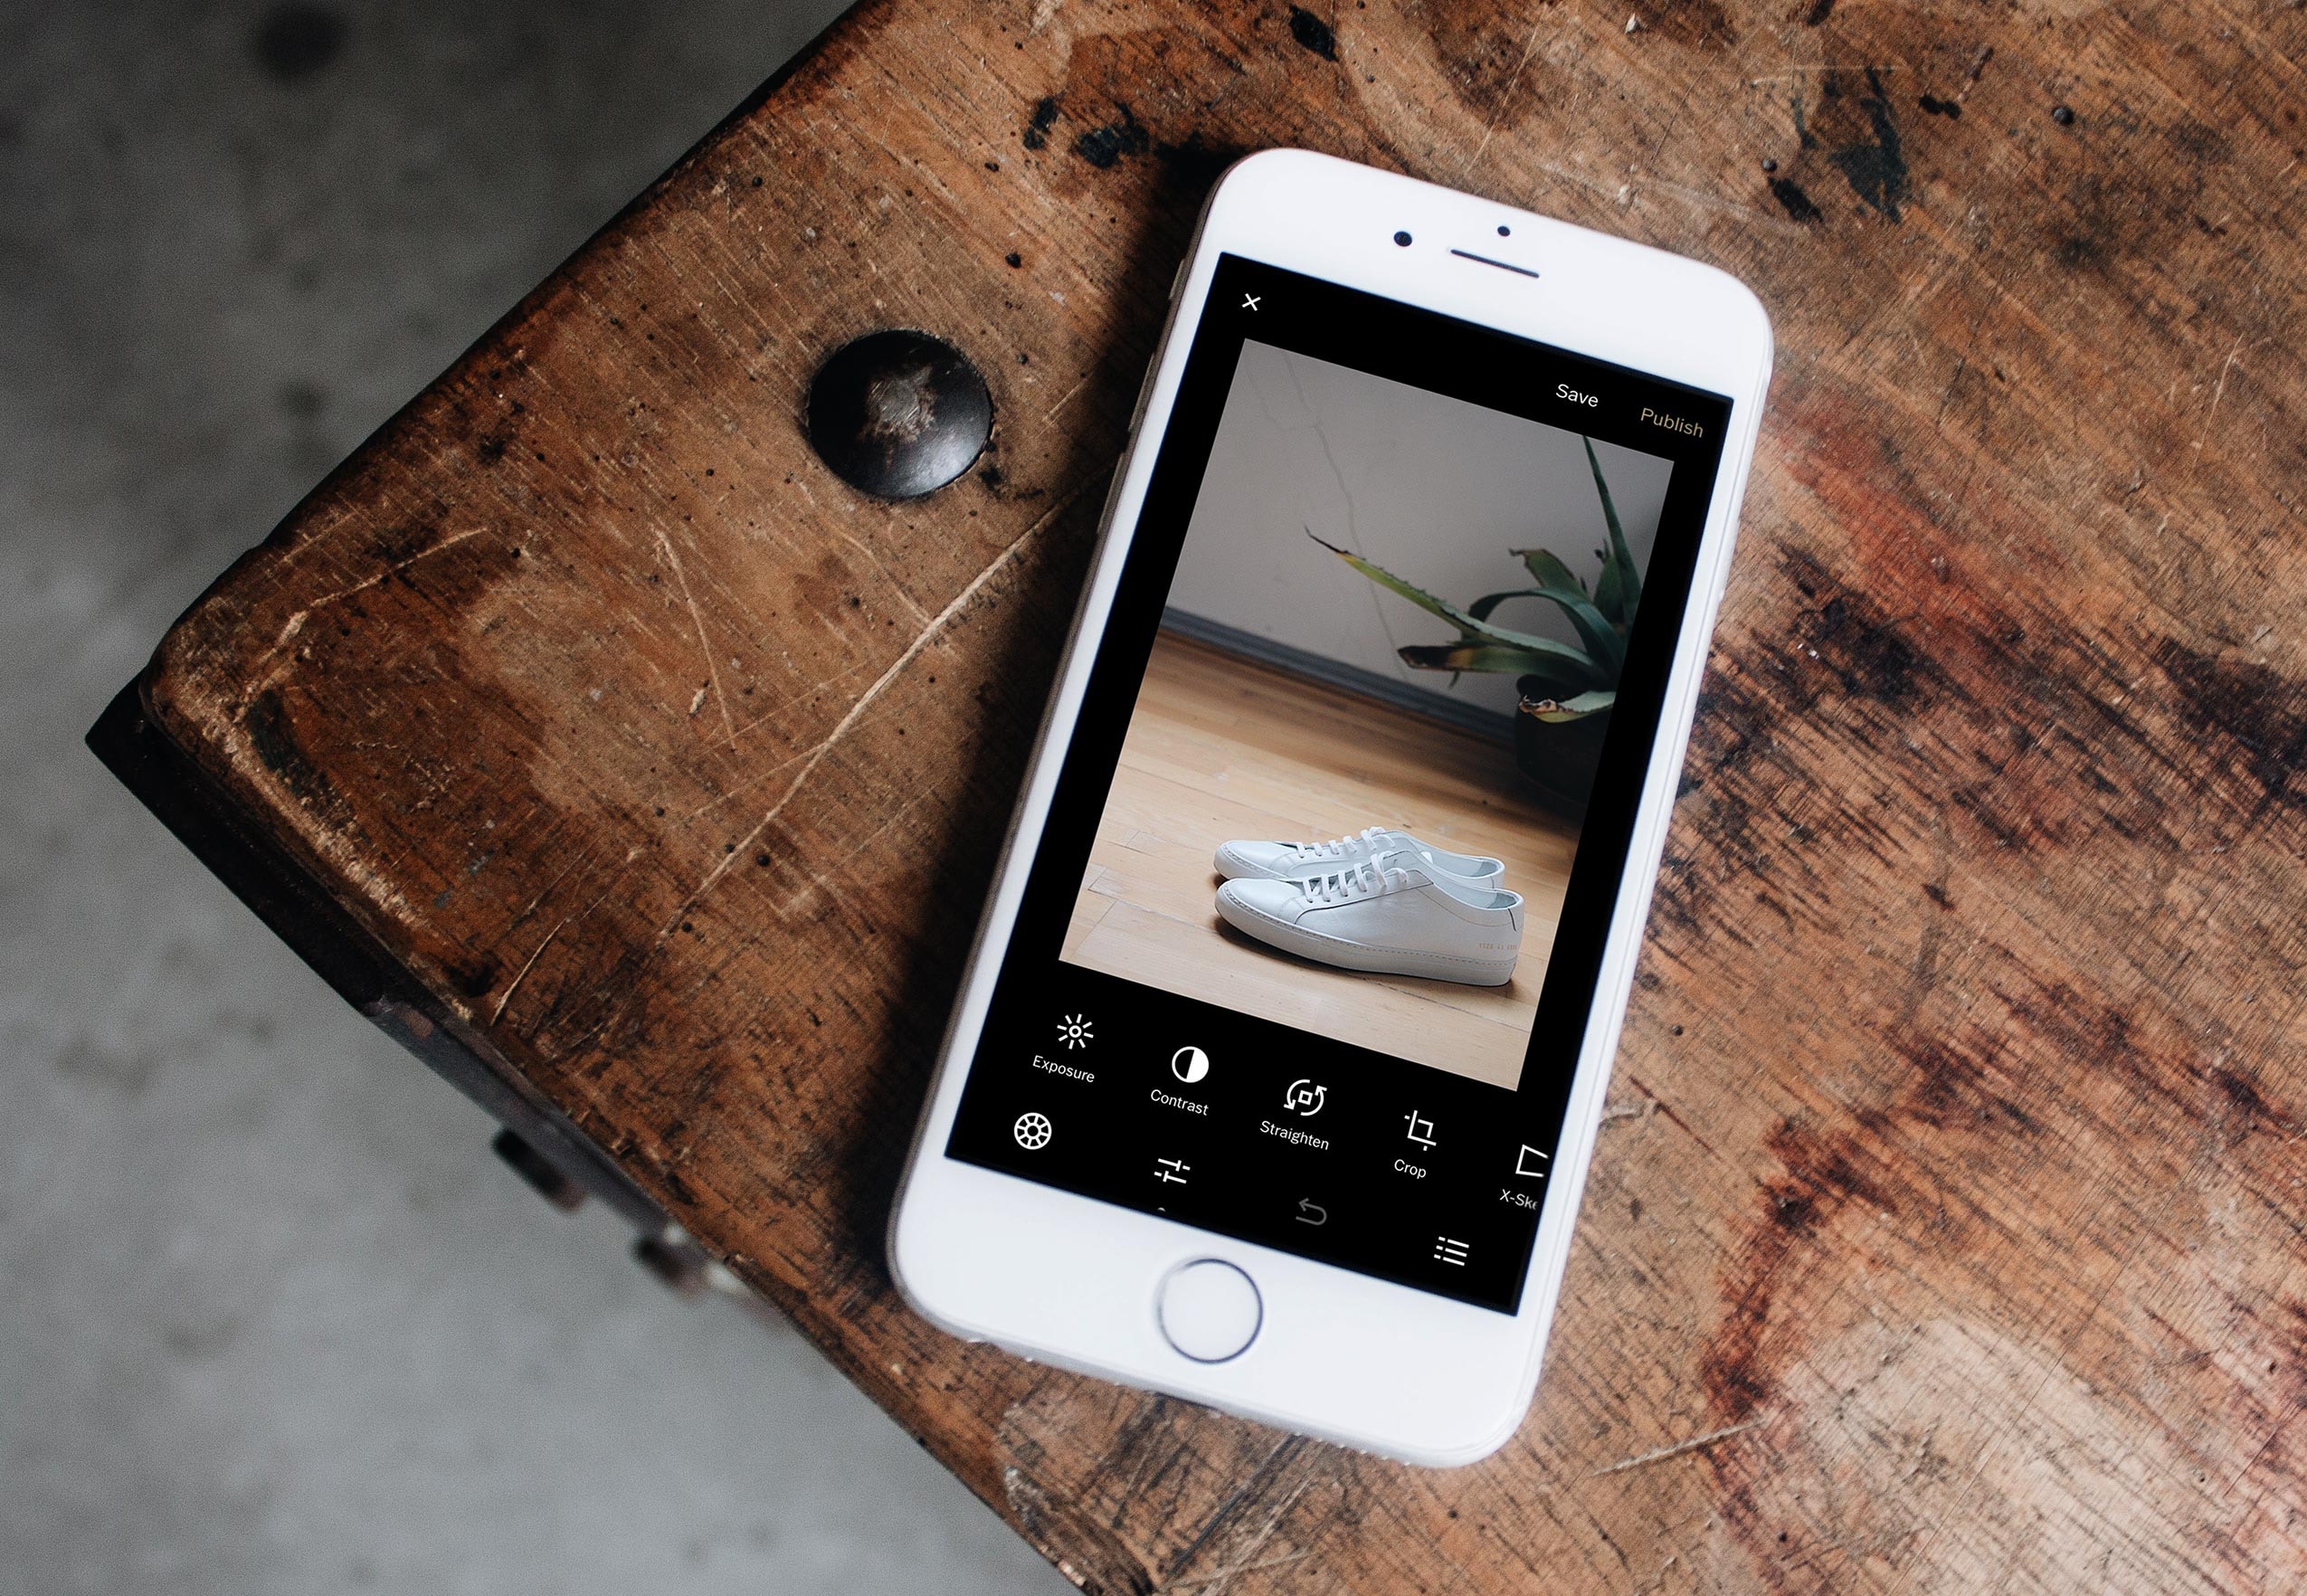
4. The Tools and Filters menu will come up.
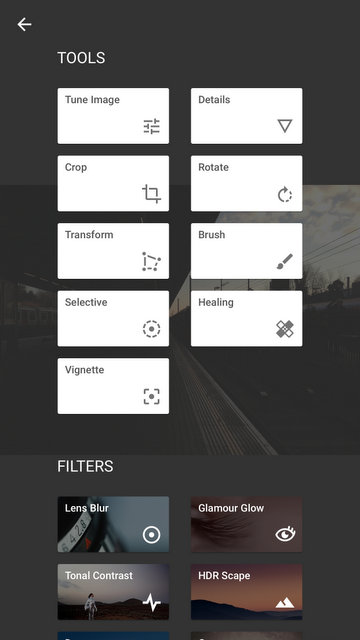
Tools and Filters Page
5. Tap on the ‘Tune Image‘ rectangle button. The Tune Image menu is a collection of ‘image editing’ tools which includes Brightness, Ambiance, Contrast, Saturation, Highlights, Shadows and Warmth.
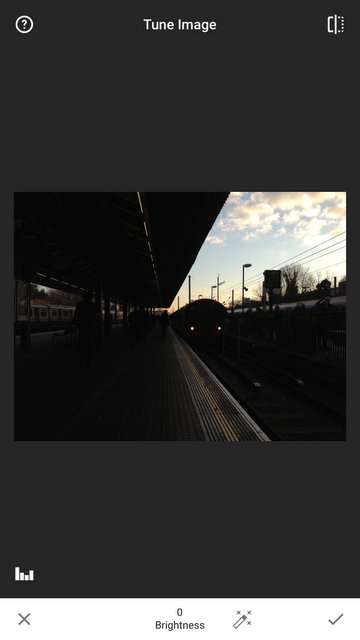
Tune Image
Many of you might have thought that we are going to use the Brightness tool. It is a good guess. Why? Well we are trying to ‘brighten up‘ a photo, surely the Brightness tool would be the most logical choice.
As a matter of fact under normal circumstances, Brightness would indeed be the right choice. But not this time. Later I will tell you why Brightness is not a good choice in this case. But in the meantime, the tool that we will need to use today instead is the ‘Shadows‘ tool!
6. Snapseed has a somewhat quirky user interface, but you don’t need to worry about it because it’s so intuitive it won’t take a minute to get used to it. To access the collection of the tools you must tap and hold on the photo and slide up or down. This action will make the tool selection menu appears. Choose the Shadows tool.
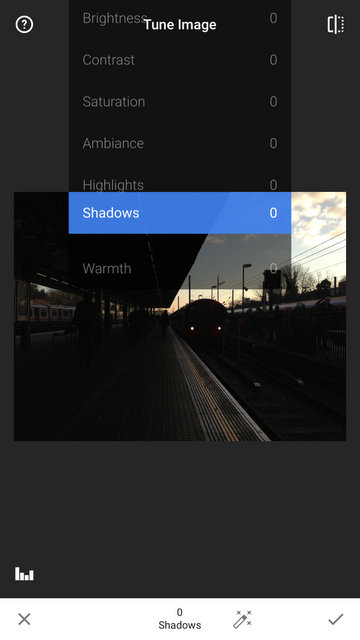
Choose Shadows tool
7. The label on the bar underneath the photo should tell you which tool you choose, in this case it should read Shadows. Under this label is a number which value will change as you change the effect of the tool. You can change the effect of the tool by swiping your finger left or right on the photo. Swiping left means decreasing the effect, and the number will reflect this by decreasing the value. Swiping right means increasing the effect, again the number will also reflect this by increasing the value. In this way you can always monitor the strength of the tool’s effect at any time.
See Also: Create beautiful paintings from your photos using Brushstroke

Shadow tool
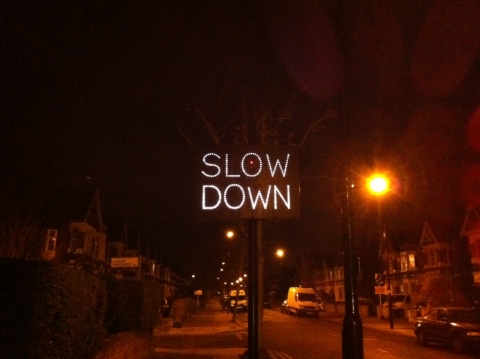
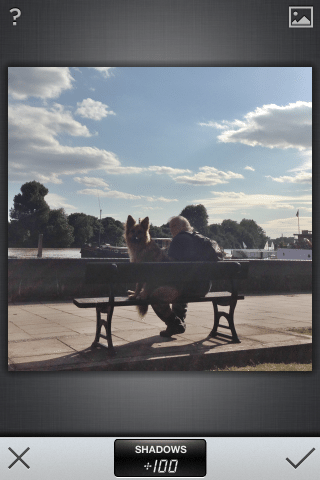
Go swipe left and right now to have a look at how the Shadows tool effecting your photo. As you swipe you can see that the Shadows tool will brighten up or down ONLY the dark part of the photo and will leave the bright part of the photo practically alone.
Shadow tool
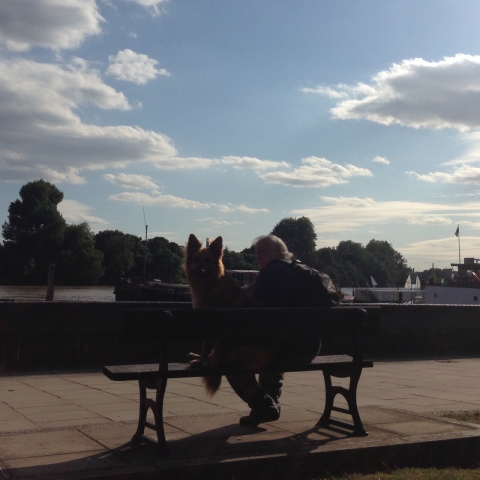
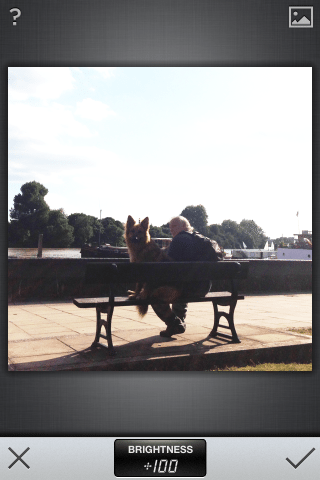
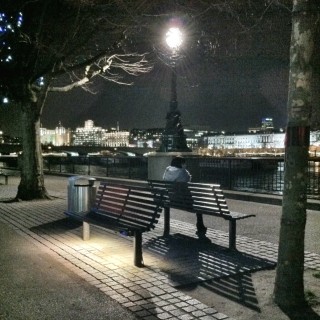
This the main difference between the Shadows tool and the Brightness tool. If you were using the Brightness tool, both the dark and the light part of the photo will be effected equally. In some photos, for example ones that feature sky in it, this effect is undesirable because the sky will get overcast and eventually you will just see white space where the sky was. Have a look at some examples below to see what I mean.
-
- Brightness
-
- Shadows
-
- Brightness
-
- Shadows
9. Done!
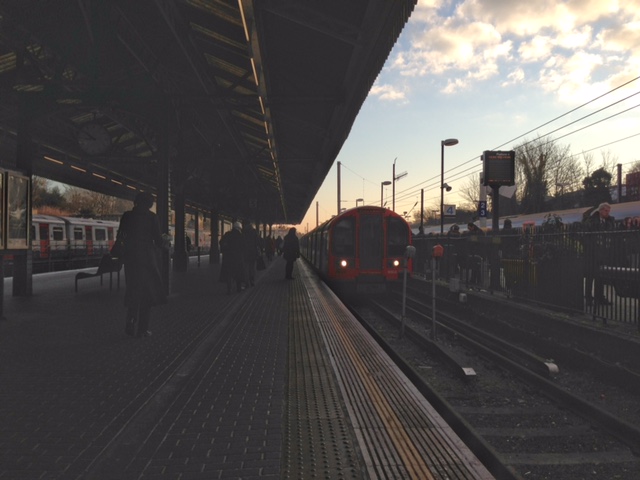
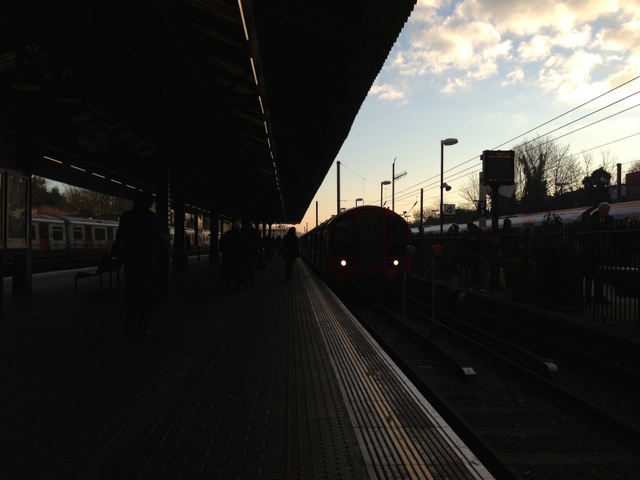
The after edit image


Hope you enjoy this tips, let me know what you think about it in the comment below, or whether you want me to write any specific tips or tutorials. Feel free to share this tips, the share links are on the left hand side.


The simplest way to brighten up dark underexposed photos for free using your smartphone http://t.co/kdgoXqN4or
The simplest way to brighten up dark underexposed photos for free using your smartphone http://t.co/MyyQ5RfxSI
RT @moblivious: The simplest way to brighten up dark underexposed photos for FREE using your phone http://t.co/Kh10qxROVq #ios #android
RT @moblivious: The simplest way to brighten up dark underexposed photos for free using your smartphone http://t.co/1amYPvz4LP
#TipsFotografi Bagaimana cara paling mudah dan gratis bikin foto gelap jadi terang memakai iOS atau Android device http://t.co/6UnOVRhTfp
RT @mahadewa: #TipsFotografi Bagaimana cara paling mudah dan gratis bikin foto gelap jadi terang memakai iOS atau Android device http://t.c…
The simplest way to brighten up dark underexposed photos for FREE using only your Smartphone http://t.co/hjvJ9BwEOl
Snapseed allows me to only use wither Warmth or Brightness when trying to select Shadows. The list of choices does not stay for me to click on it and no matter what I do, it ends up with either one of those two options. Any suggestions????
Hi there. I’ve never seen Snapseed doing something like that. Have you tried to kill the app and re-open it again. Failing that, try to reboot you Smartphone. Let me know if you still have the issue after trying these.
This is helpful thanks alot
Glad I could help!
Fantastic App and great instructions – thank you for taking the time.
Thank you so much for this tip, I have played around with other apps but nothing as good as using your advice.
Glad I could help!
Thank you, thank you! Great recommendation sorted out a problem I was struggling with.
Glad I could help!
Thank you for this tip! Thank you! 🙂
My Pleasure!
Hi there. When I open the photo and select ‘tune image,’ it only gives me the option of ‘Brightness.’ Actually, it selects it for me as if that’s the only function under ‘tune image.’ 🙁
You need to tap and hold on the image to reveal the menu.
I can’t find the save button on my iPhone 5s with latest IOS, I can find it on my iPad
Any suggestions?
Thanks Anne
cool
Thanks Chris for this lovely tip. It helps.
But is there a way or any other app in which I can work on shadow for multiple images at once?
Not on mobile unfortunately. For batch processing like that you will need a PC/Mac and something like Photoshop.
Ummm how do you do it on computer and IPad?
You can use Snapseed in iPad. In a PC you need to use something like Photoshop, which is not free.
App did not help with shadows at all…still cant make the image visible even afyer dollowing your steps
My snapped looks nothing like this, no shadow??
The simplest way to brighten up dark underexposed photos for free using your smartphone https://t.co/iOk87CQ5em
What is http://bit.ly?
Bitly is a URL Shortener and Link Management Platform site. For instance you can convert a long URL like this one :http://moblivious.com/tips-tricks/the-simplest-way-to-brighten-dark-underexposed-photos-free-using-smartphone/ to this The simplest way t…
Hey Chris–The shadows tool! Was able to quickly fix an important photo. Thanks. You made my day
Glad you found it useful!
I have several photoes with relatives in them in black and white but son of them are hard to se full face where the picture is under exposed is there any way to solve this problem
Did you try my solution?
Thank you for giving the simplest way to get what we want from an image.
Awesome … Thanks for sharing – it worked – brightness never worked for me … very glad to know about shadows.