
Image via unsplash
Are you looking for a way to get that fantastic blur background effect on your iPhone photos? Whether it’s beautifully sharp photos of their loved ones or magazine-grade food photography, you might have noticed that your friends have recently picked up their Instagram game.
But have they all gone out and purchased a brand new DSLR camera? The answer is that they’re probably just taking advantage of the new blur background technology in smartphones.
Yet with some iPhones having up to three built-in cameras, it might all seem a little confusing. Luckily, getting a crispy and sharp subject with a blur background on your iPhone is a lot easier than you might think.
Why Photographers Use The Blur Background Effect
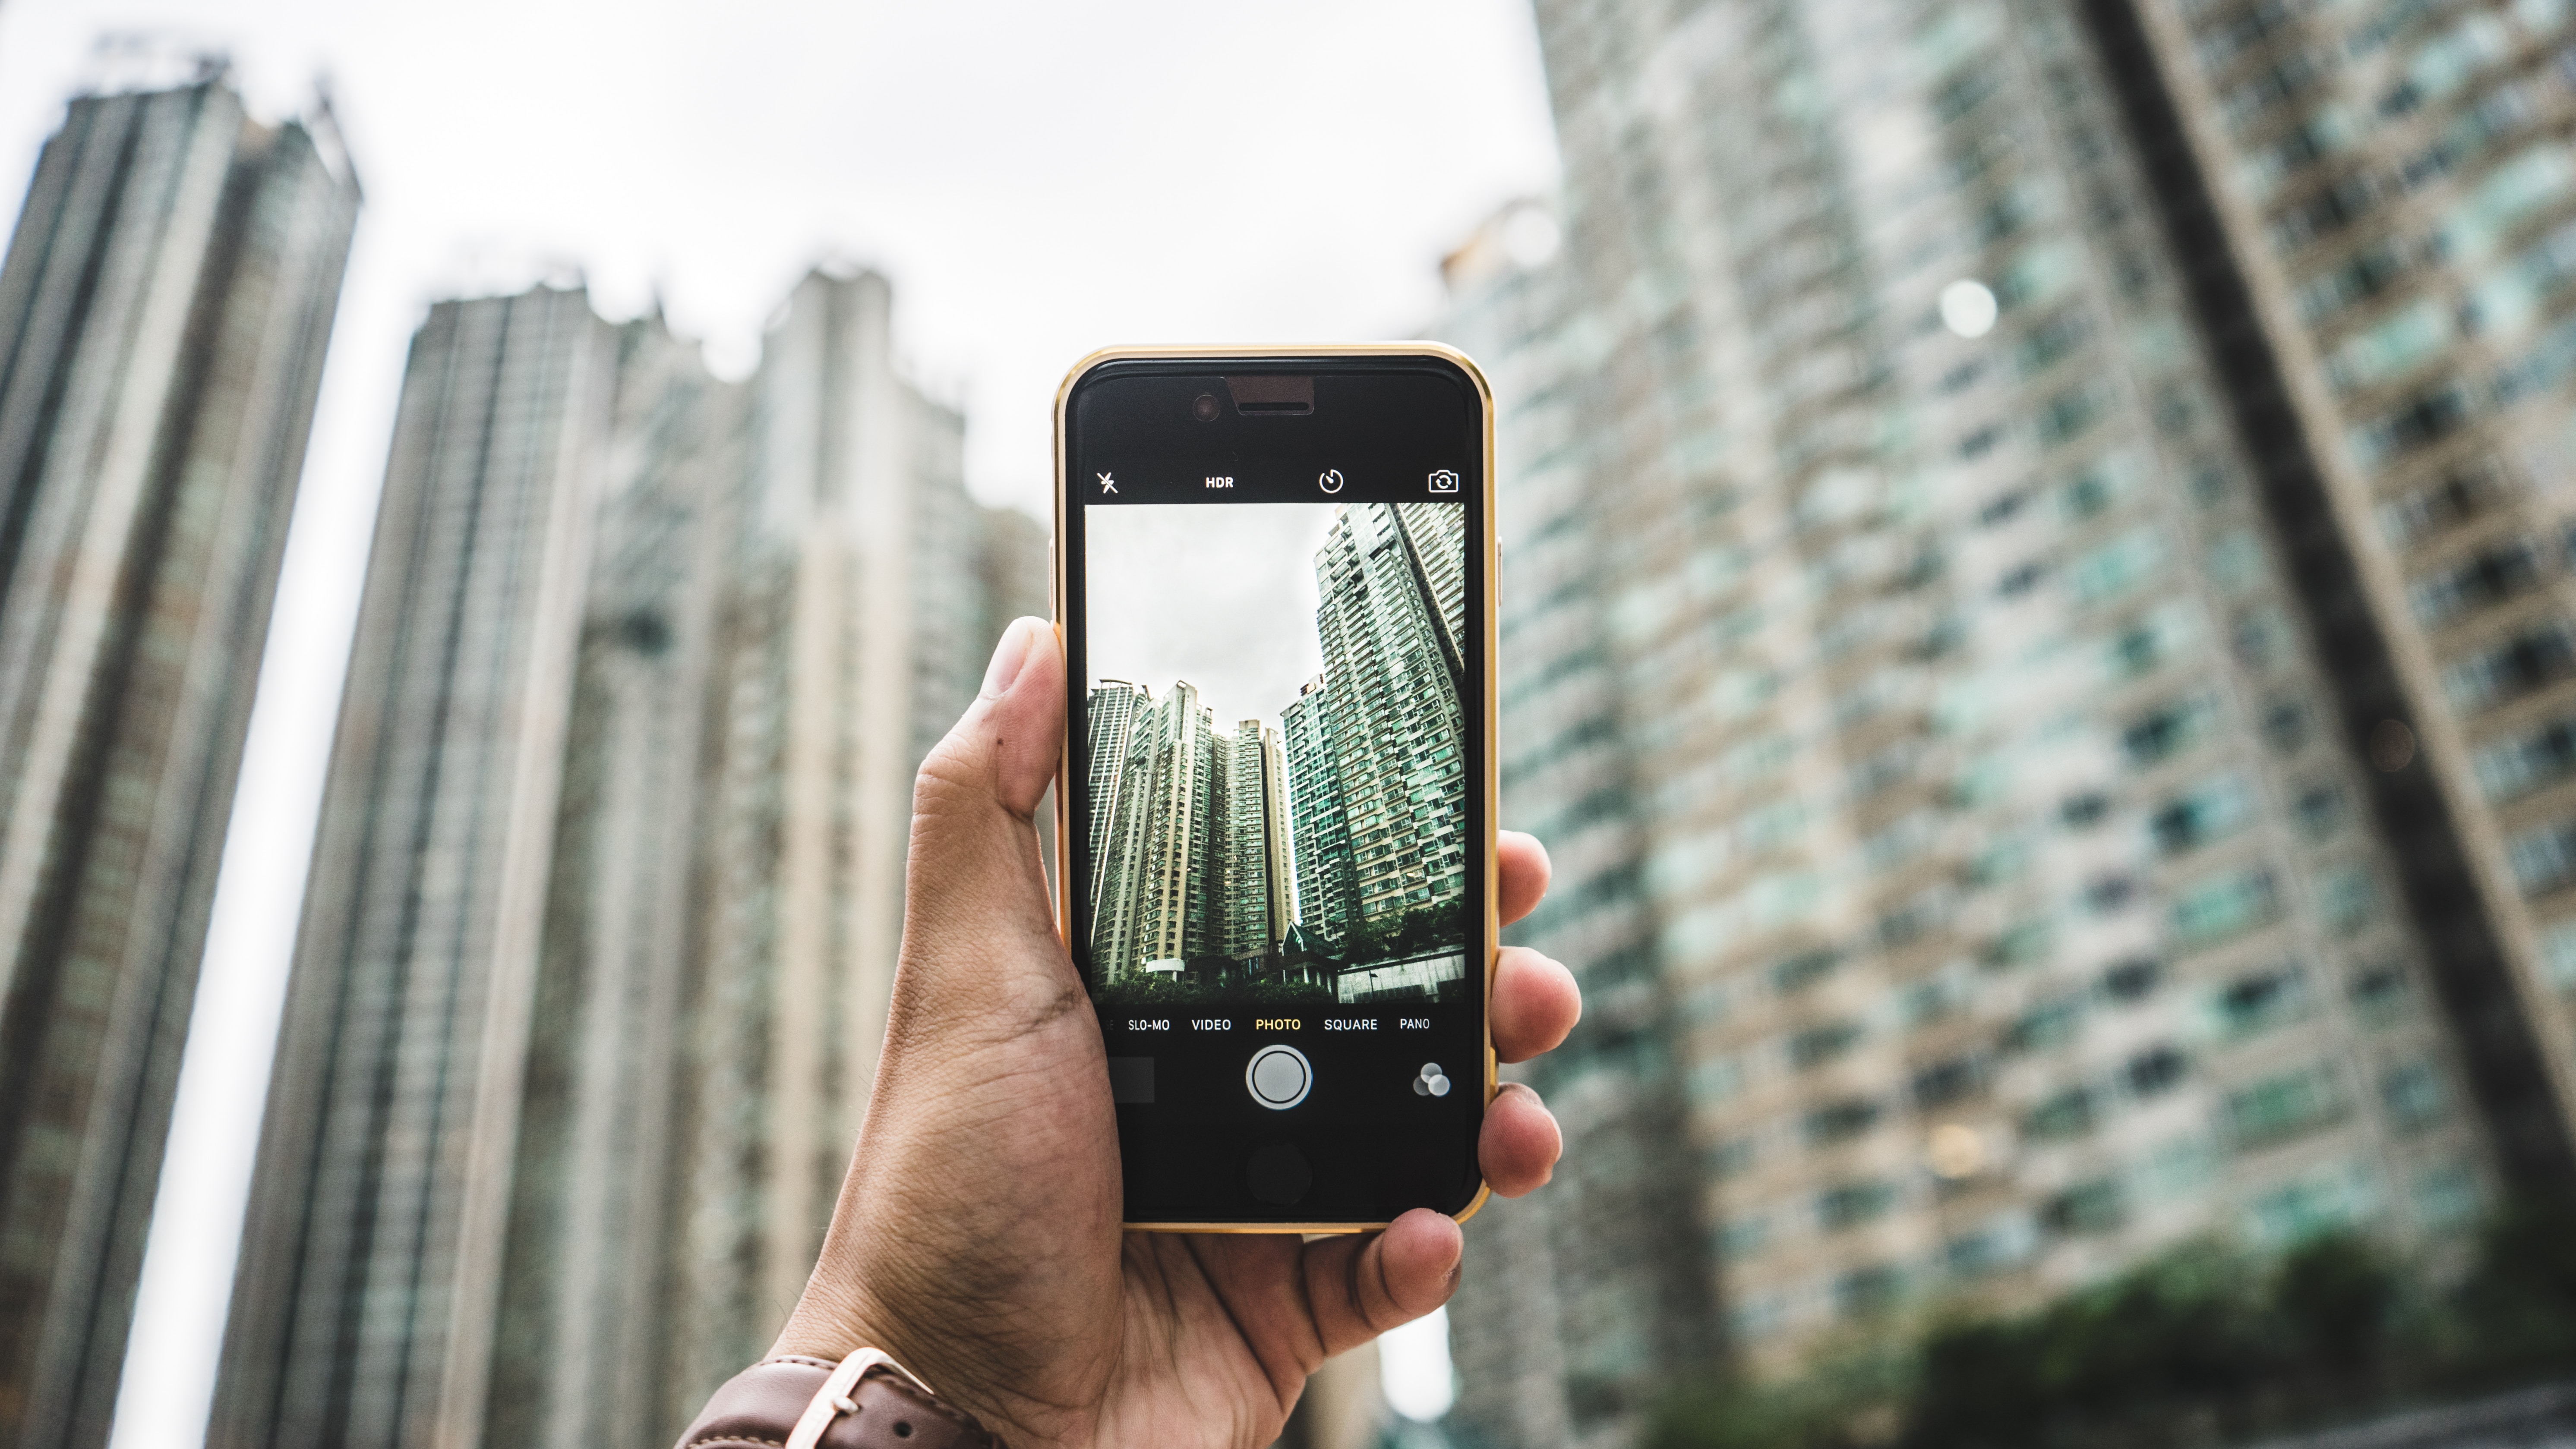
Image via unsplash
The primary reason why photographers and hobbyist happy-snappers want the blur background effect in their photos is that it makes the subject stand out.
That is, using the contrast of a very sharp subject with a blurred out background naturally draws our eyes to what the photographer wants to convey.
Besides, a blurred background simply looks more appealing to the eye.
Whether the subject is a person, animal, object, or food, focusing in on what’s important in the photograph is a great way to tell a visual story.
What Is The Depth Of Field?
The photographic jargon for our plane of focus is the depth of field. This field explains how far the distance is from the nearest and furthest points of focus in an image.
When planning out an image, an important consideration is how much of the foreground and background you want in focus. For super-crisp shots of a subject, you’re going to want a shallow depth of field,
To explain, this means a blur background and foreground, with only the subject in focus.
While it might seem a little technical, understanding this concept will benefit iPhone photographers looking to snap sharper images.
Easy Ways To Get A Blur Background With Your iPhone
If you think back to a decade ago, would you have ever thought you could get studio-style photographs from your mobile phone? Undoubtedly, mobile technology is continuously pushing the boundaries of what you can fit in a small, handheld device.
But with anything powerful, you’re going to need to know how to use it in order to get the results you want. So, how do you get a blur background from your iPhone? Let’s find out.
Blur Background With Portrait mode
Here’s the easiest way. Apple calls it the “New era of photography.” Portrait mode uses advanced sensors, processors, and algorithms to digitally create the blur background effect.
By using two or more cameras, your iPhone can better determine the difference between the subject and the background.
The technology is built into the camera app all new iPhones. But, if you’re rocking an older phone, you’ll have to check if Portrait mode is supported on your device.
How to use Portrait mode
First, begin by opening up the camera app on your iPhone. You’ll need to scroll horizontally on the camera modes at the bottom of the screen until Portrait mode is selected.
Secondly, resume by composing your photo just like you usually would. For best results, make sure that the subject is between two and eight feet from the camera. Furthermore, manually focusing on the subject by tapping the screen will help the algorithm determine what should remain in focus.
Shortly after focusing, you’ll see the words “Natural Light” appear just above the camera controls. That means that Portrait mode is working as intended.
Finally, press the shutter button below to take your superbly sharp photo with a blur background.
Editing or removing your blur background
Unfortunately, since Portrait mode achieves this look using digital methods, you’re going to have occasions where it gets it wrong. Luckily, Apple has programmed a technique for you to have better control over how your photos look.
To edit, remove, or fix the depth of field, open the photo and click “edit” in the top corner. Since your picture was shot in Portrait mode, you’ll notice a “depth slider” underneath the photo.
Moving this slider to the left gives a shallower depth of field, with more of the background out of focus. Alternatively, sliding to the right will slowly remove the blur.
You can also delete the background blur entirely by tapping the yellow Portrait button at the top of the image.
Don’t worry, though; you can turn the effect back on by simply clicking the same button.
Use Portrait Lighting for added effect
While we’re already on the edit screen, why not experiment with a little lighting? The newer iPhones have introduced a Portrait Lighting feature to their Portrait mode.
You’ll find these options in a carrousel-style wheel just above the depth slider.
While Natural Light is the default option, you can also experiment with Studio Light for added drama, or even the Stage Light options which completely removes the background.
Shoot closer to your subject
While Portrait mode is getting better and better, many people dislike the digital look. Instead, many want a more realistic looking photo using photographic techniques to achieve the blur background effect on their pictures.
If this sounds like you, then don’t give up yet. There are other ways to get those beautiful shots using just your iPhone.
One of those ways is to simply shoot closer to the subject. The closer you position your camera, the farther away the relative background will be. That causes the depth of field to become narrower, and your background to look more blurry.
Understanding apertures
In the photography world, getting a sharp subject and out-of-focus background is achieved by altering the aperture on our DSLR or mirrorless cameras’ lense.
Aperture in cameras refers to how much light we allow through the lens. Altering the aperture also has an effect on the depth of field. By opening the aperture, the field of view becomes narrower, which makes the subject look sharper.
On iPhones and most smartphones, this number is fixed, meaning the same amount of light will shine through at all times.
However, the aperture is low enough that you will get a blur background effect if shooting closer to the subject.
Get an edge by trying out some iPhone lenses
Lenses for your iPhone? No, we’re not pulling your leg. These little clip-on lenses have been around for a while now, and are getting better and better. Using a macro or telephoto lens on your iPhone will allow you to zoom closer on your subject.
As a result, you’ll be putting your subject closer to the camera sensor and therefore narrowing the depth of field.
Using clip-on smartphone lenses might seem like cheating, but many prefer the realistic look. Not to mention, they can be a lot of fun!
Remember to focus manually
A common mistake which iPhone photographers make is that they forget to focus manually. Clicking on your subject will force the camera to lock focus on your target, minimizing the risk of misfocusing.
Not only will this help you get sharper shots, but you’ll notice the background will be more out-of-focus since your phone knows what to zero in on.
Try out some post-processing apps
Another way to defocus the background of your images is to use a third-party app or software. There are several apps that can handle this task available on the app store.
If you have an older iPhone which doesn’t have support for Portrait mode, this could be your answer.
The benefit of adding background blur after you’ve taken your photos is that you can often have more control of the final look. Furthermore, being able to simply go out and shoot, without worrying about enabling certain modes is appealing to many.
In saying that, using third-party apps to add digital blur often produces results that look less realistic. Also, manually selecting your subject can be tedious, especially on smaller screens.
Get Sharper Shots With Your iPhone Using The Blur Background Effect
Using your iPhone to take photos is supposed to be simple. Apple understands this and has crammed a tremendous amount of technology into one easy-to-use package.
While it all seems a little tricky to start with, once you get going, you just won’t want to stop taking photos.
The convenience of having a high-end camera that fits right into your jeans pocket is a privilege we’re indeed glad we can take advantage of.
Do you have any other tips or tricks on getting a blur background with your iPhone? Let us know in the comments below.
Leave A Comment