
Let’s say you’ve been on a holiday, you had a smashing time and you took tons of pictures with your iPhone to prove to you did. Obviously now you would want to share the photos to your friends and colleagues who’ve been stuck in a sodding miserable weather in the meantime 🙂 But you don’t really want to post lots of Instagram photos of the same clear-turquoise water and blue sky one after the other, lest you get lynched by your mates. So what can you do?
One thing you can do is to create a photo slide show and share it as an Instagram video, or to Facebook, or YouTube, or email it to who ever you think deserves it.
Now, typically you would have to use some kind of slide show creator on your Desktop PC or Mac to make such a thing. But this way is always too much hassle.
Well, you don’t have to do this anymore because I’m going to show you, in 5 easy steps, how to create a photo slide show of your pictures with only your iPhone!
Step 1
Install Flipagram – it’s FREE .
Step 2
Tap on the Start button after you open the app.

Tap on the Start button
Start choosing the photos you want to include in the slide show.
You can choose photos from your Photo Album, or from your Instagram or Facebook account. Obviously you need to login first to these account before you can choose the photos.
You can select more than one photo at the same time.
-
- Choose the source where you want to get your photos
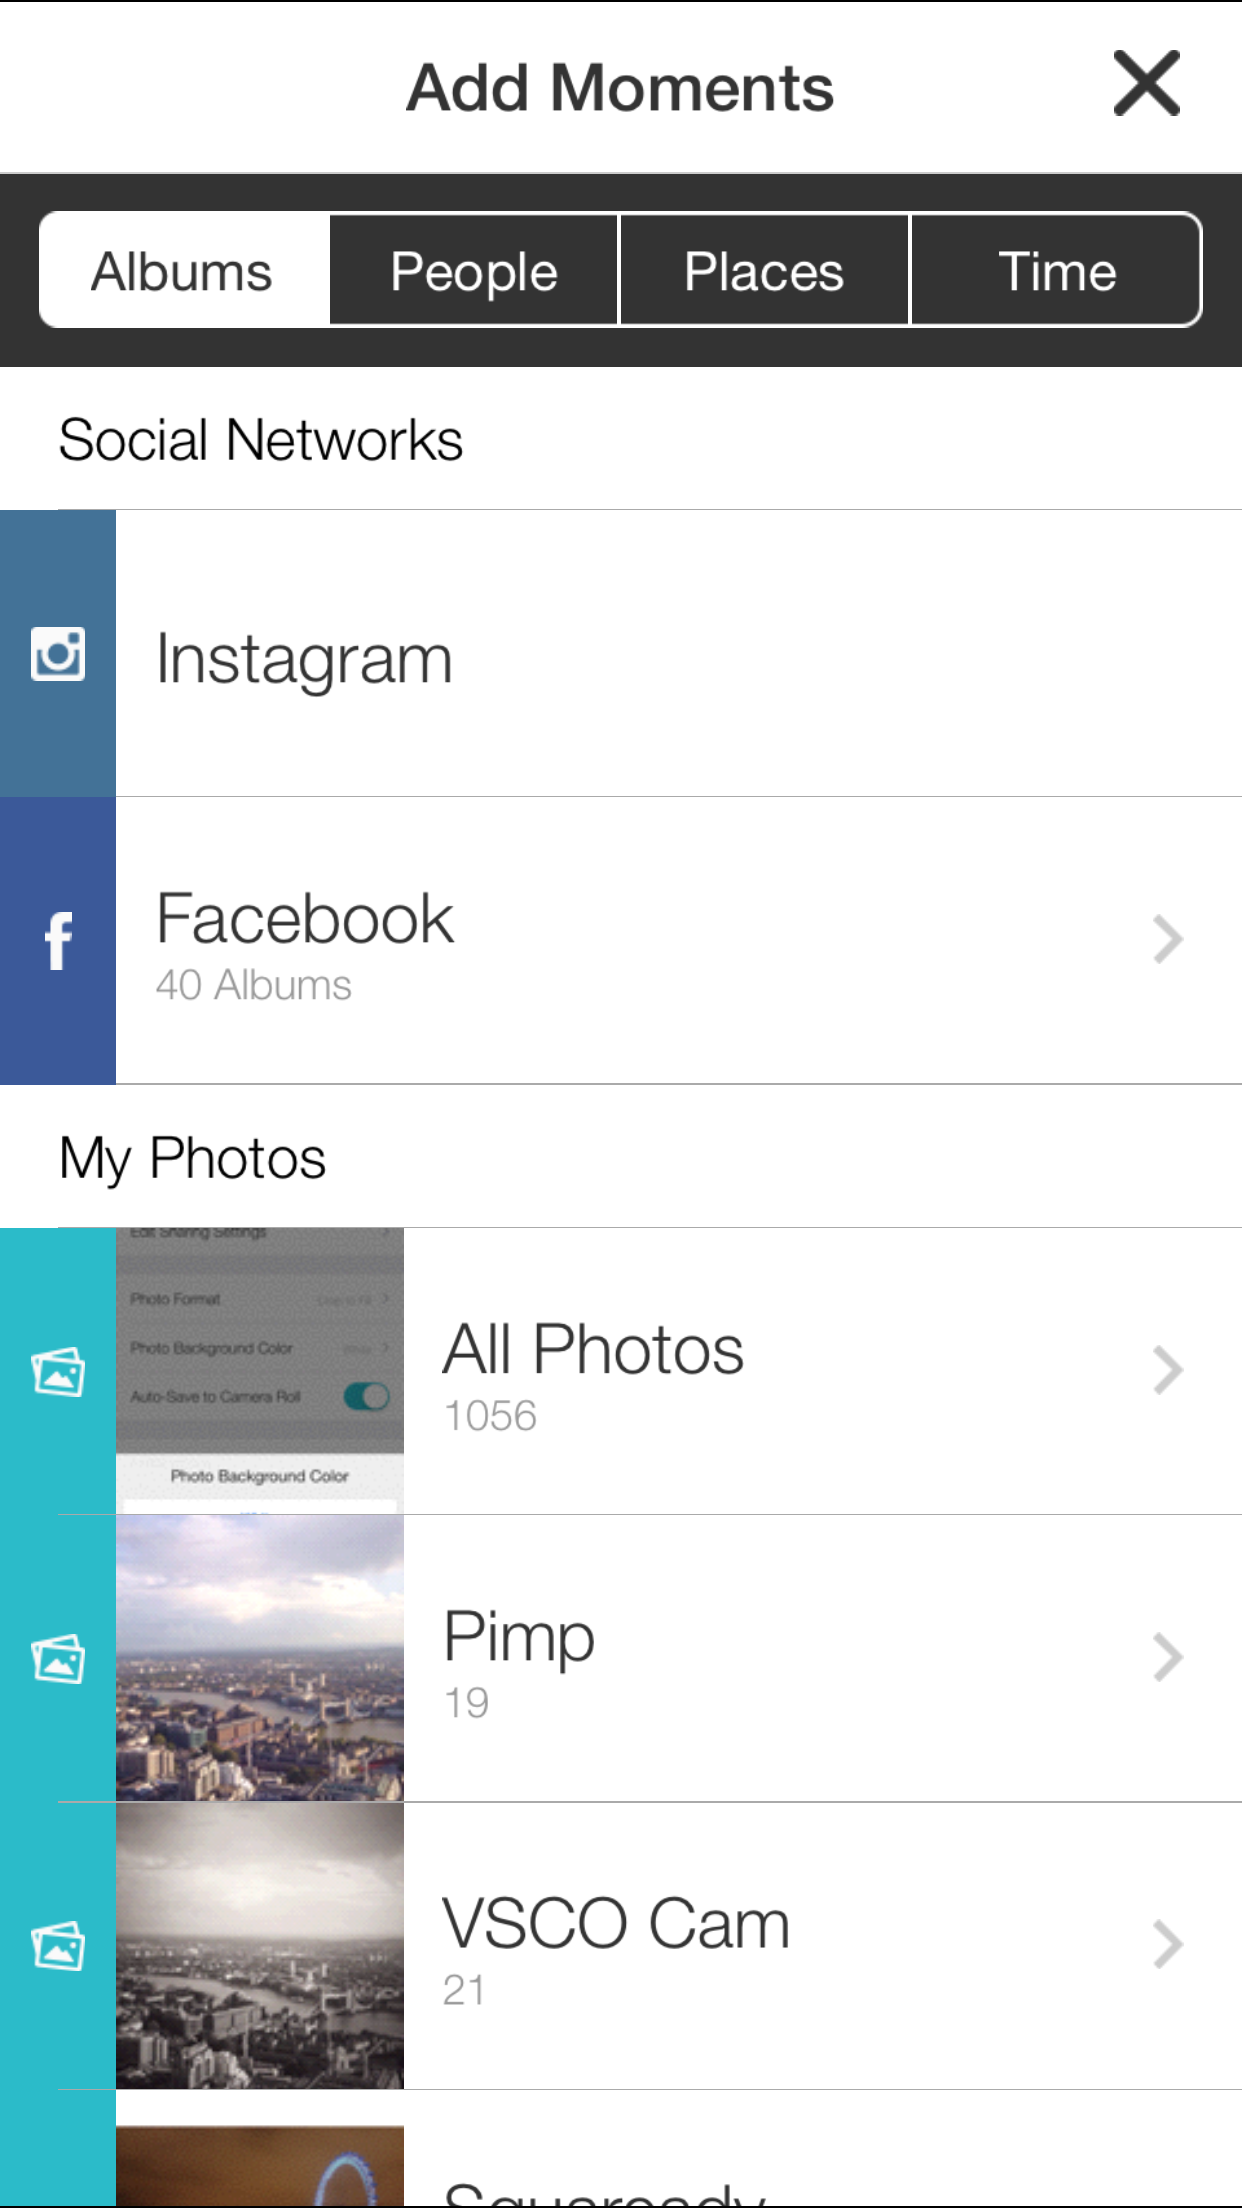
-
- Select Photo Album
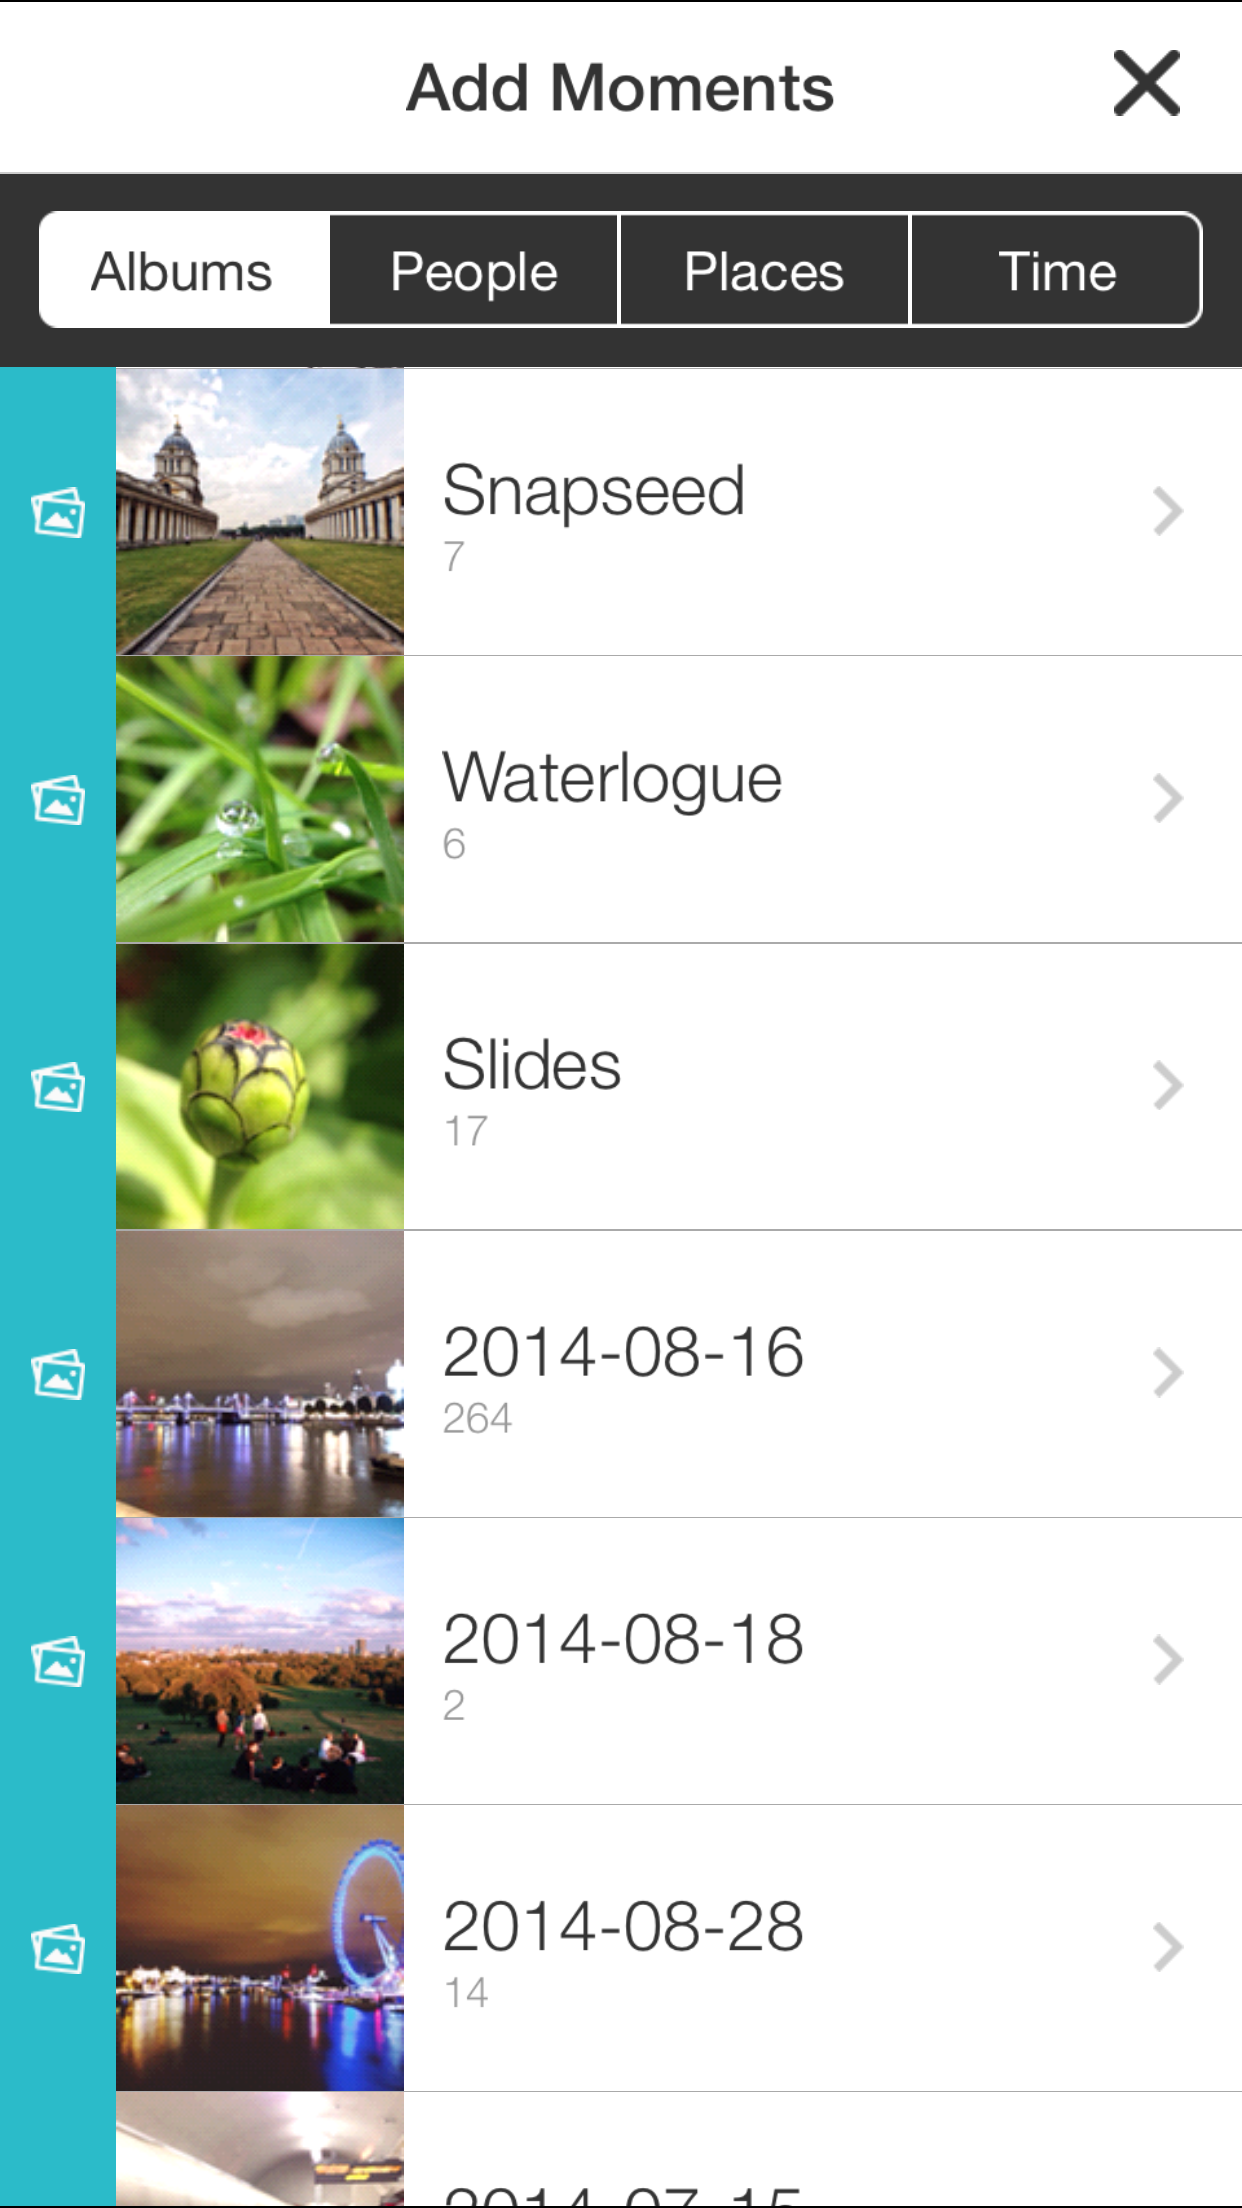
-

- Select the Photos
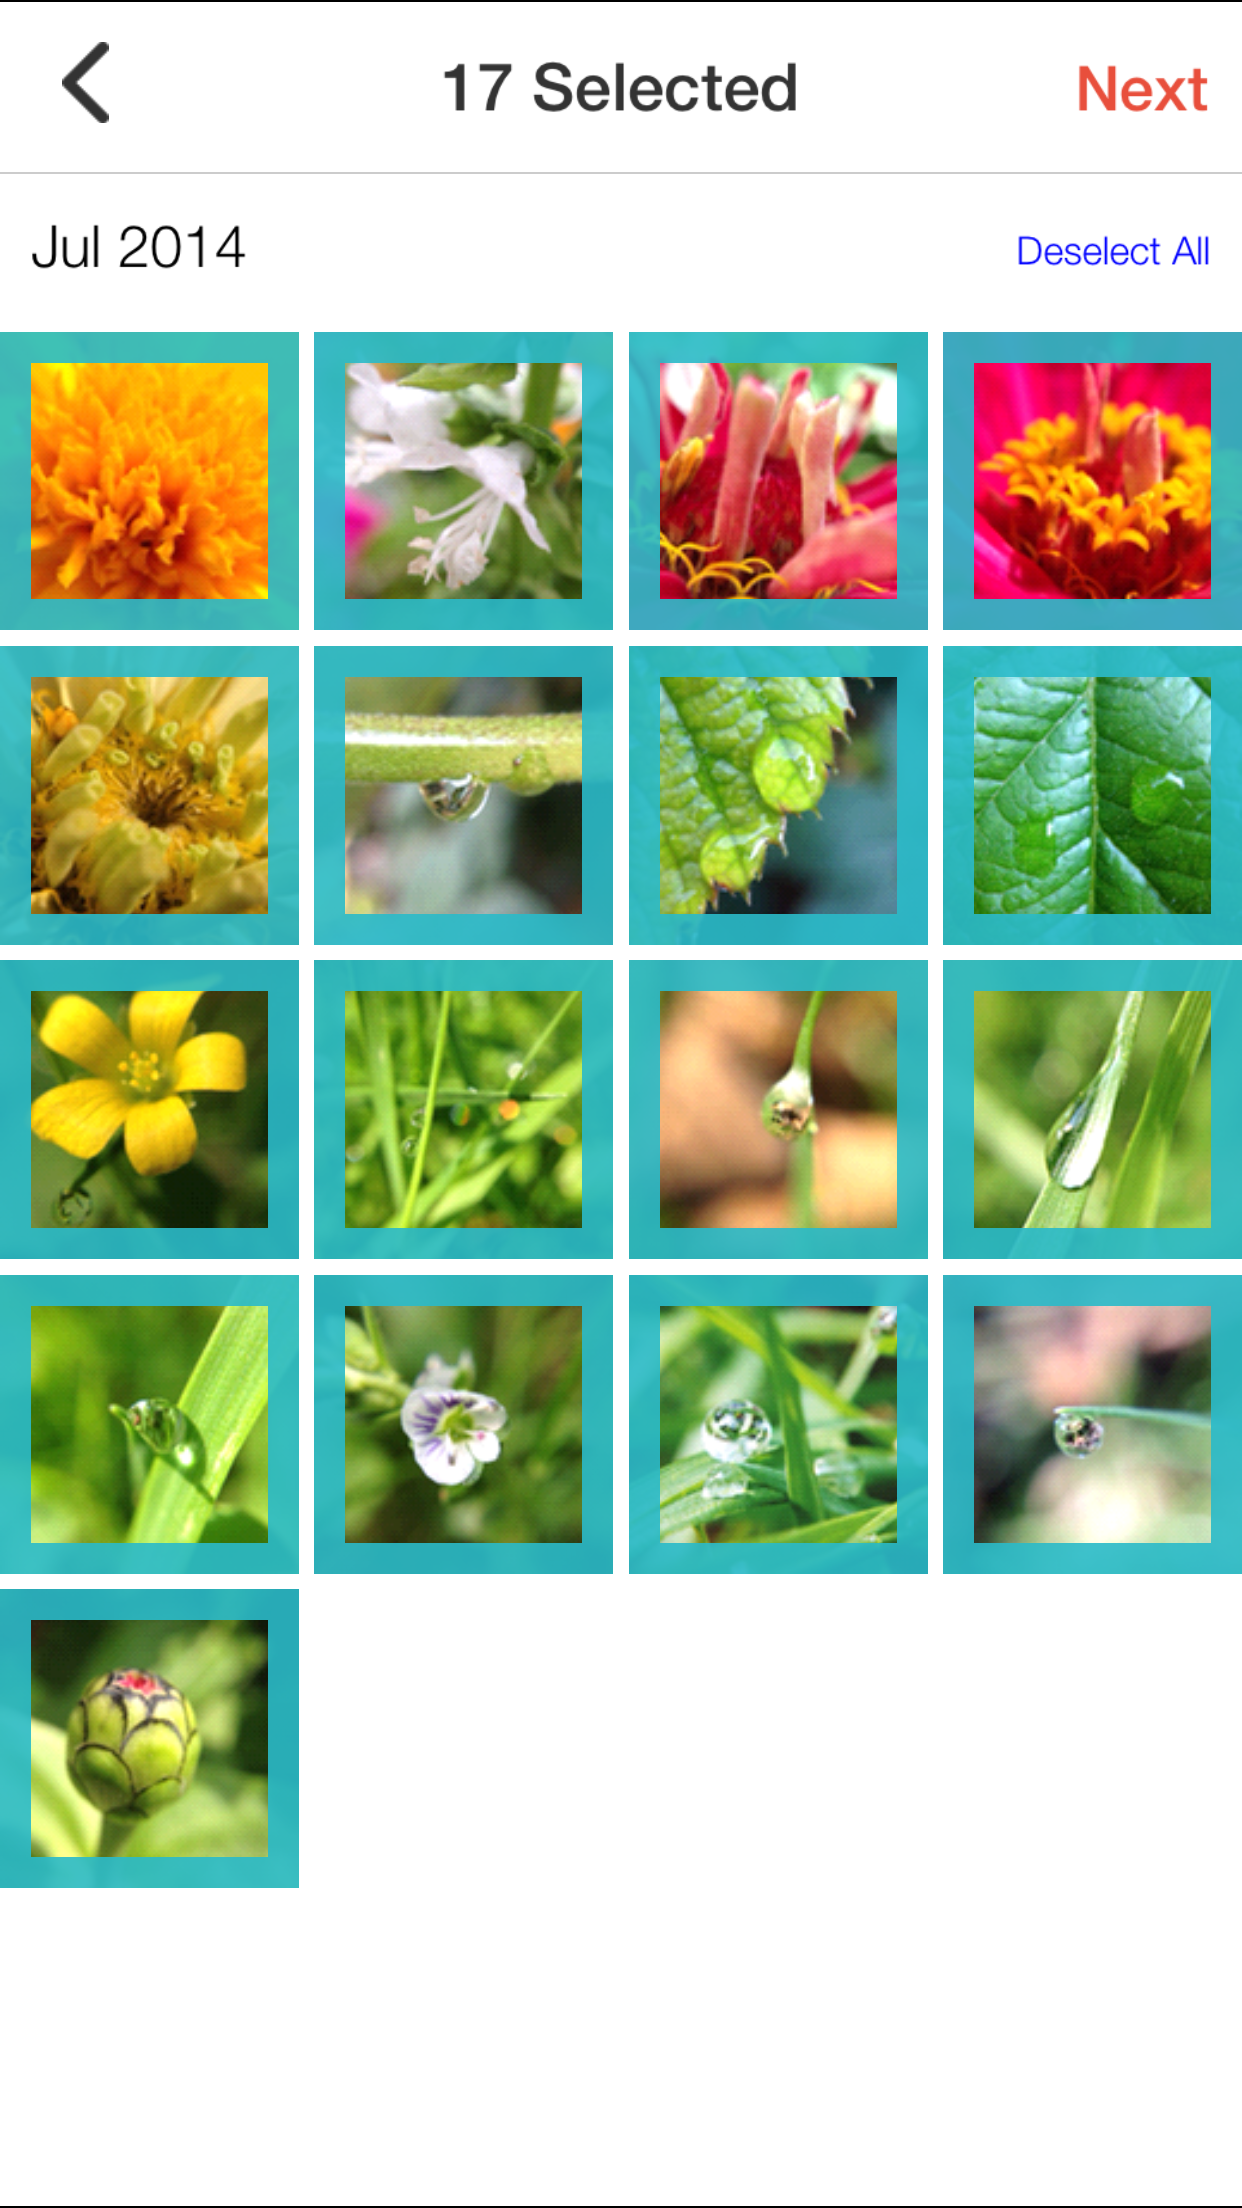
Tap on the ‘Next‘ button at the top-right corner of the screen when you finish choosing.
Step 3
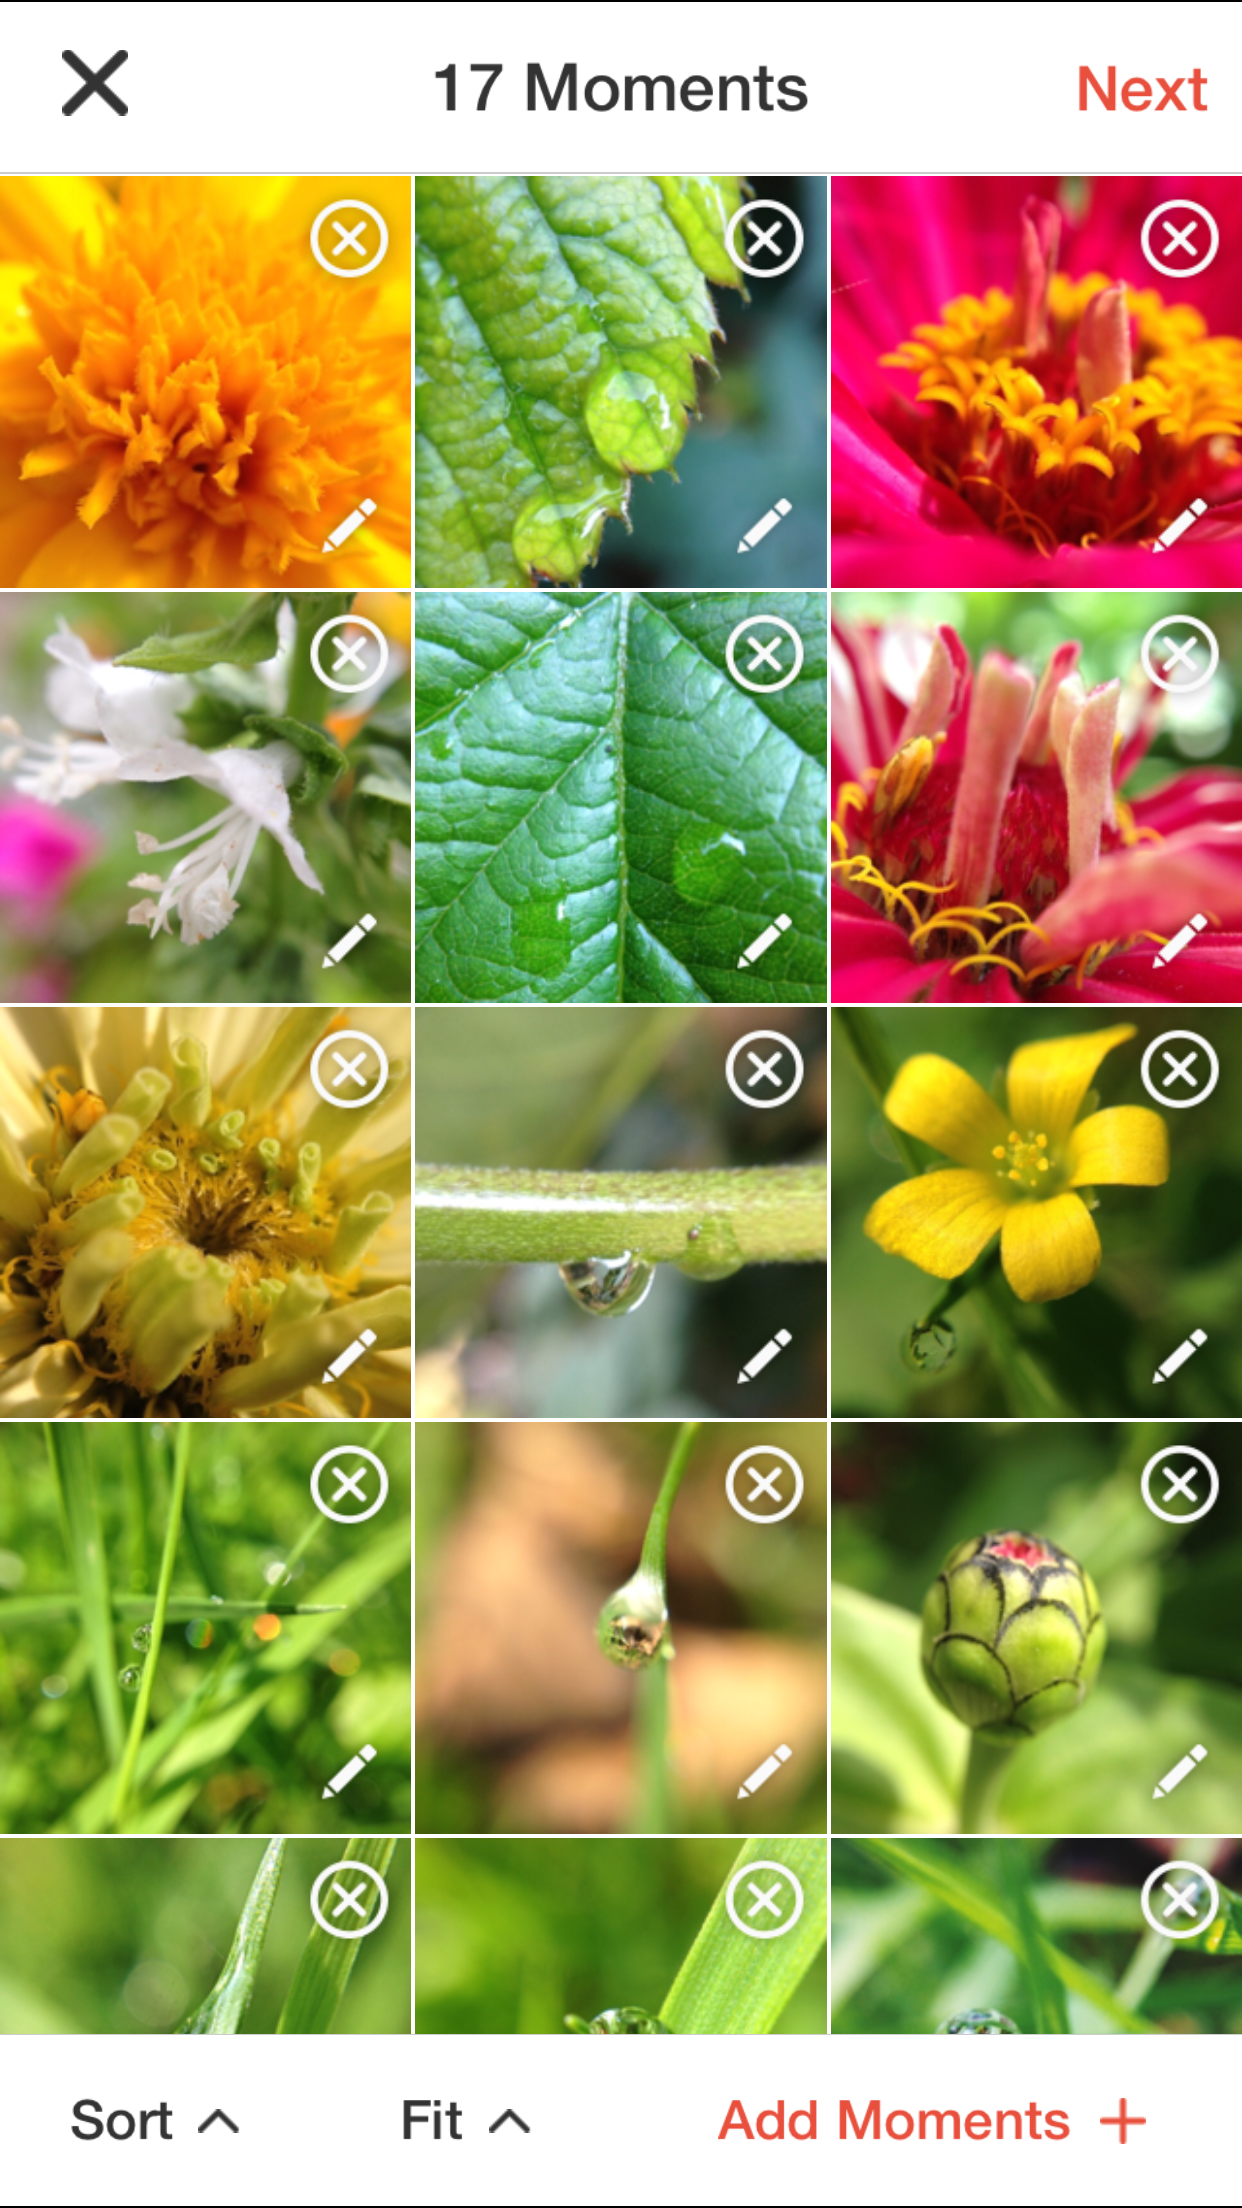
The next screen that appears will allow you to organise your photos in the slide show.
Organise your Slide Show
There are a few things that you can do, for example:
- Sort the order how the photos will appear in the slide show. You have 4 selections you can choose from: Oldest to Newest, Newest to Oldest, Selection Order (reset the order as how you originally selected the photos), and Shuffle (arrange the slides in random order).

Sort
- Fit – This allows you to configure whether you want the slide’s dimension to be cropped Square (for Instagram and other Social Media) or leave it as it is (the Original dimension).

Fit
- Add more photos: Just tap on the ‘Add Moments‘ button and start adding more photos.
- Delete any of photo from the list: tap on the ‘cross‘ icon on the photo you want to delete and then tap on the ‘Delete‘ button to confirm it.
- Move the photo around to change the order how the photos will appear sequentially in the slide show: tap and hold the photo you want to move until it ‘wiggles‘ than move it to its new location.
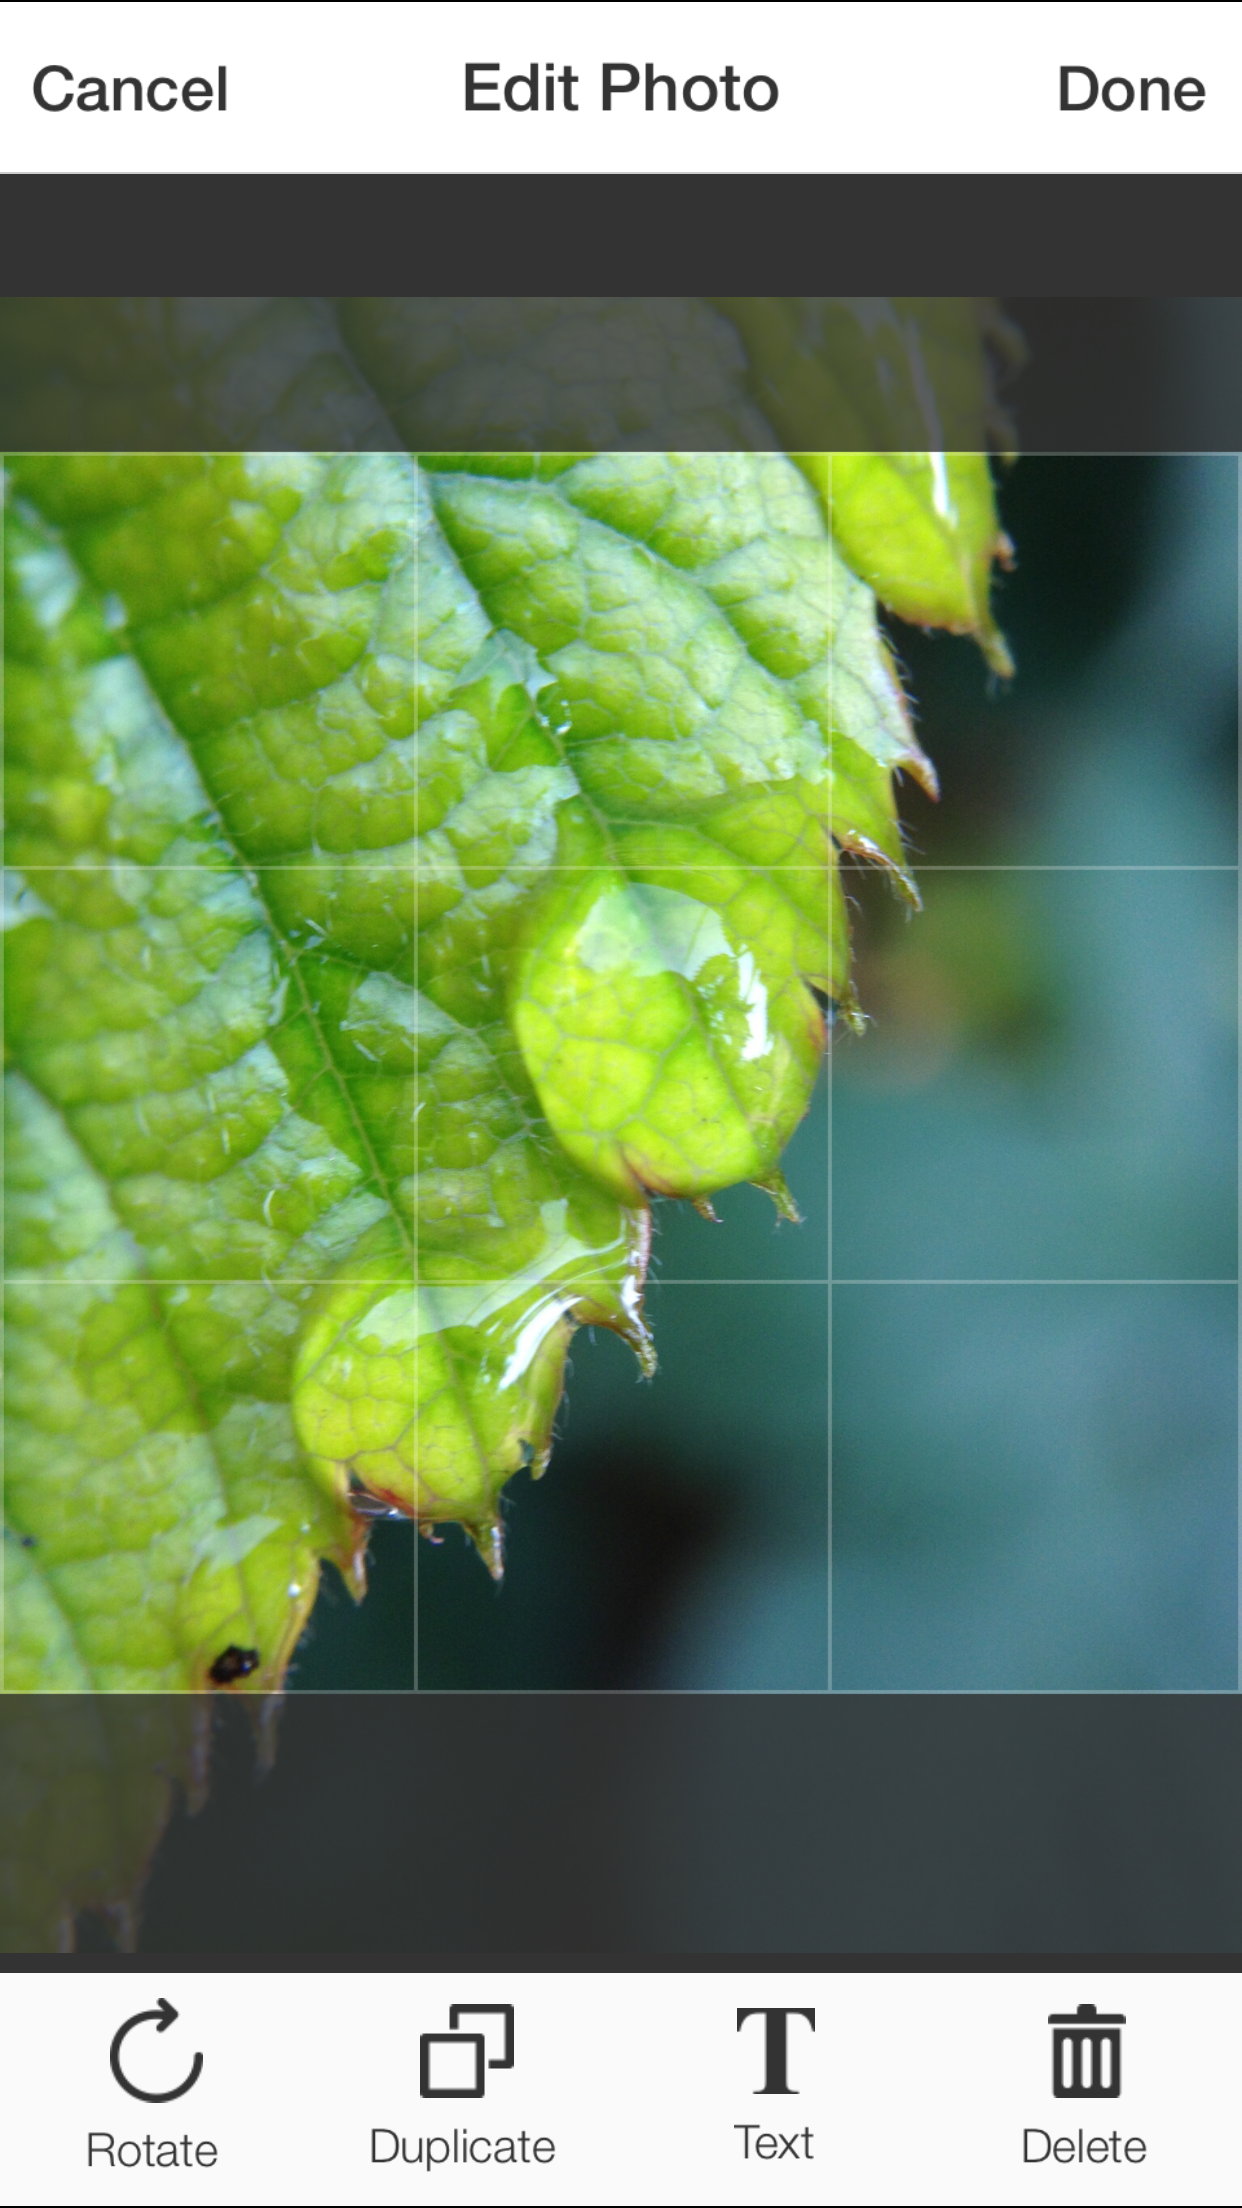
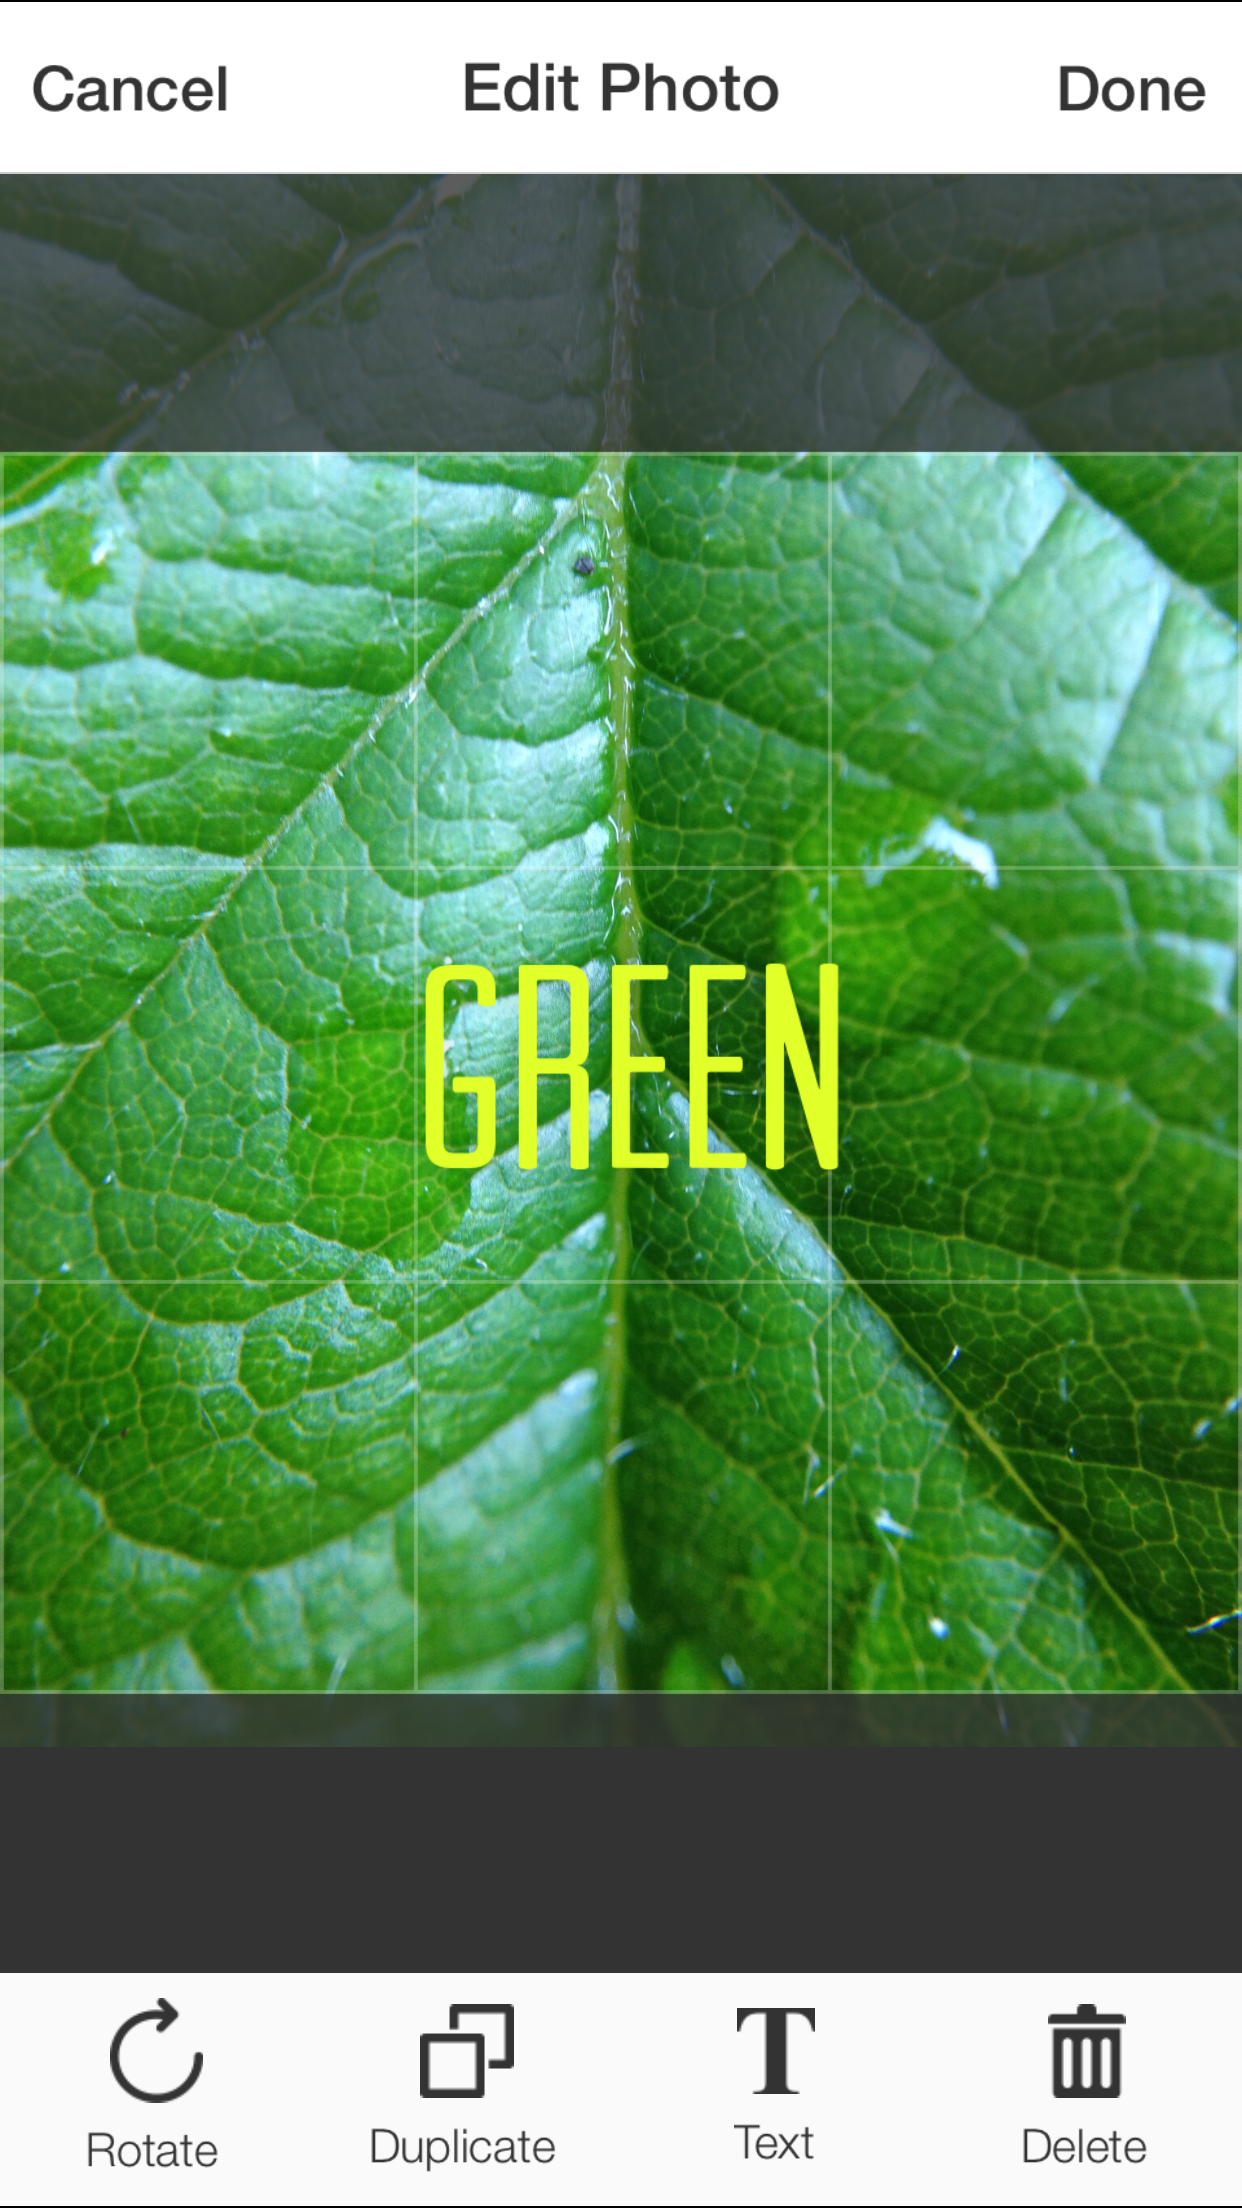
You can also ‘edit’ each photo individually. To do this just tap on the photo you want to edit and Flipagram will load it to its Edit Photo page.
In the Edit Photo page you can Move and Scale your photo, Rotate, Duplicate the photo, add a Title Text or Delete it.
Why would you want to duplicate a photo, I hear you asking. Well, since every photo will appear in exactly the same duration of time in the slide show, you can make a photo to show ‘longer‘ by copying it and place them side by side. Or you can make the same photo to appear in different time just by move the copy to different place in the slide show order.
Edit
By the way, as a default Flipagram will crop your photo square automatically (to make it simpler for uploading to Instagram). But if you want to start with the original dimension or orientation, you can configure this via the Photo Format setting. You can access the setting page from the main page (tap on the ‘gear’ icon).
Select ‘Fit in Frame‘ to start with the original dimension, or ‘Crop to Fill‘ to start with the photo cropped square.

Set Photo Format
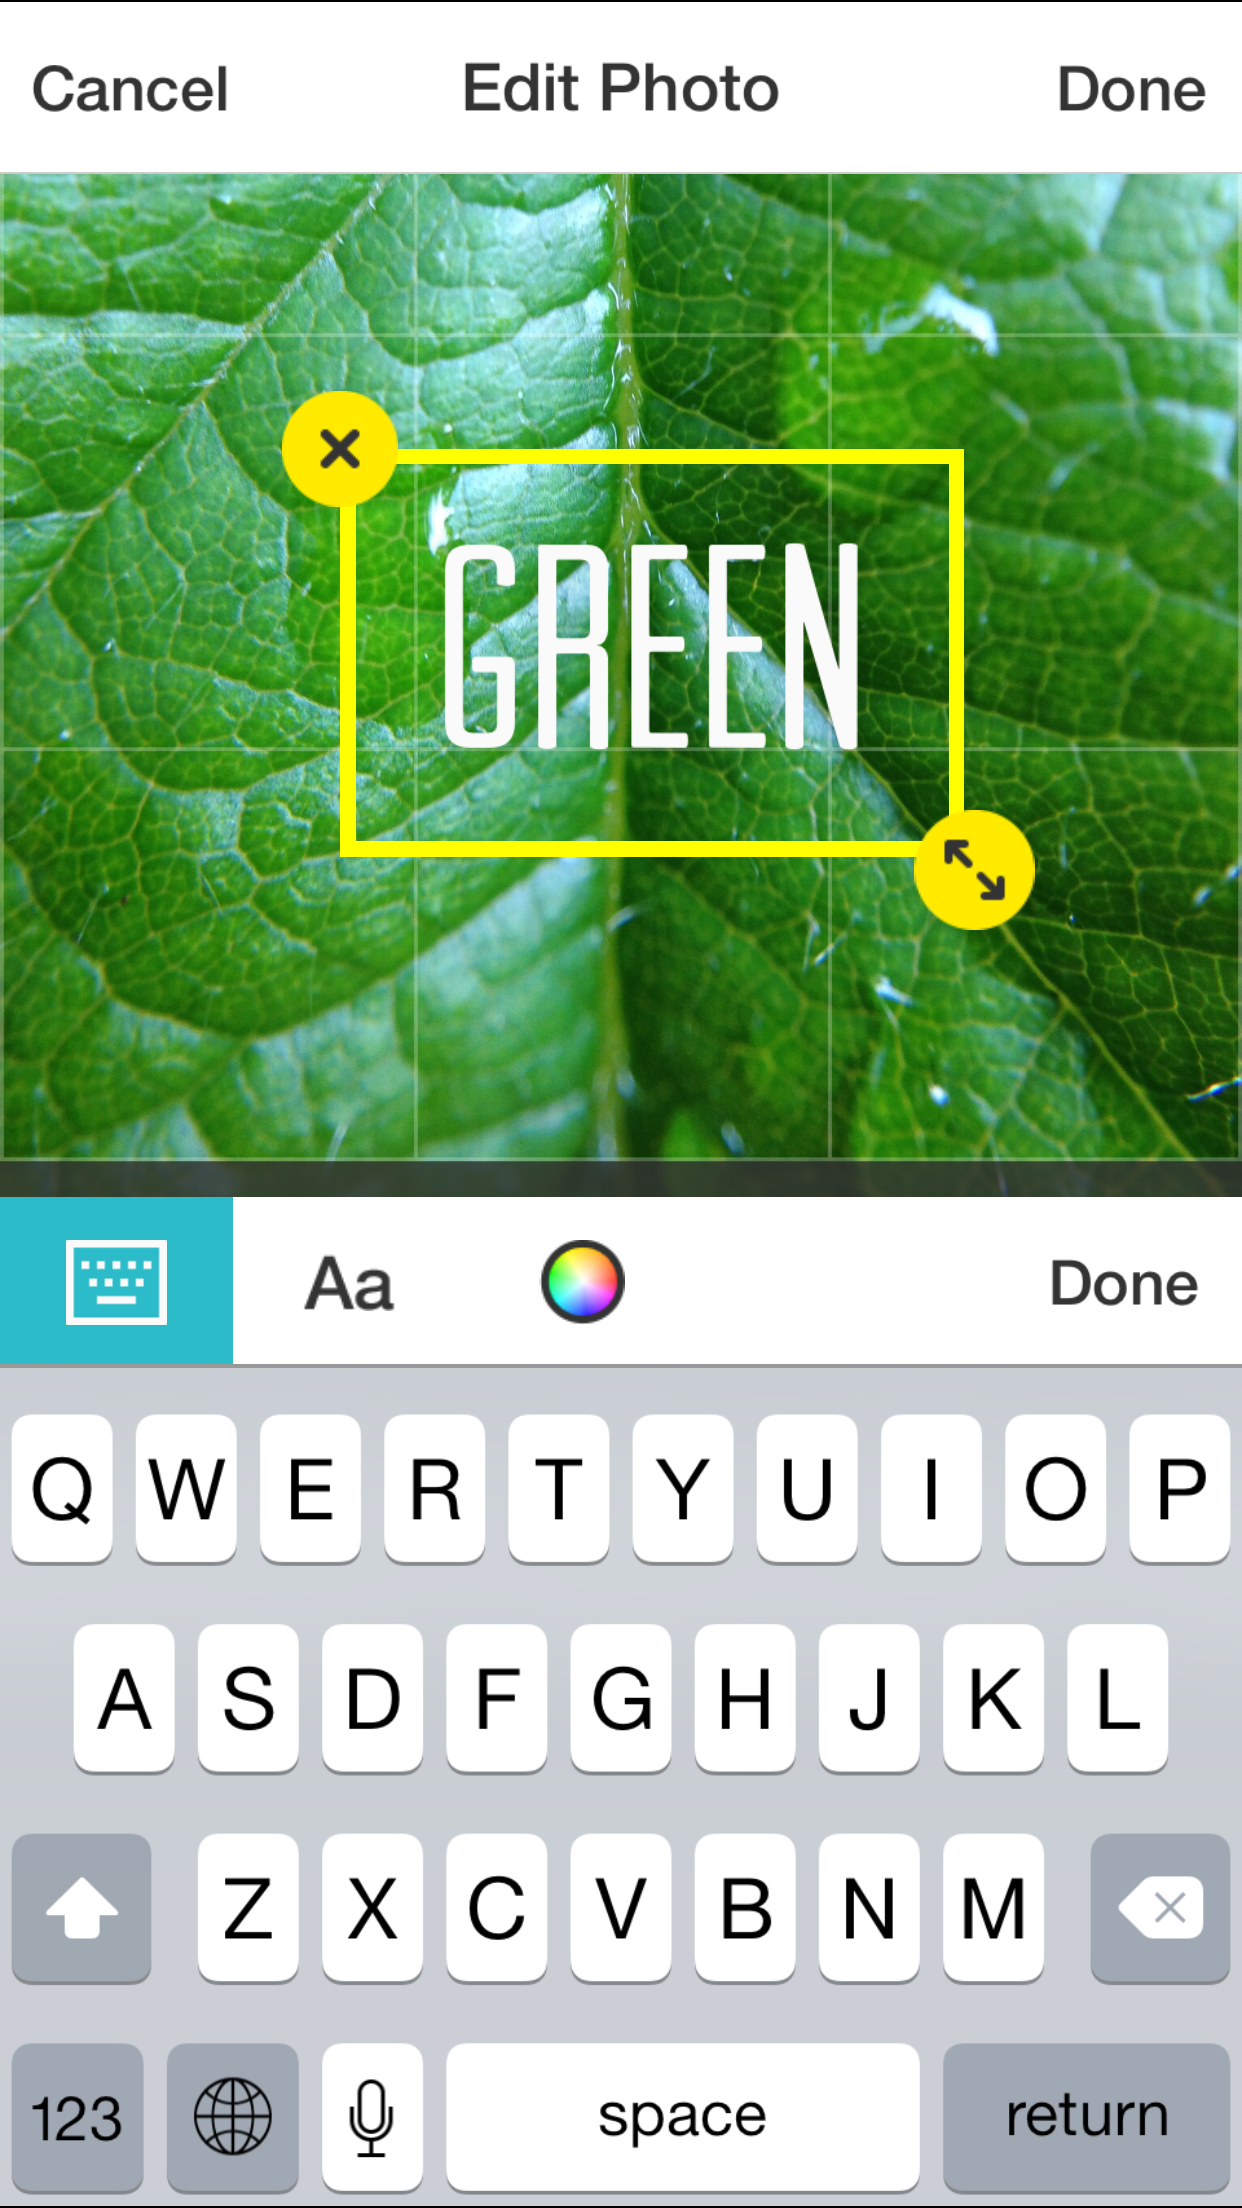
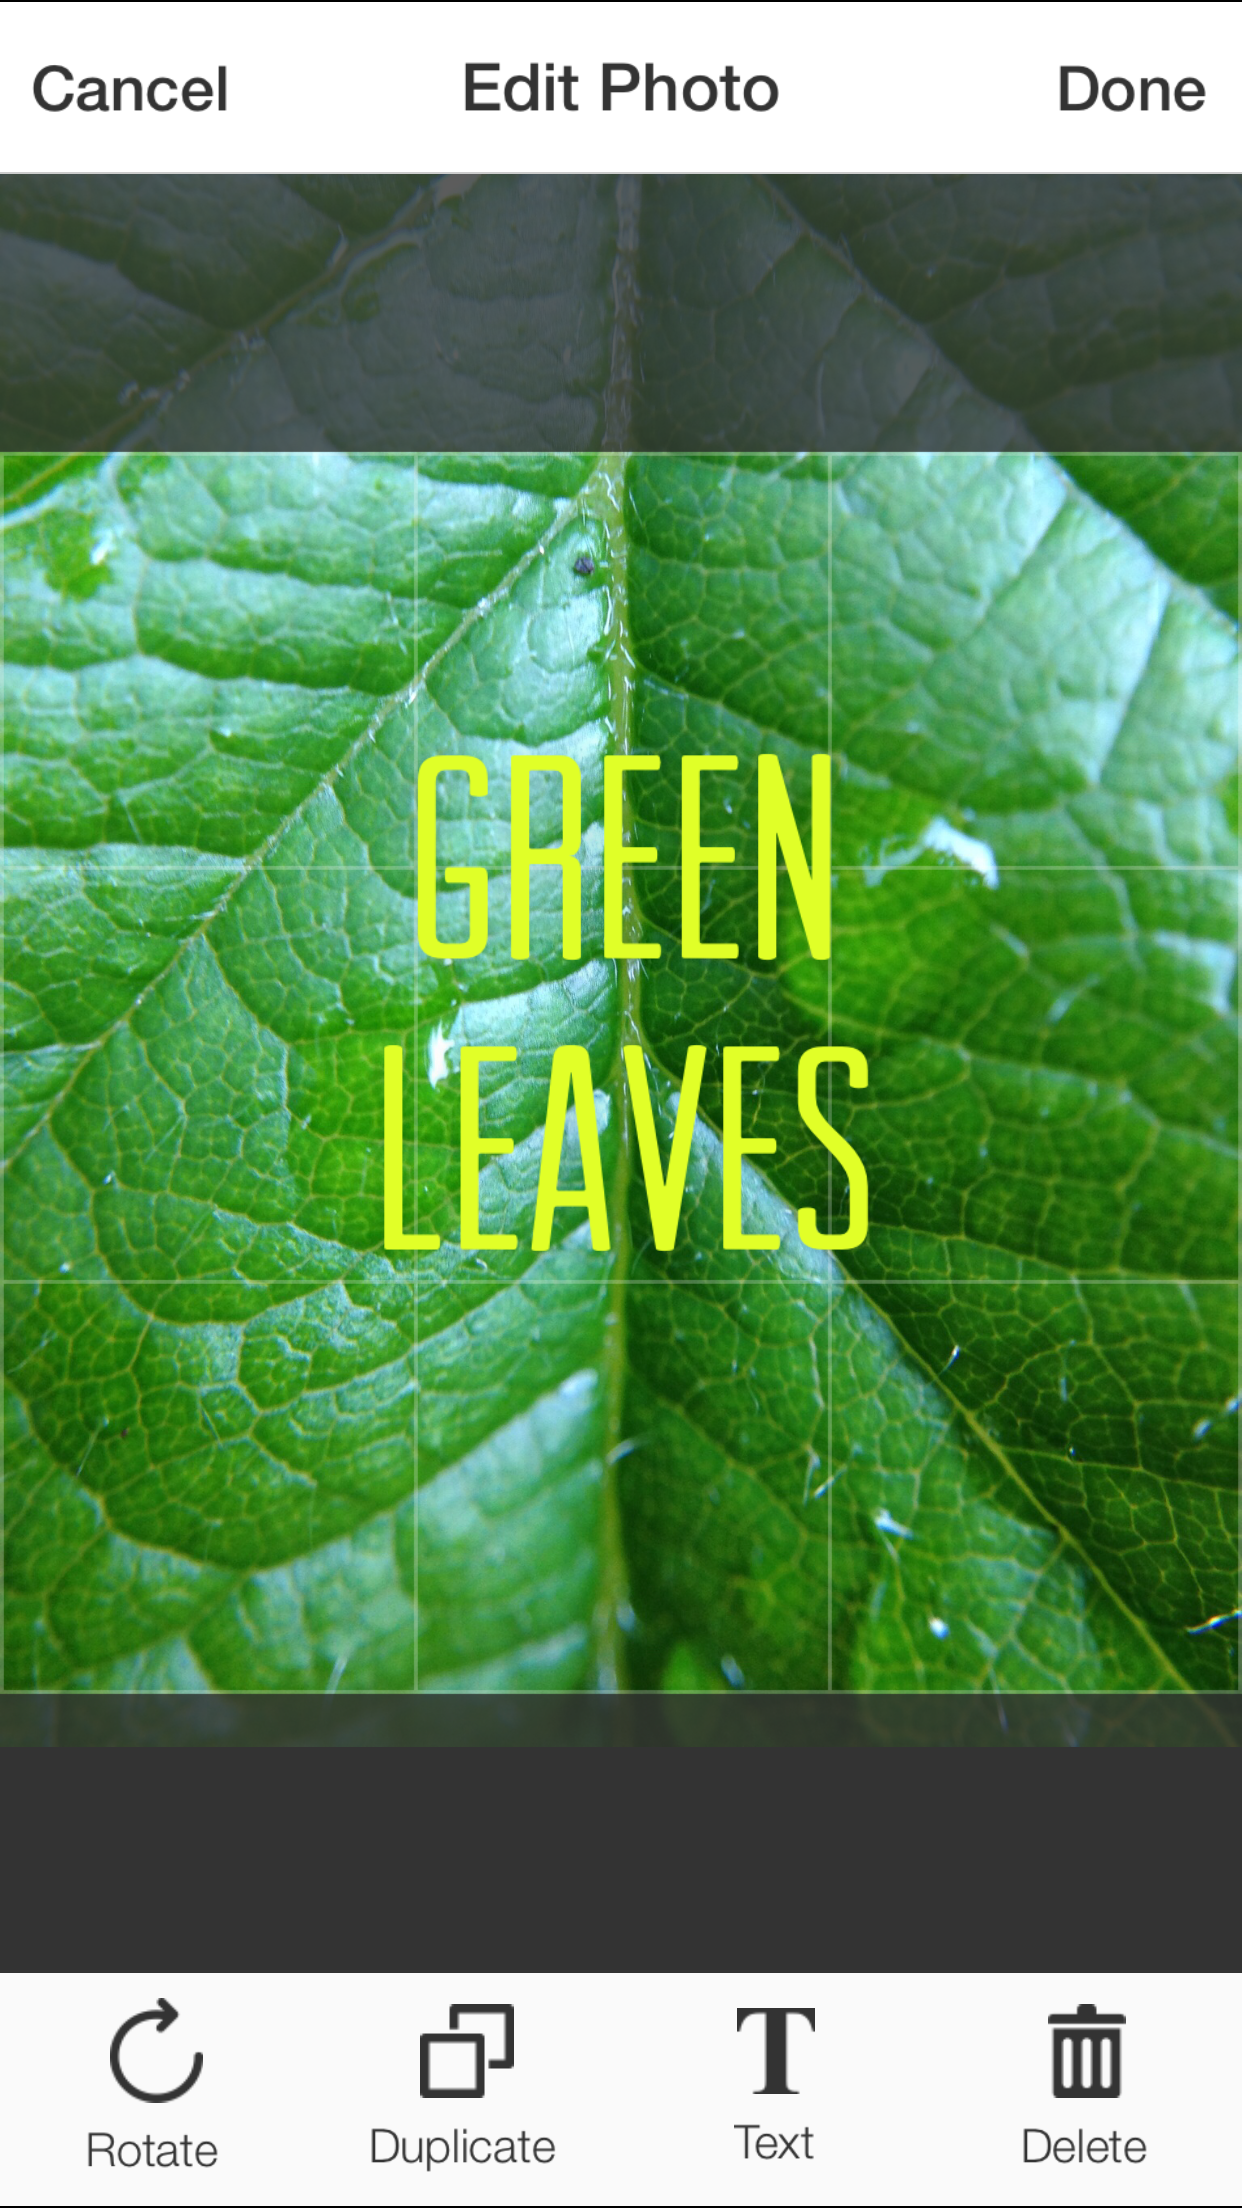
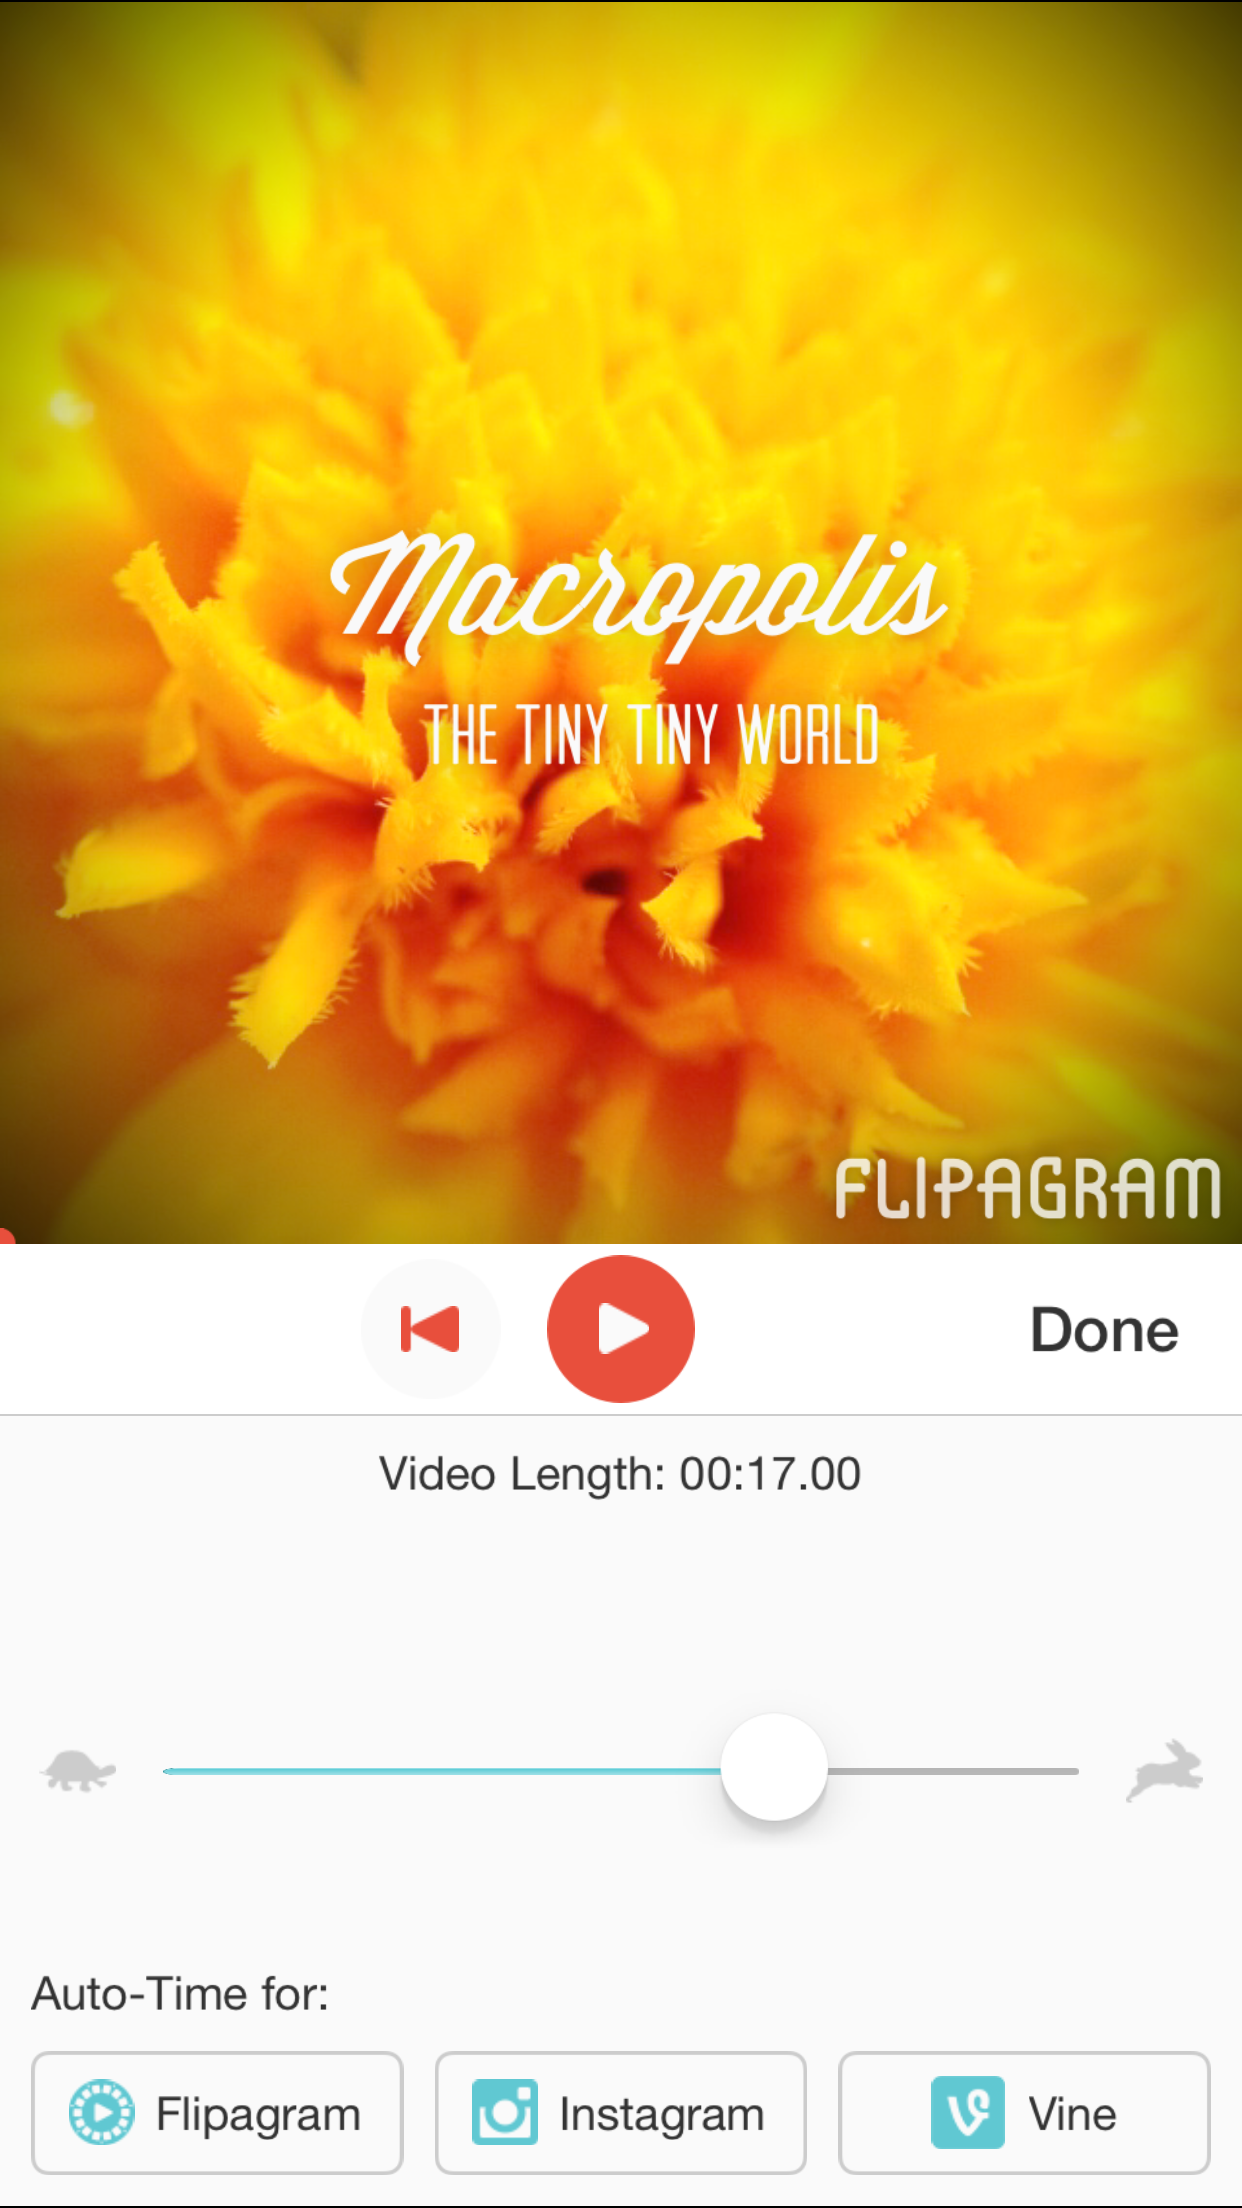
Adding Text for Titles is pretty easy as well. Just tap on the Text icon and the Title Editor will come up. You can add more than one Title, Change the Font and Change to Text Colour on the same page. This is actually very powerful feature of Flipagram. On previous version you can only add text in the beginning of the slide show, but now you can add it to each individual slide (photo).
-
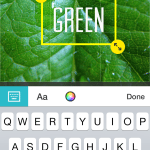
- Title Editor
-

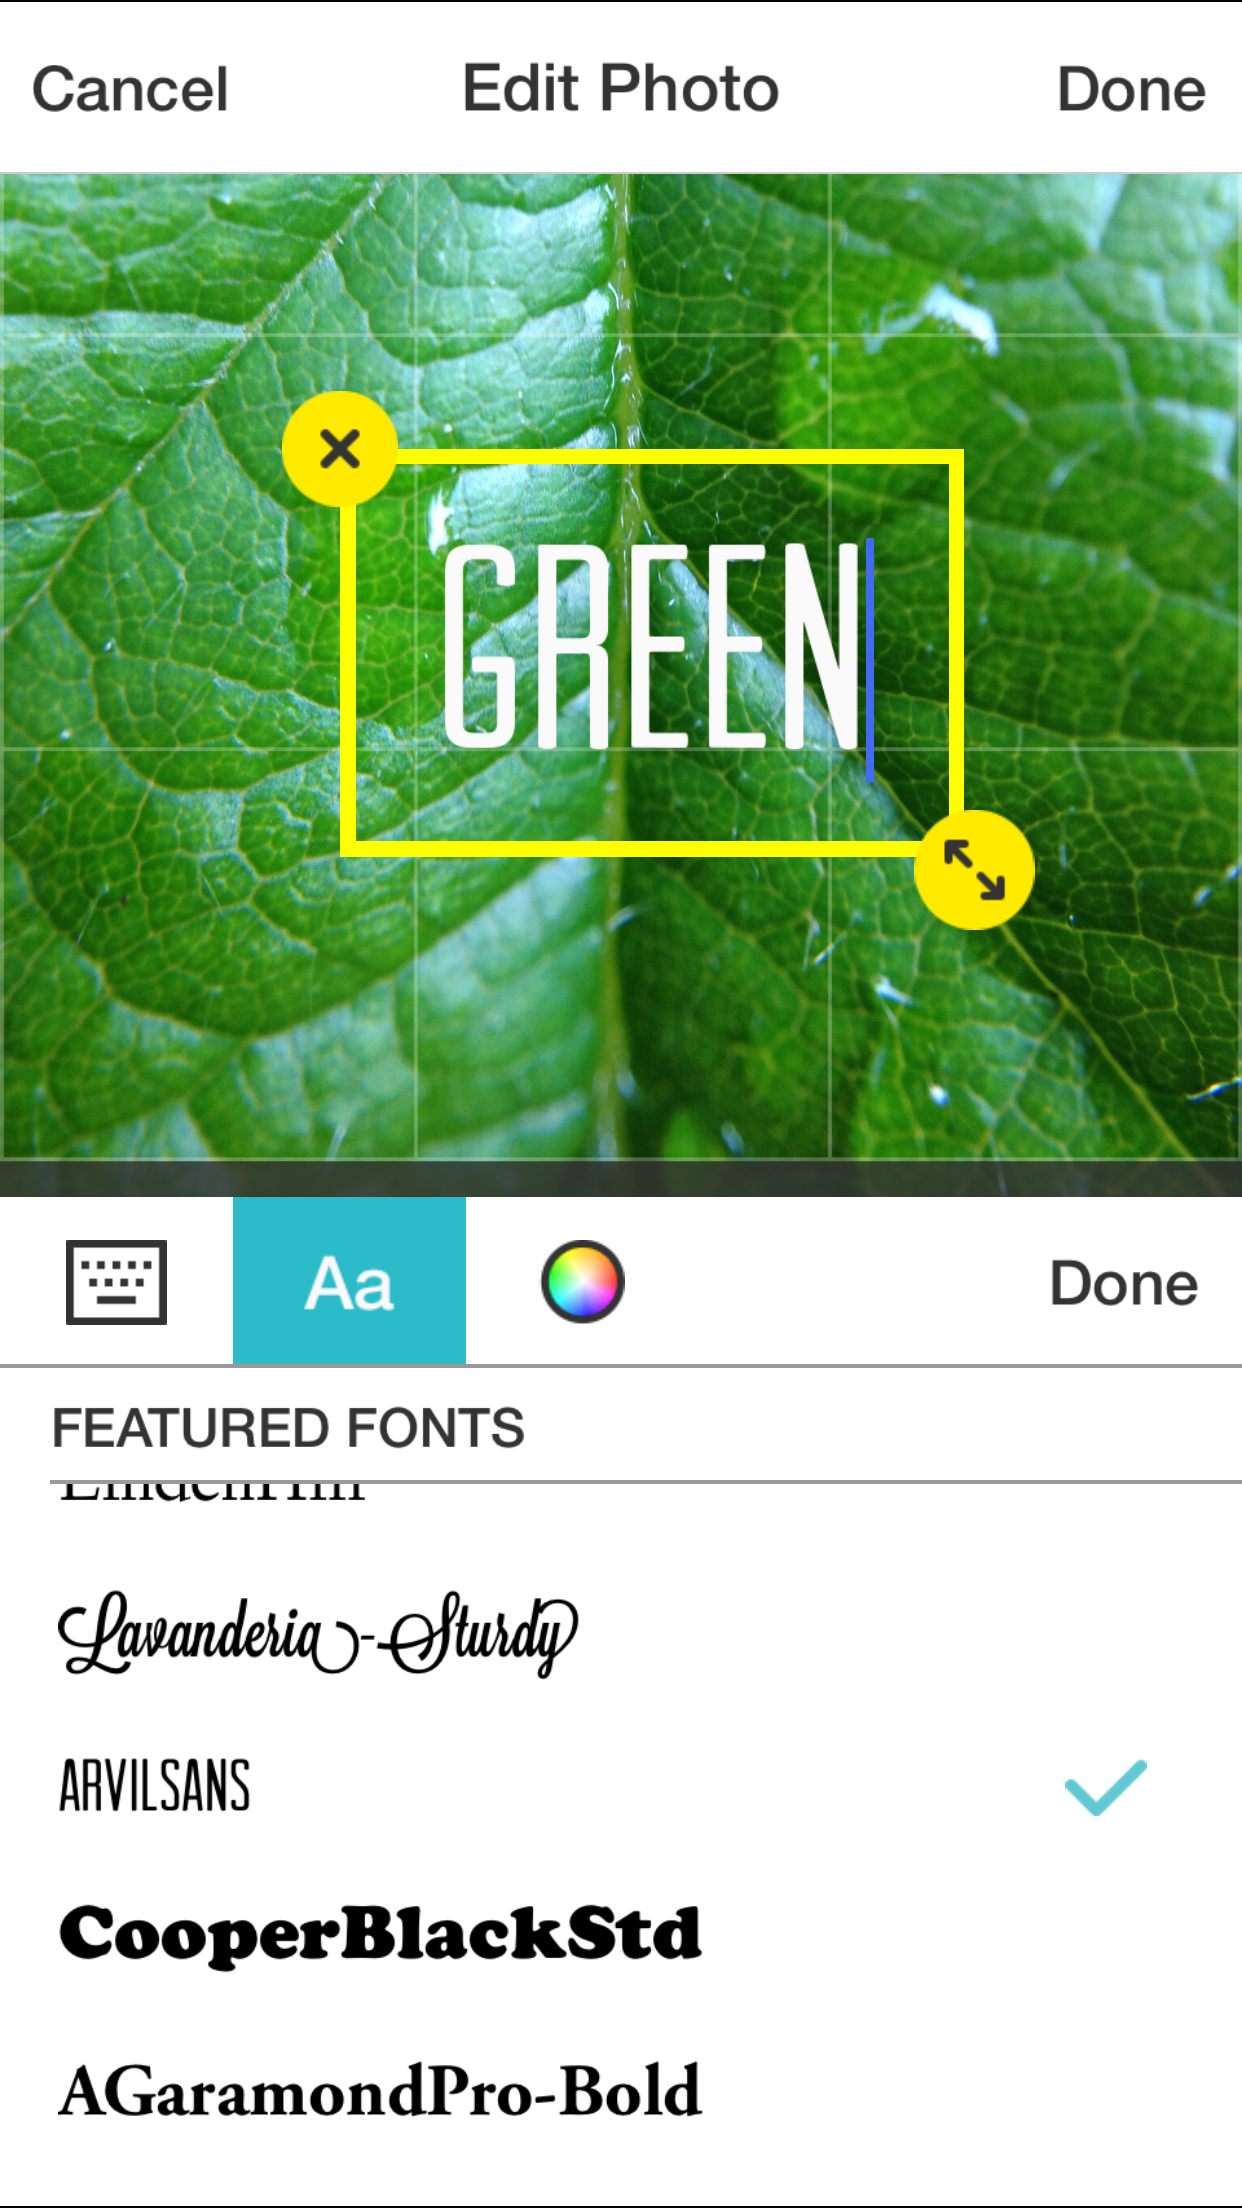
- Change Font
-
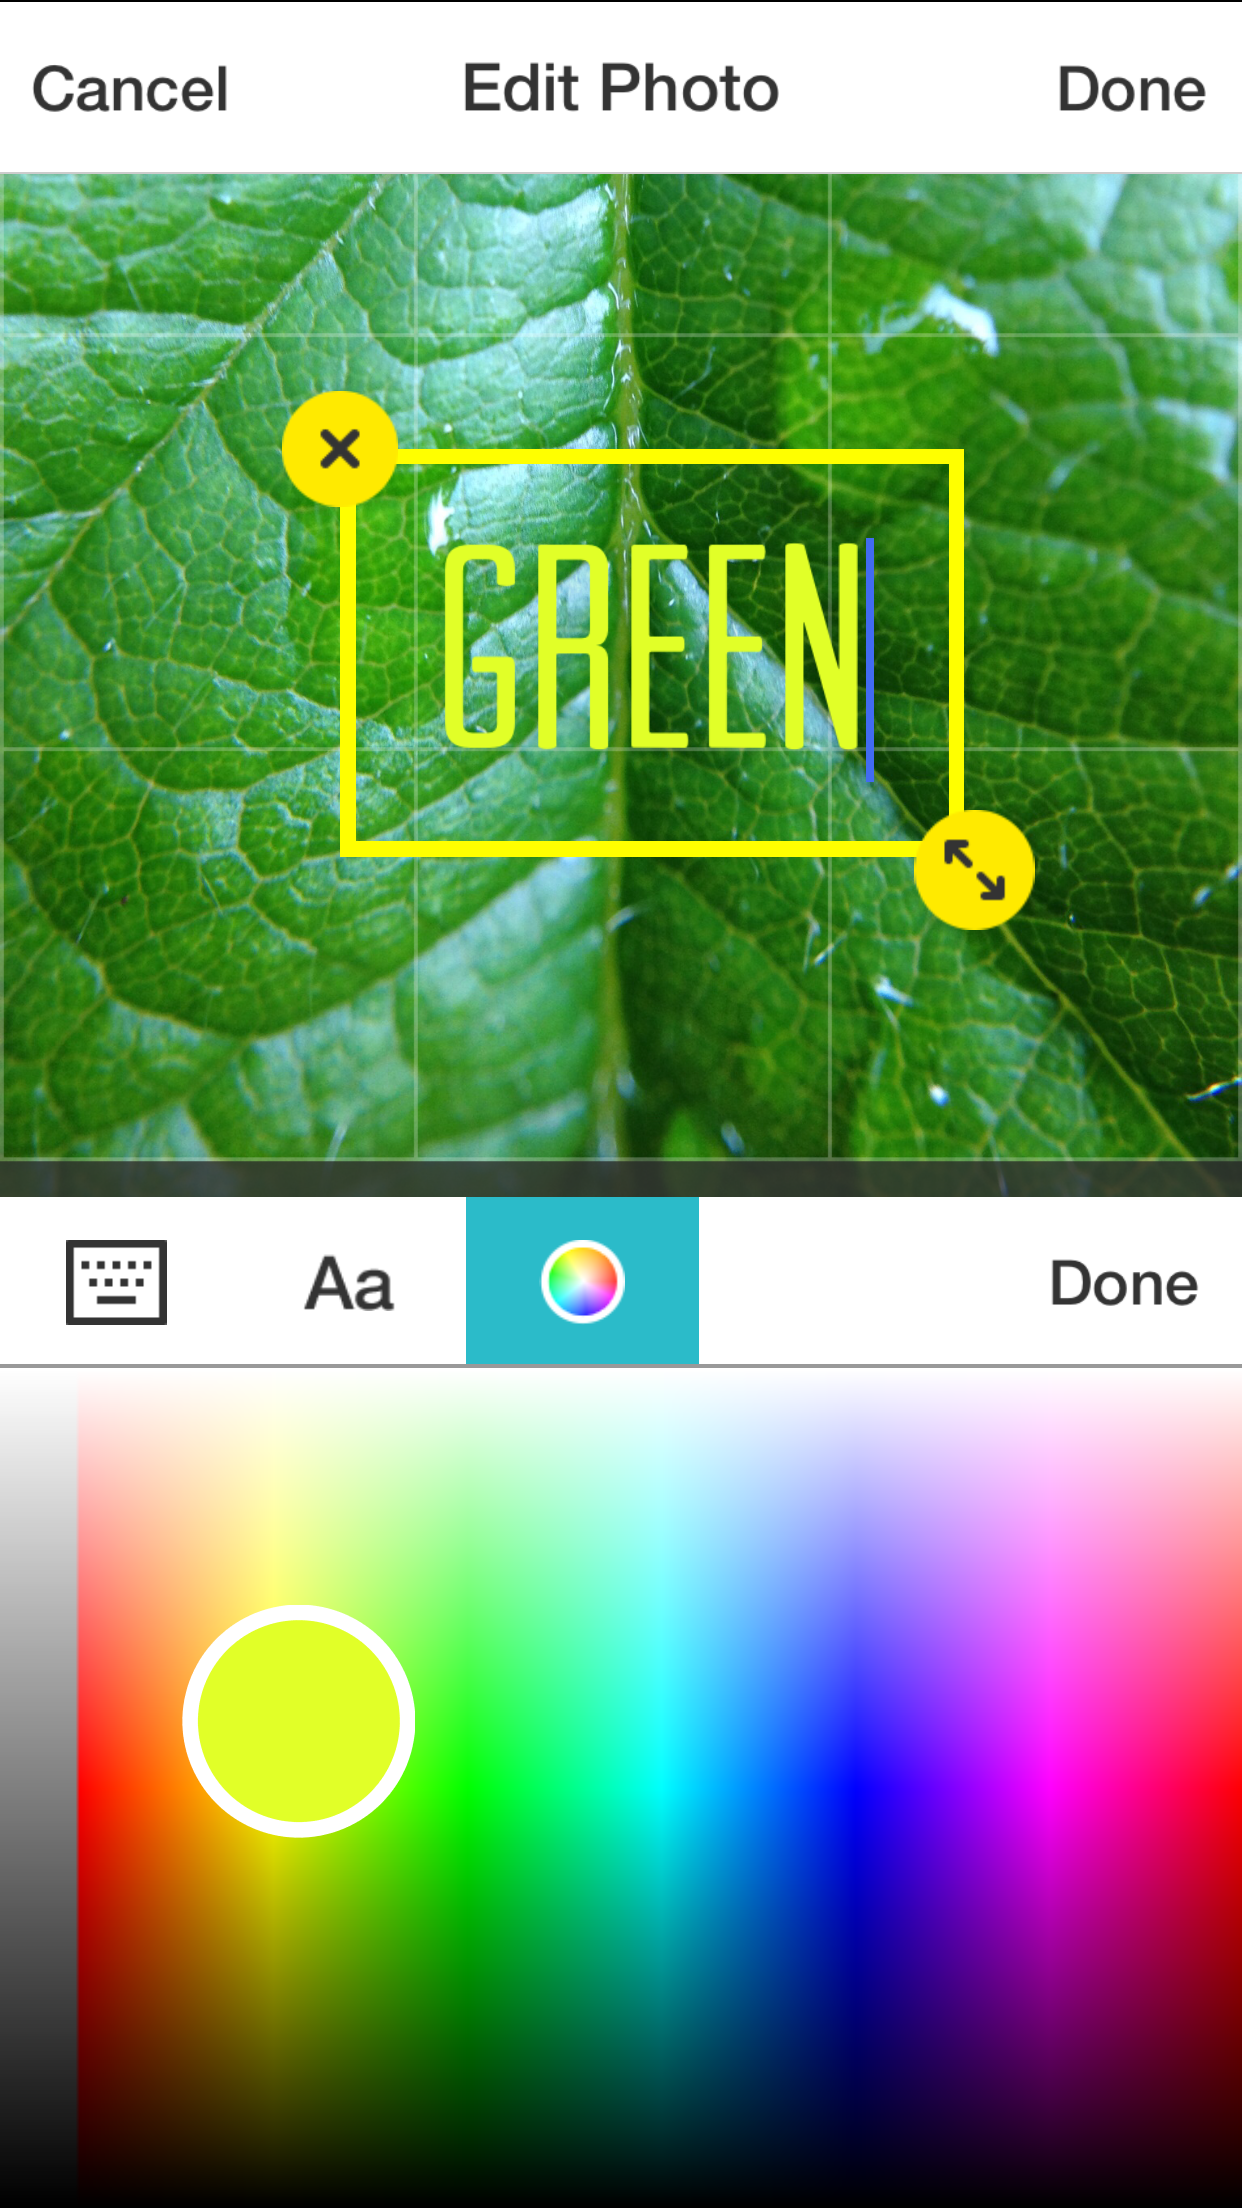
- Change Colour
-

- First Title
-

- Second Title

-

- Together
Tap on the Next icon when you are happy with your slide show.
Step 4
You are almost there. In this Preview screen you can well … ‘preview‘ how your slide show will play. Just tap on the play button.
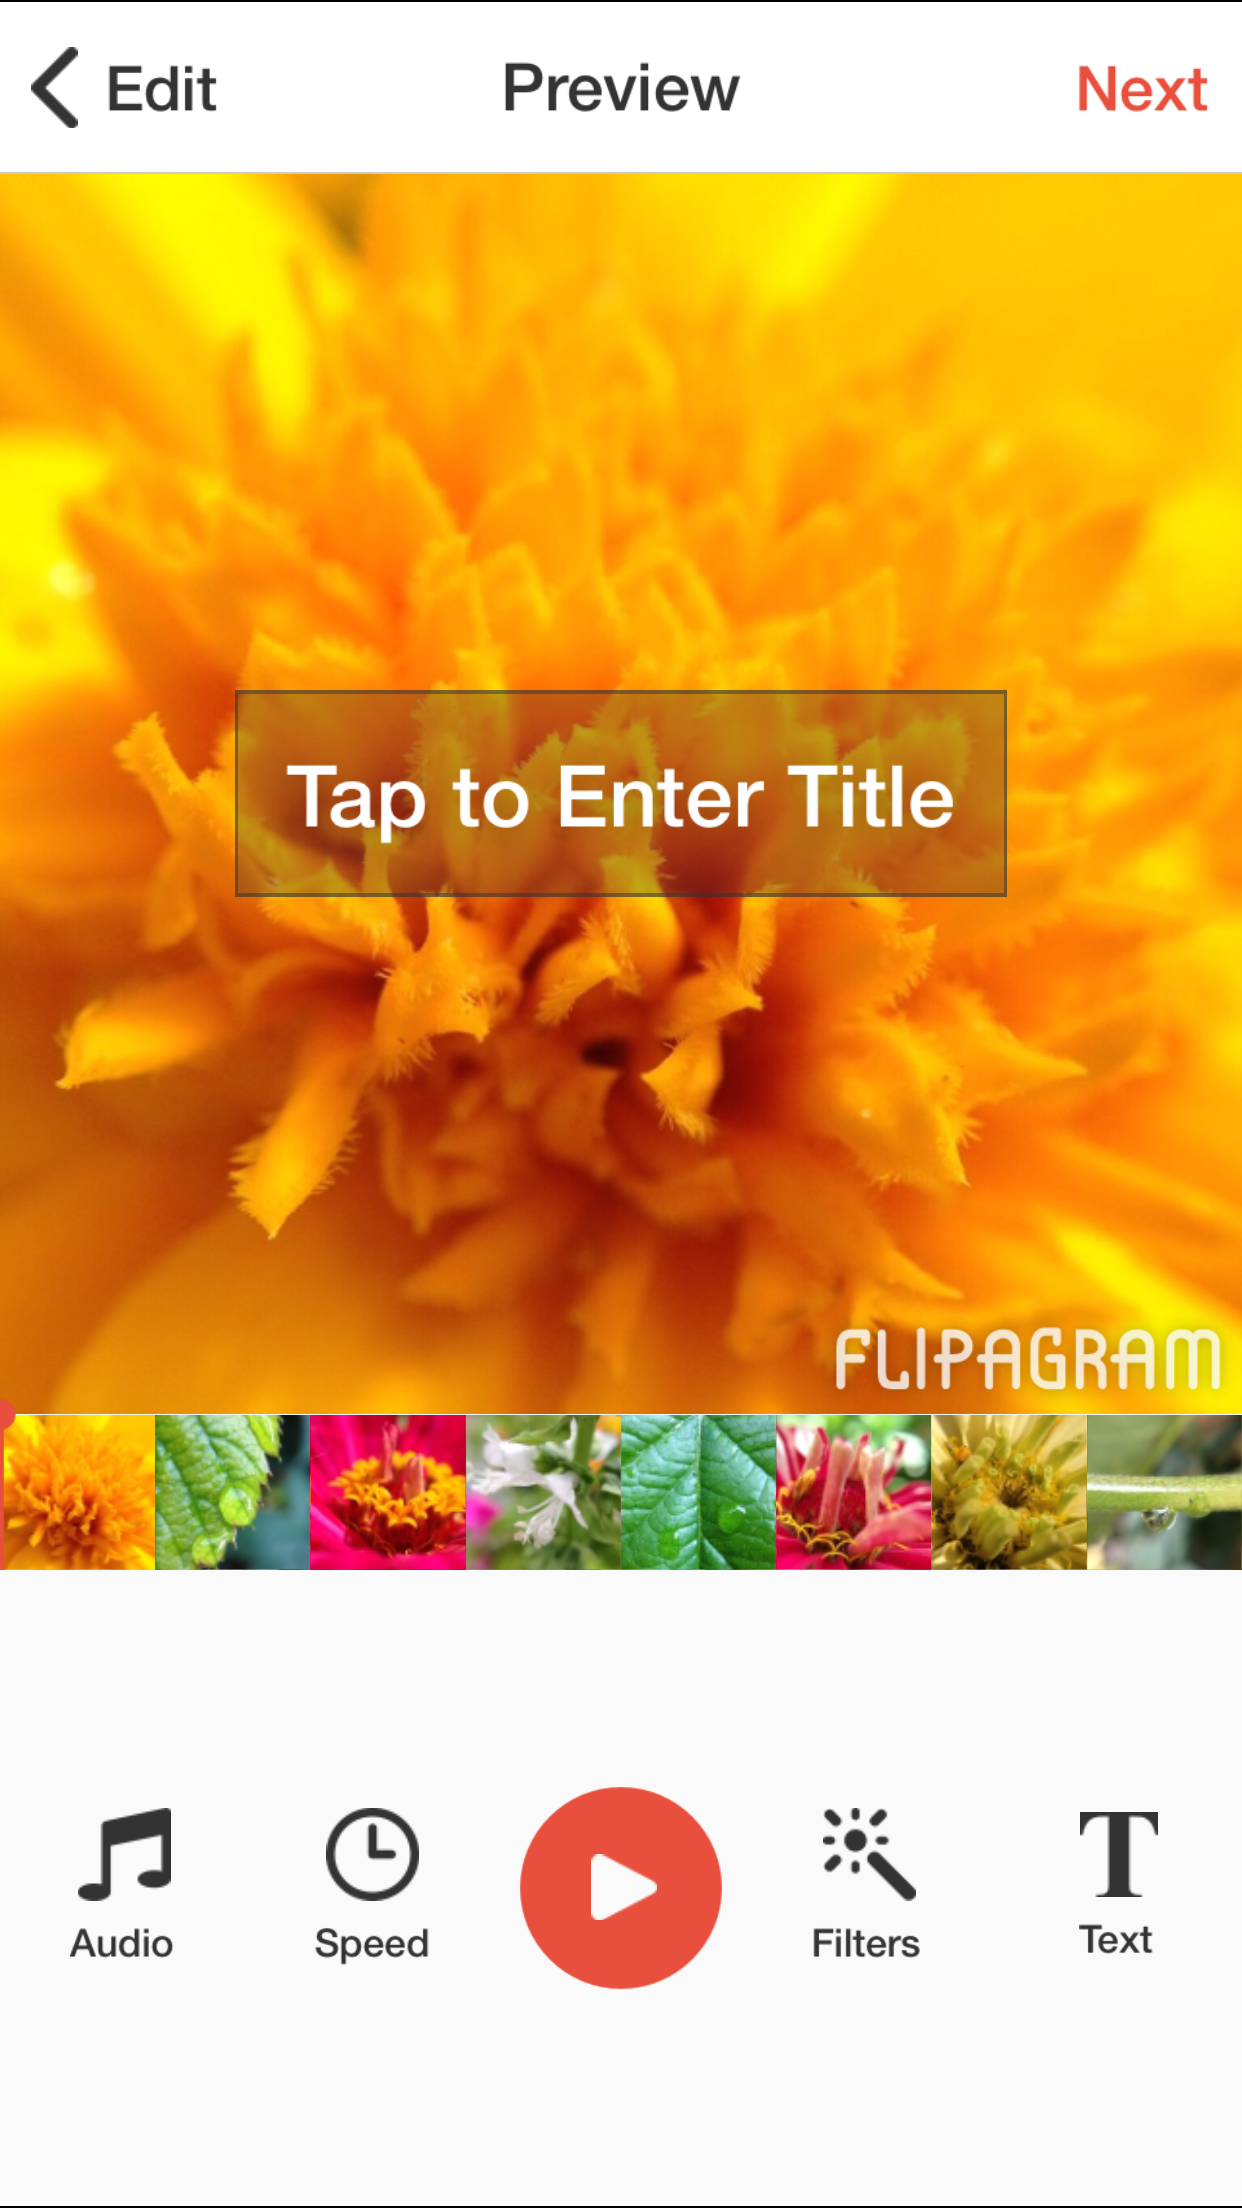
Preview Page
Additionally you can do also the followings:
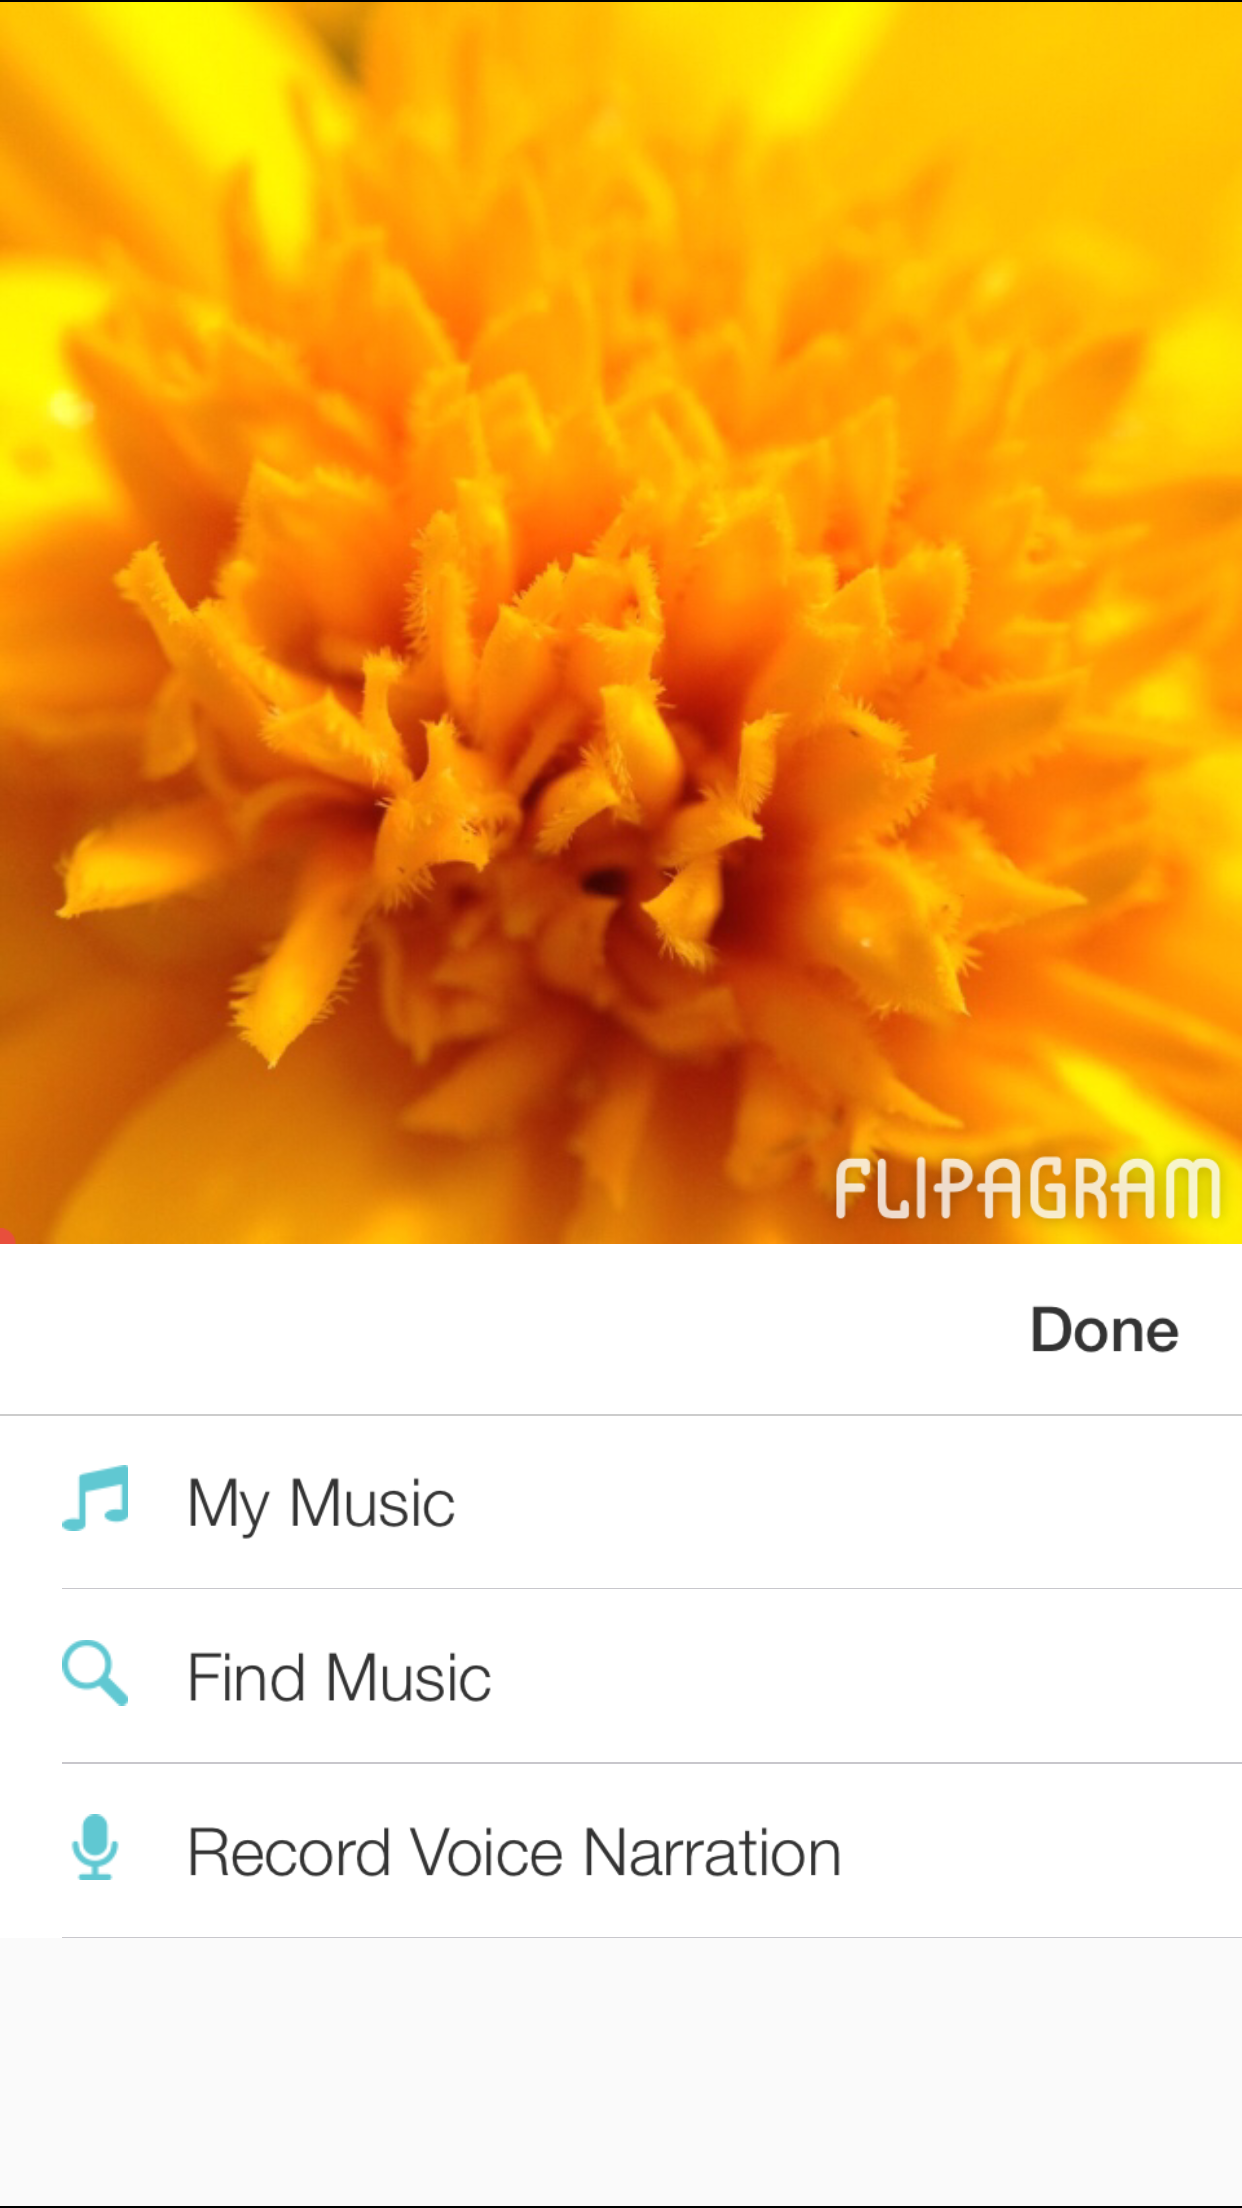
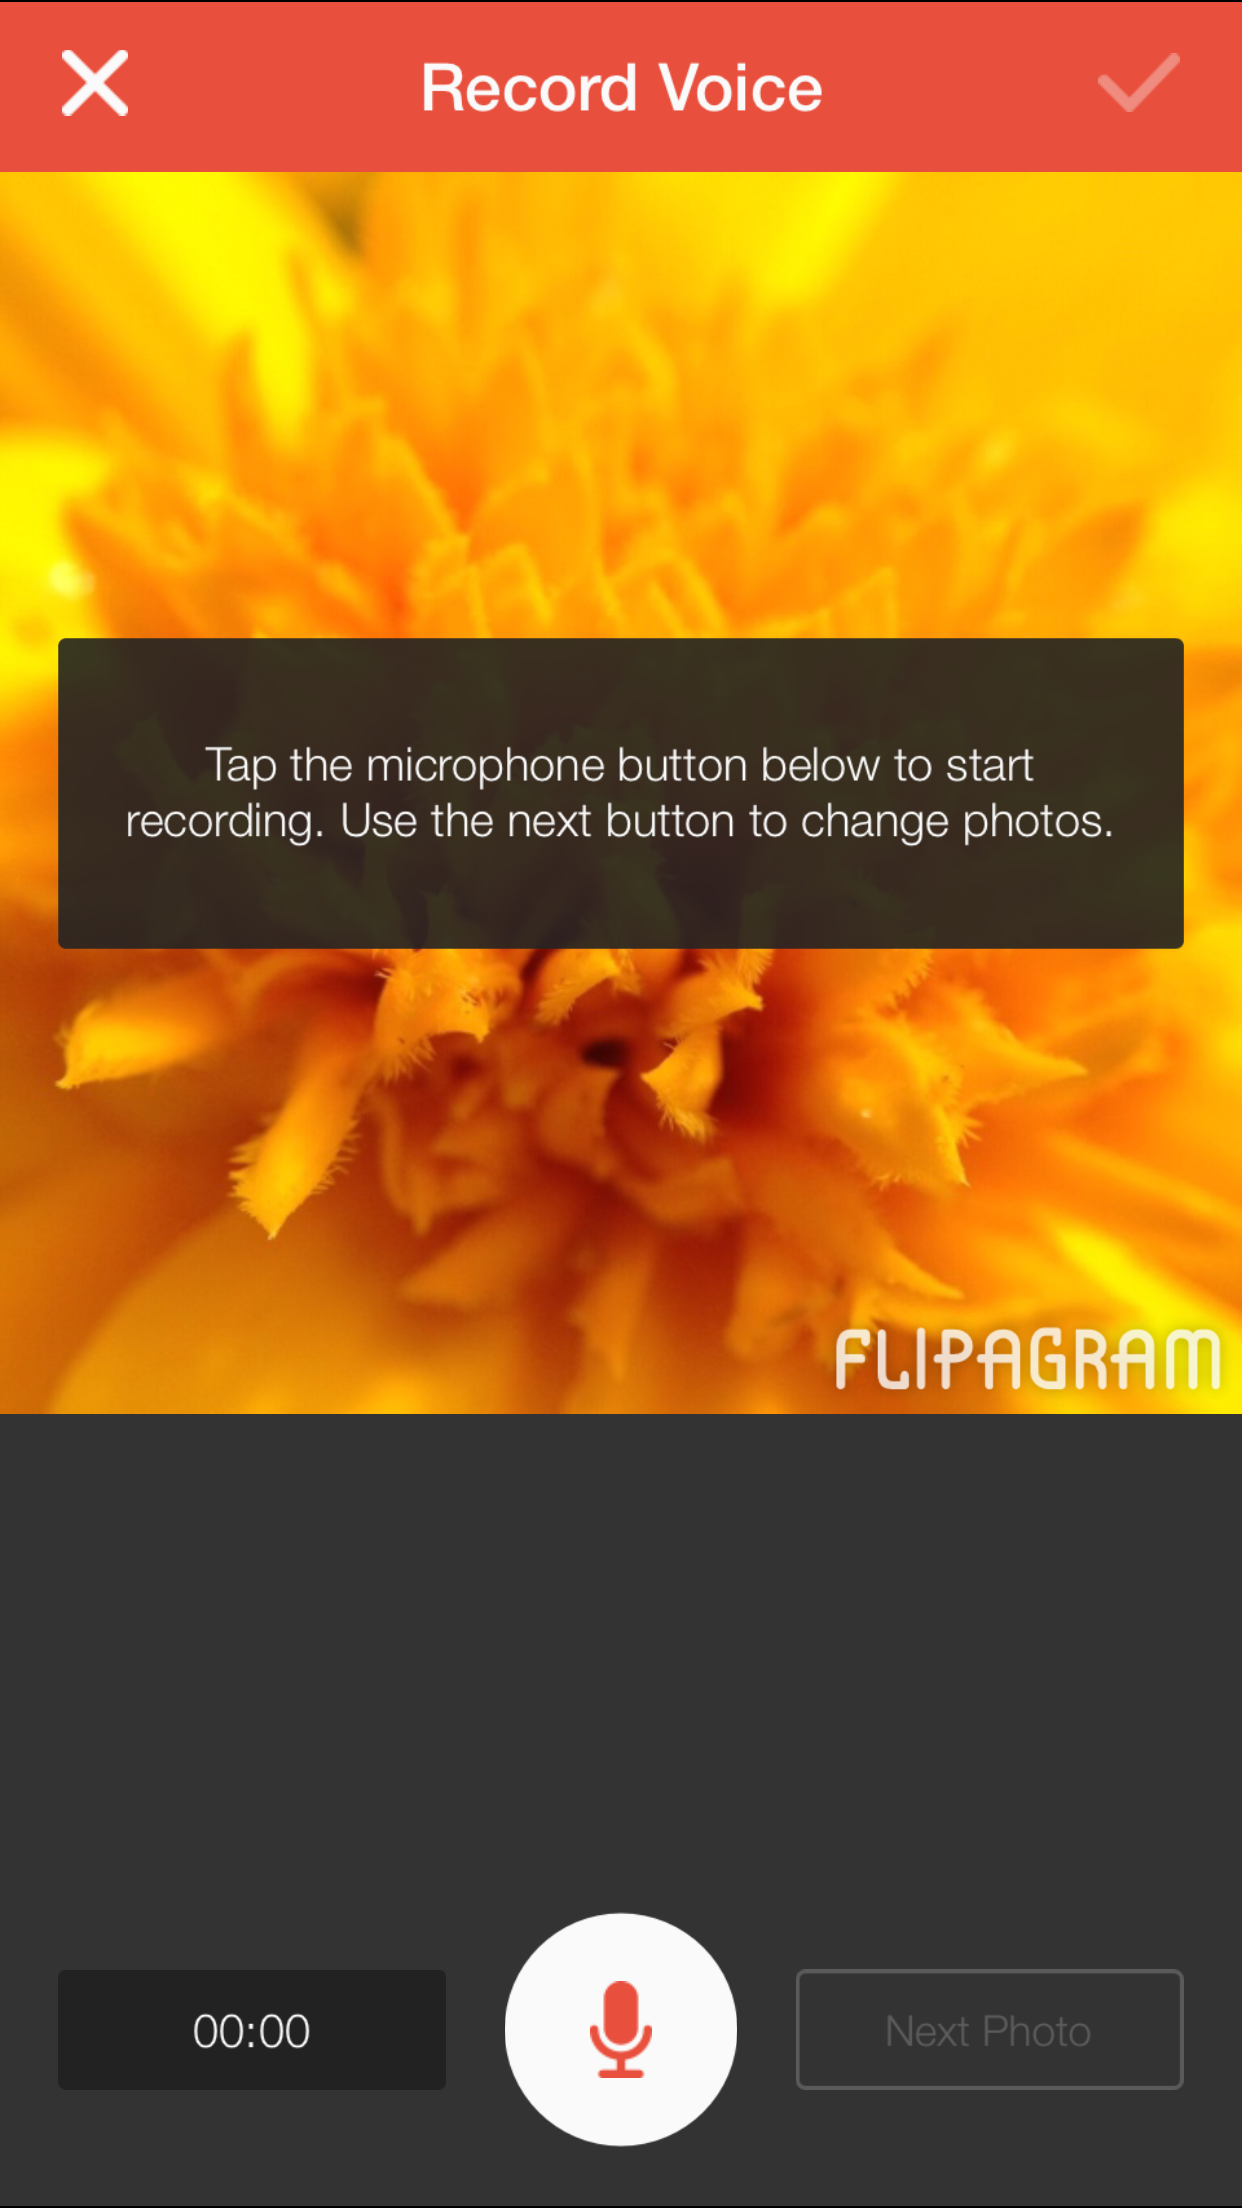
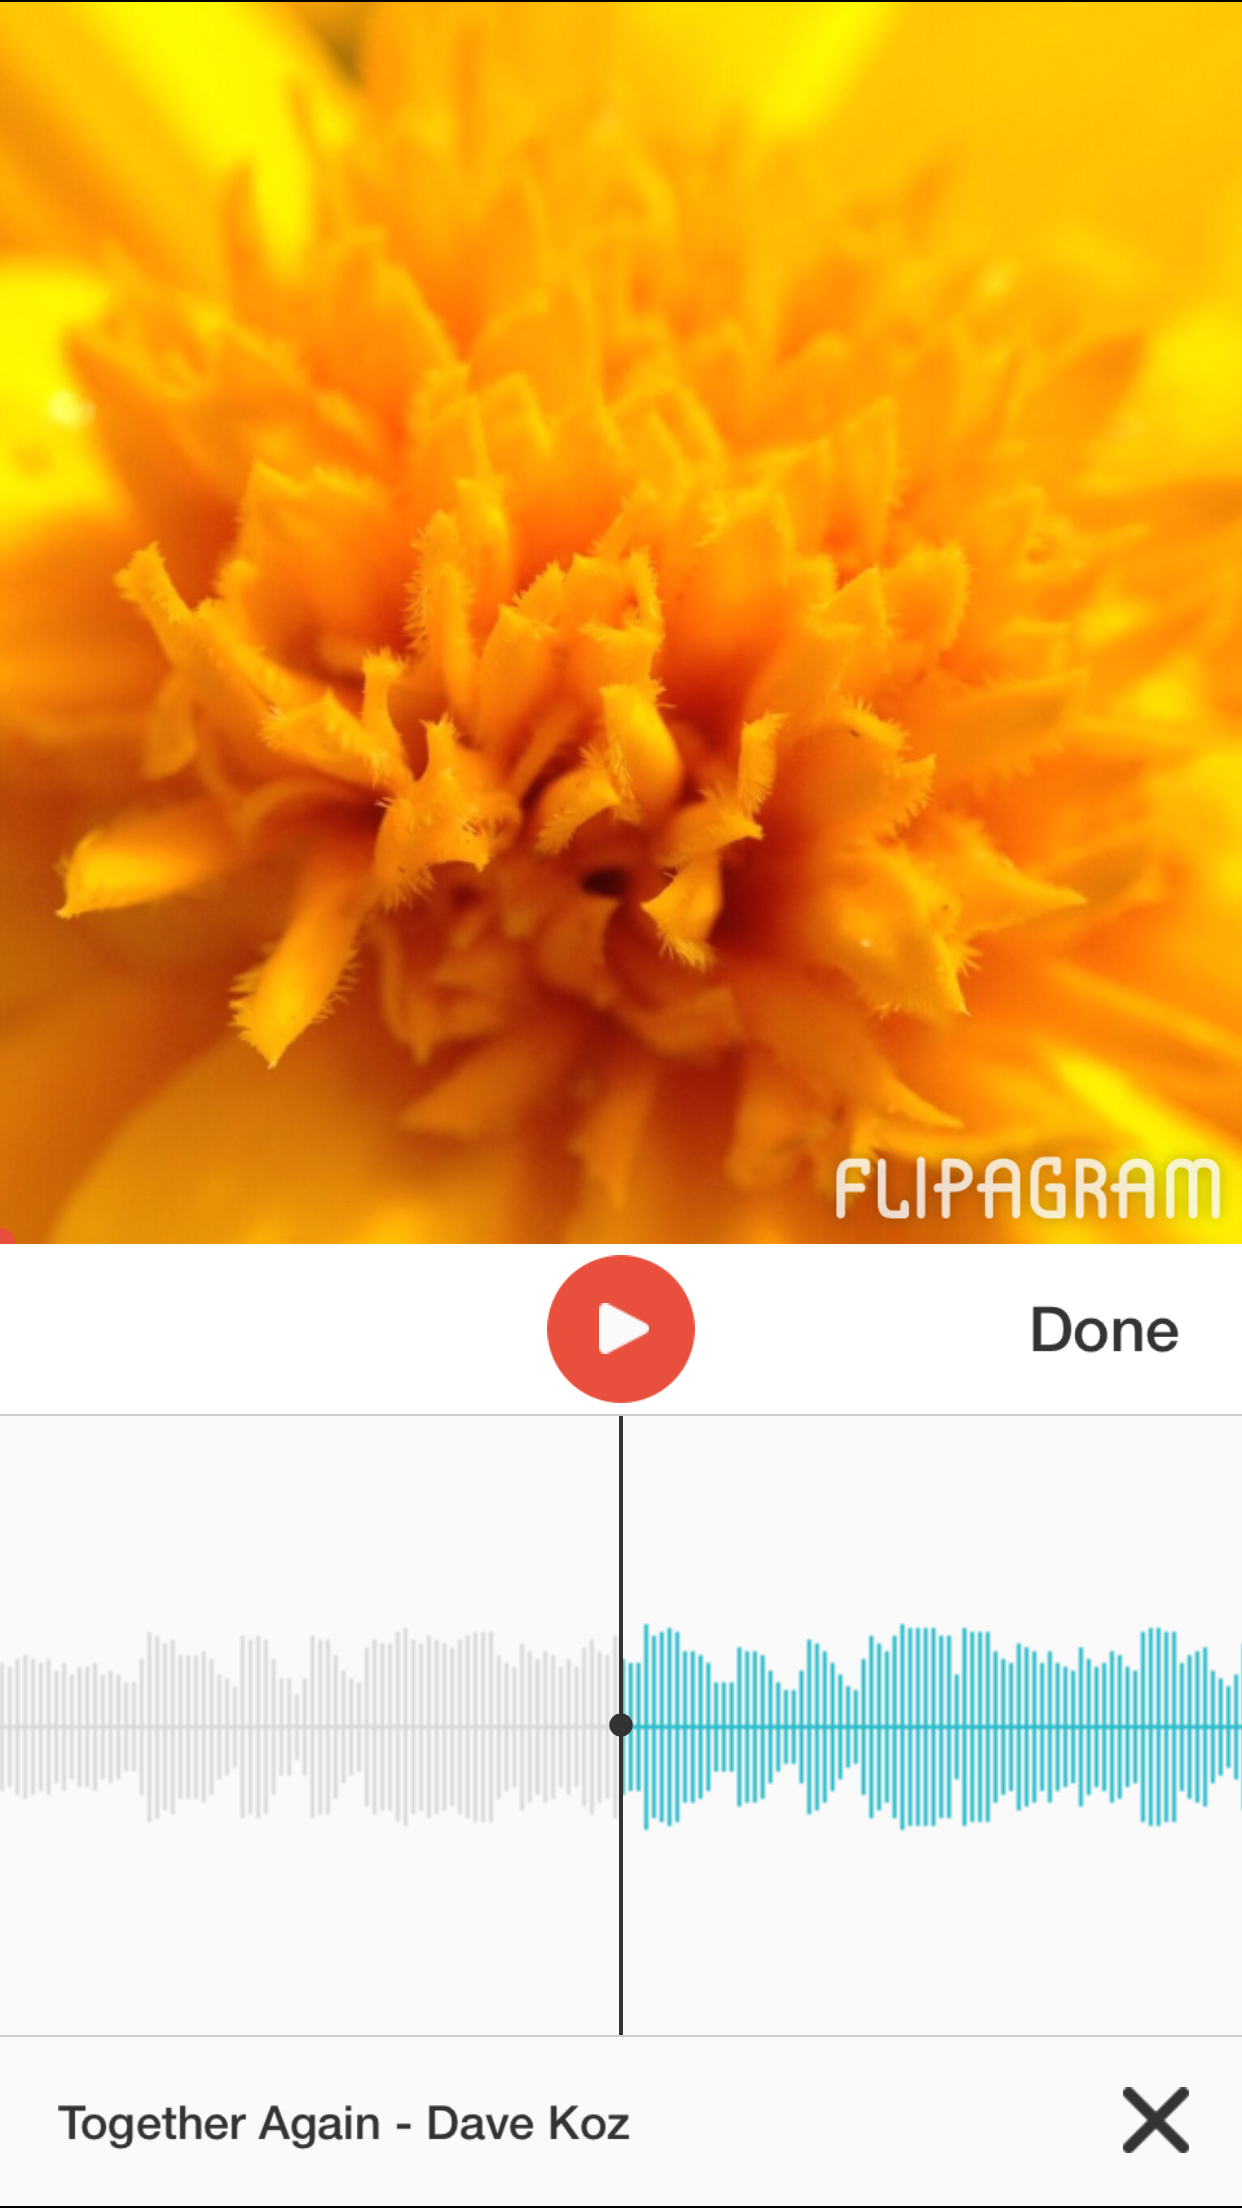
- Add Music or Voice: Yes you can add sound to your slide show. Tap the Audio icon and you will be able to choose to add music from your Music Library, to find music from the iTunes Store (use free 30 second clip) or you can even record your own voice! After you select the music you can then select at which point the music should start playing. You can do this easily by swiping left and right on the audio graph.
-
- Add Music
-
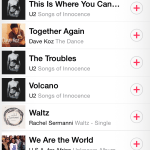
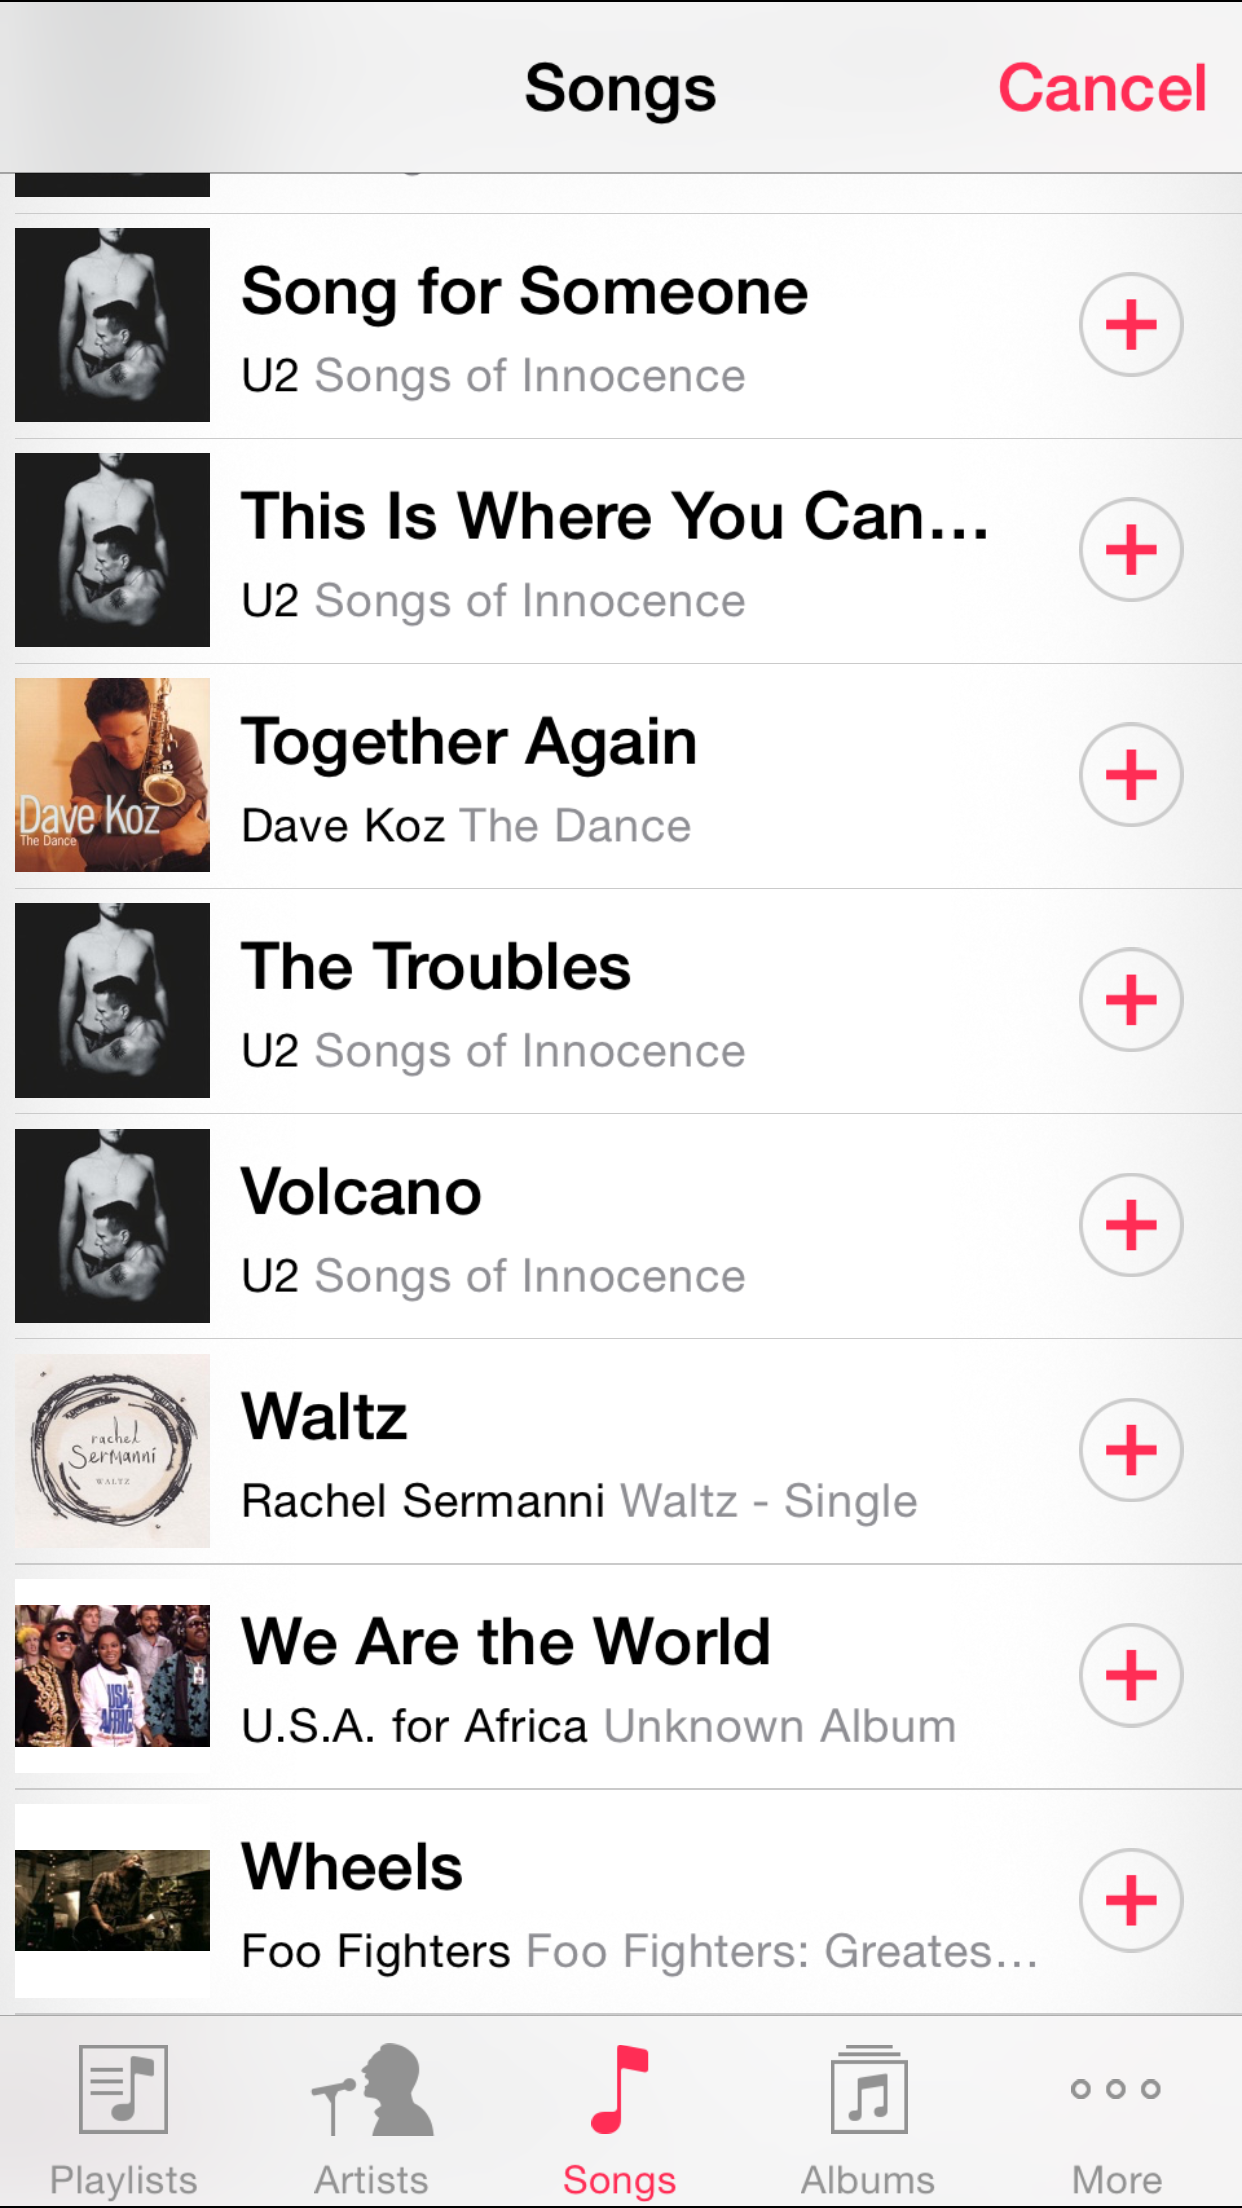
- From Music Library
-

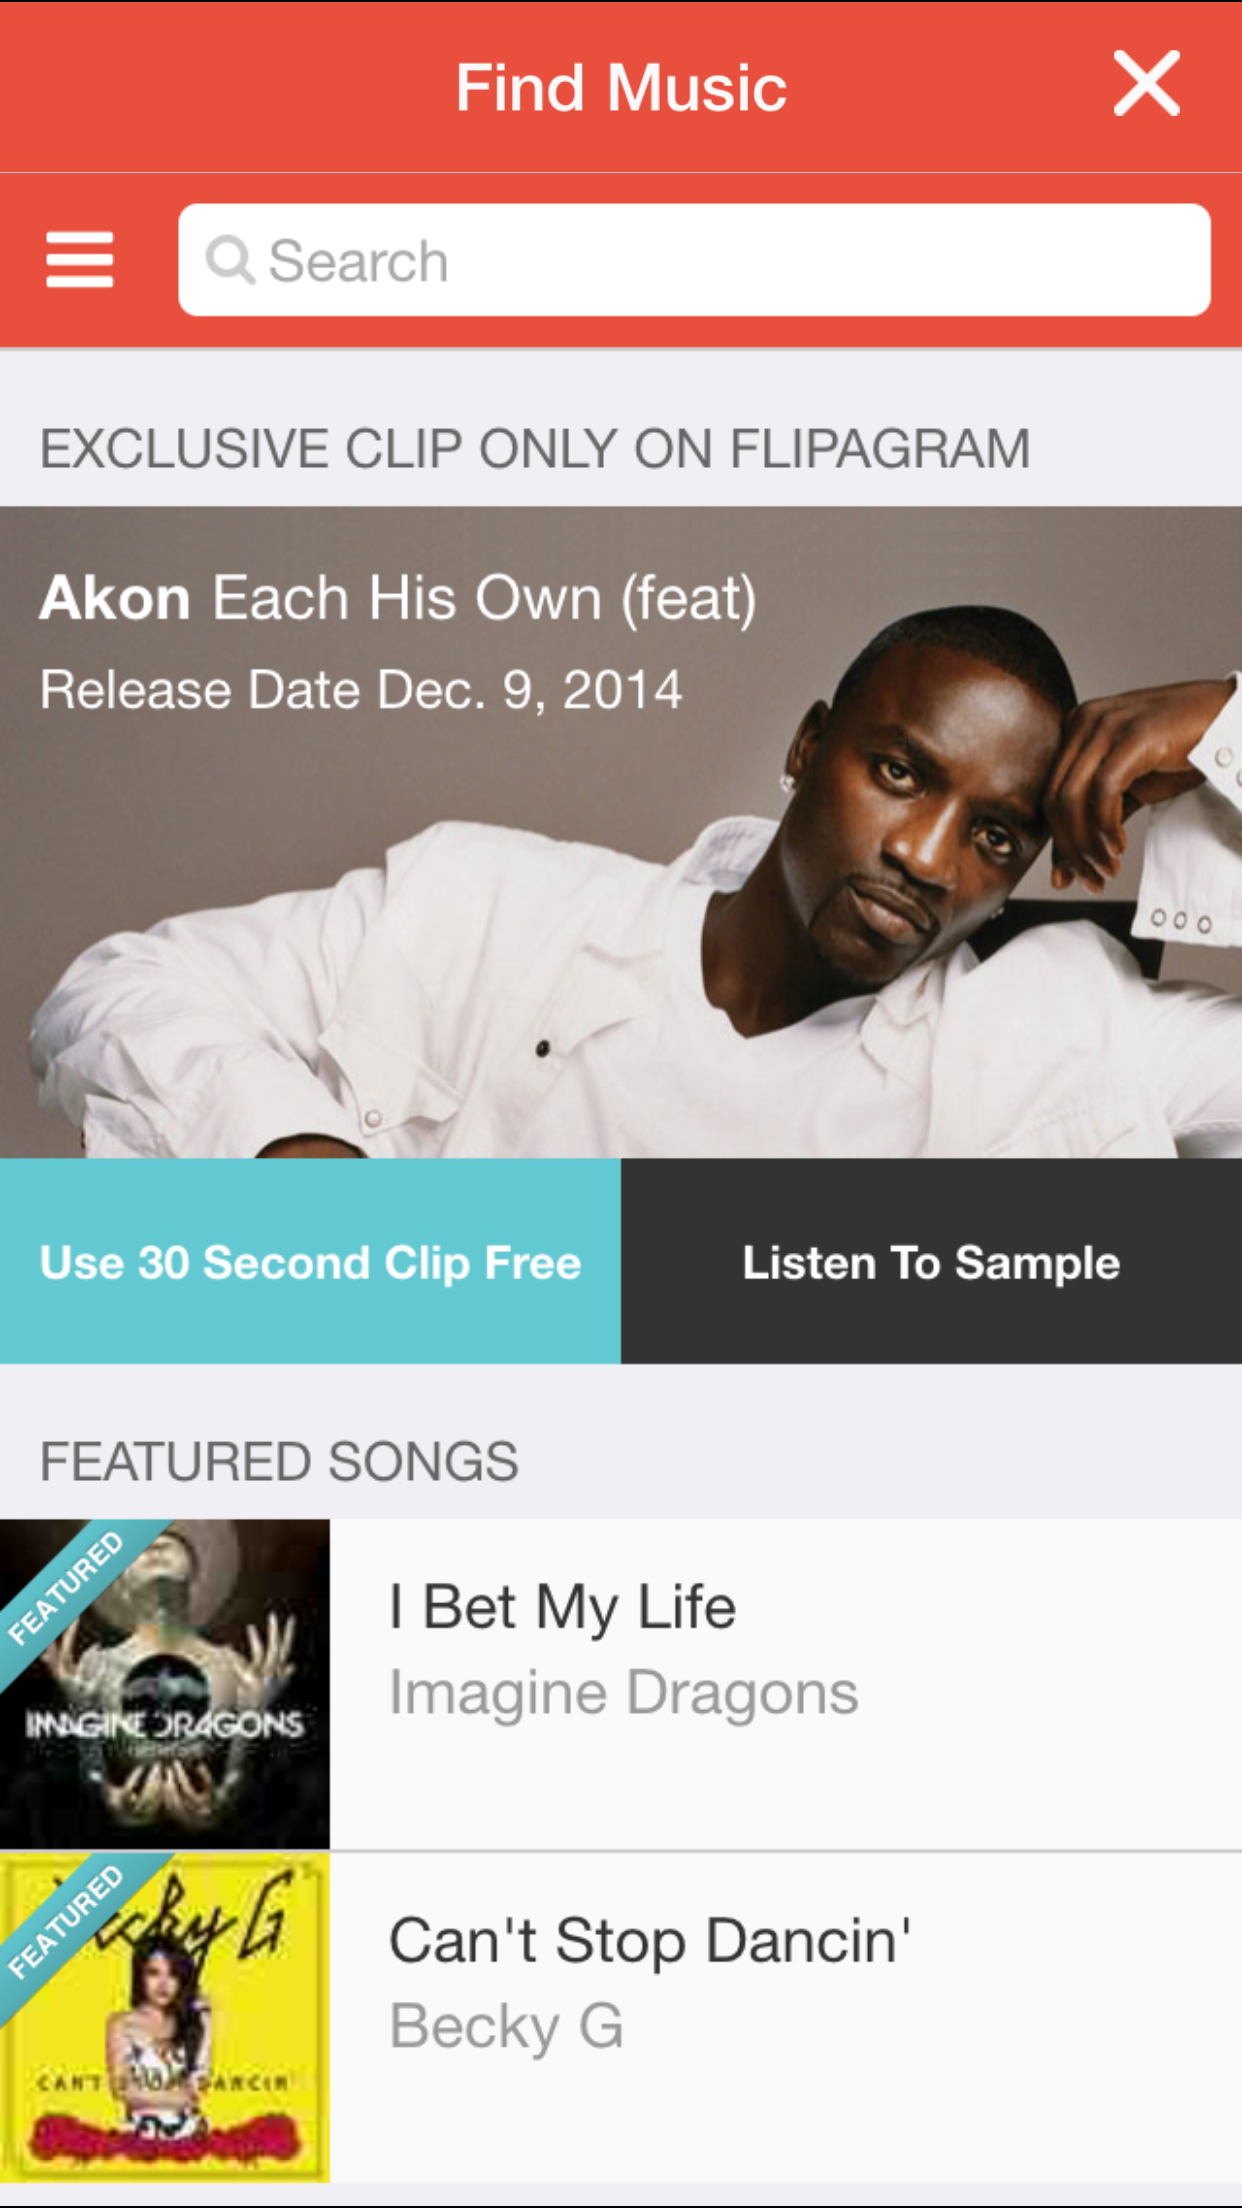
- Or Free 30 second clip
-
- Voice too
-
- Set where to start
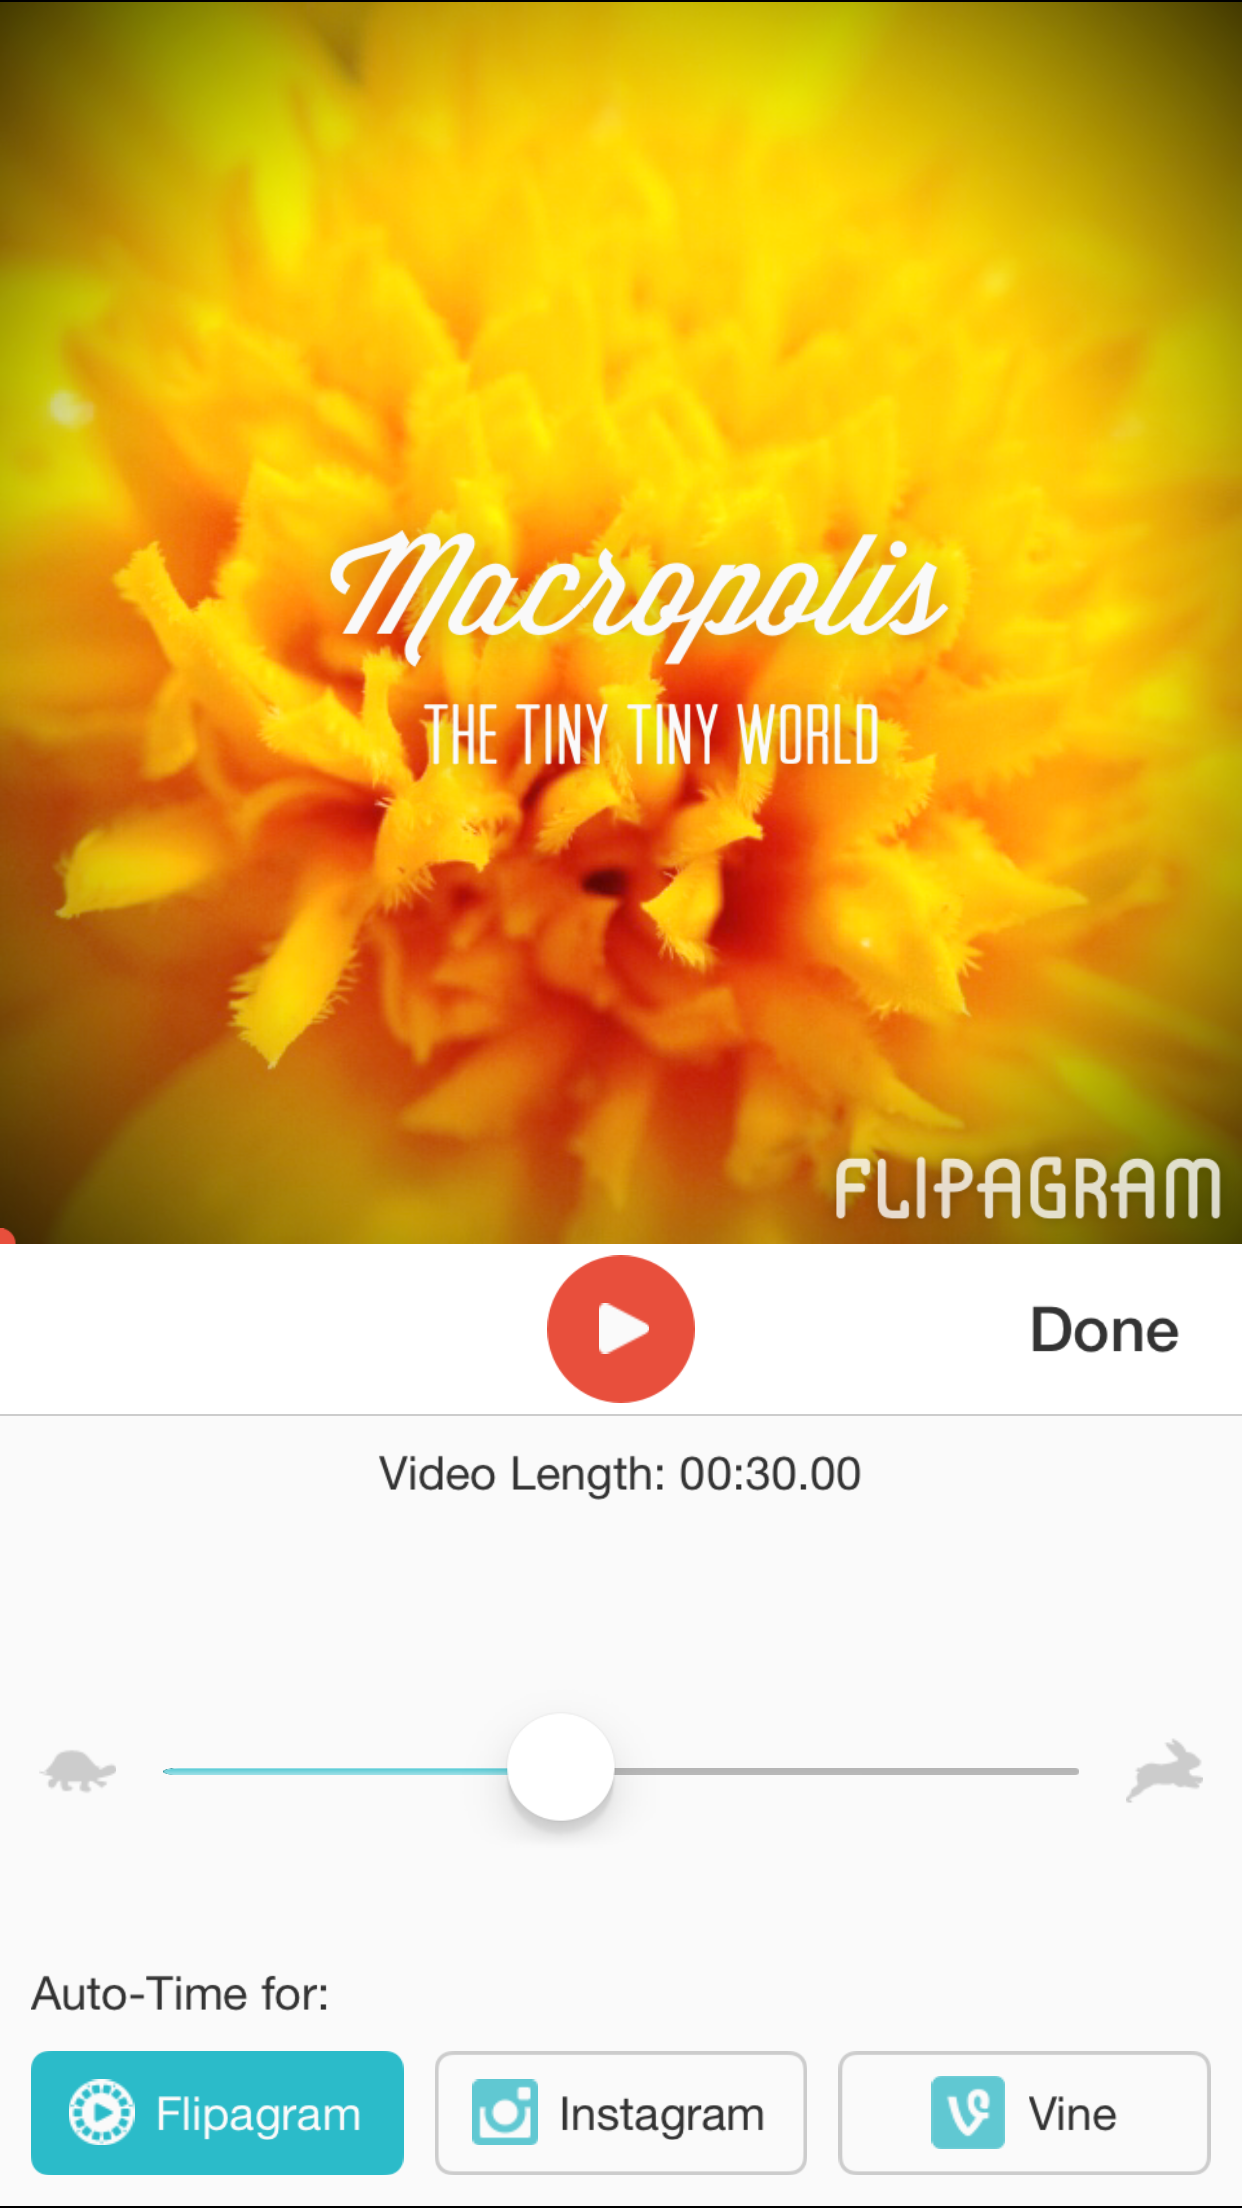
- Set your slide show to auto-time for Flipagram, Instagram or Vine: since Instagram only allows you to upload a maximum 15 seconds video, Flipagram can automatically change the timing of your slide show to match this (notice the time marker is changed when you do this). Basically it will divide how long each photo will appear evenly in the slide show, making it longer or shorter, to match the 15 seconds limitation. If you don’t set this option, Flipagram will set each photo to appear approximately 1 second, and there is no maximum time, you can add as many photo as you want.
-
- Auti-Time – Flipagram
-
- Auto-Time for Instagram

-
- Auto-Time for Vince

-
- No Auto-Time
- Add a Title: You can add a title to your slide show, which will be shown in the beginning. Note that as you can see from Step 3, you can add title to the photo individually.
Add Title
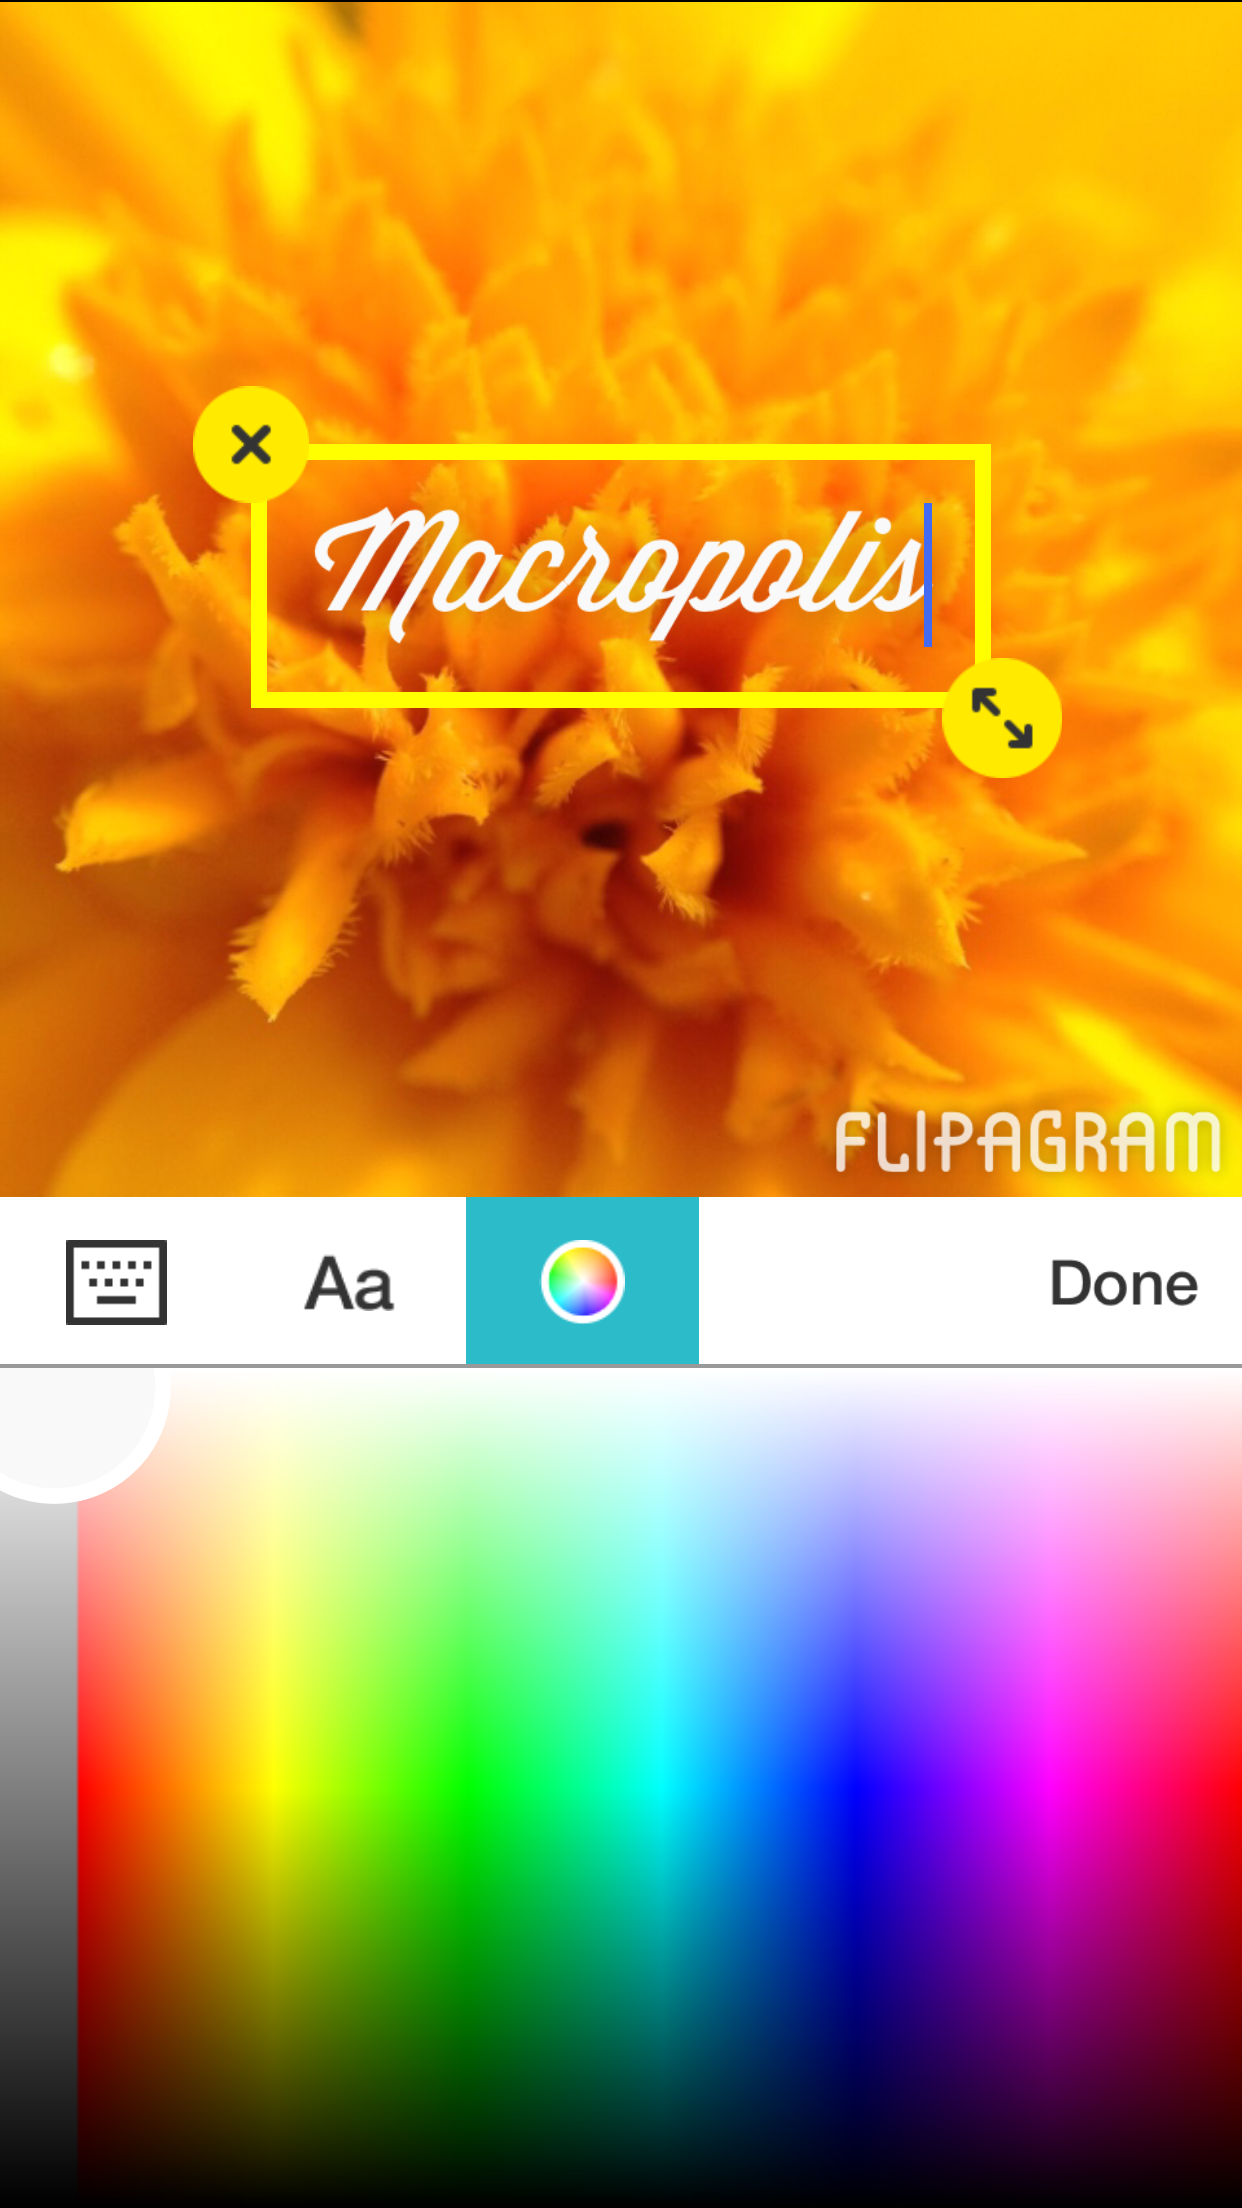
- Add Filter: Flipagram features 16 video filters that you can apply to your slide show. It’s very easy to do it, just like with Instagram, just choose any of the filter and you will see the effect applied to your slide show immediately.
Filters
- Get rid off Flipagram watermark/logo: by default Flipagram will add ‘Flipagram’ watermark on every slide show created using Flipagram. You can get rid off the watermark, but you have to pay for it 🙂 Or you can try this trick to ‘cut it off’ for FREE! The advantage of paying for it is that then you can ‘add’ your own watermark.
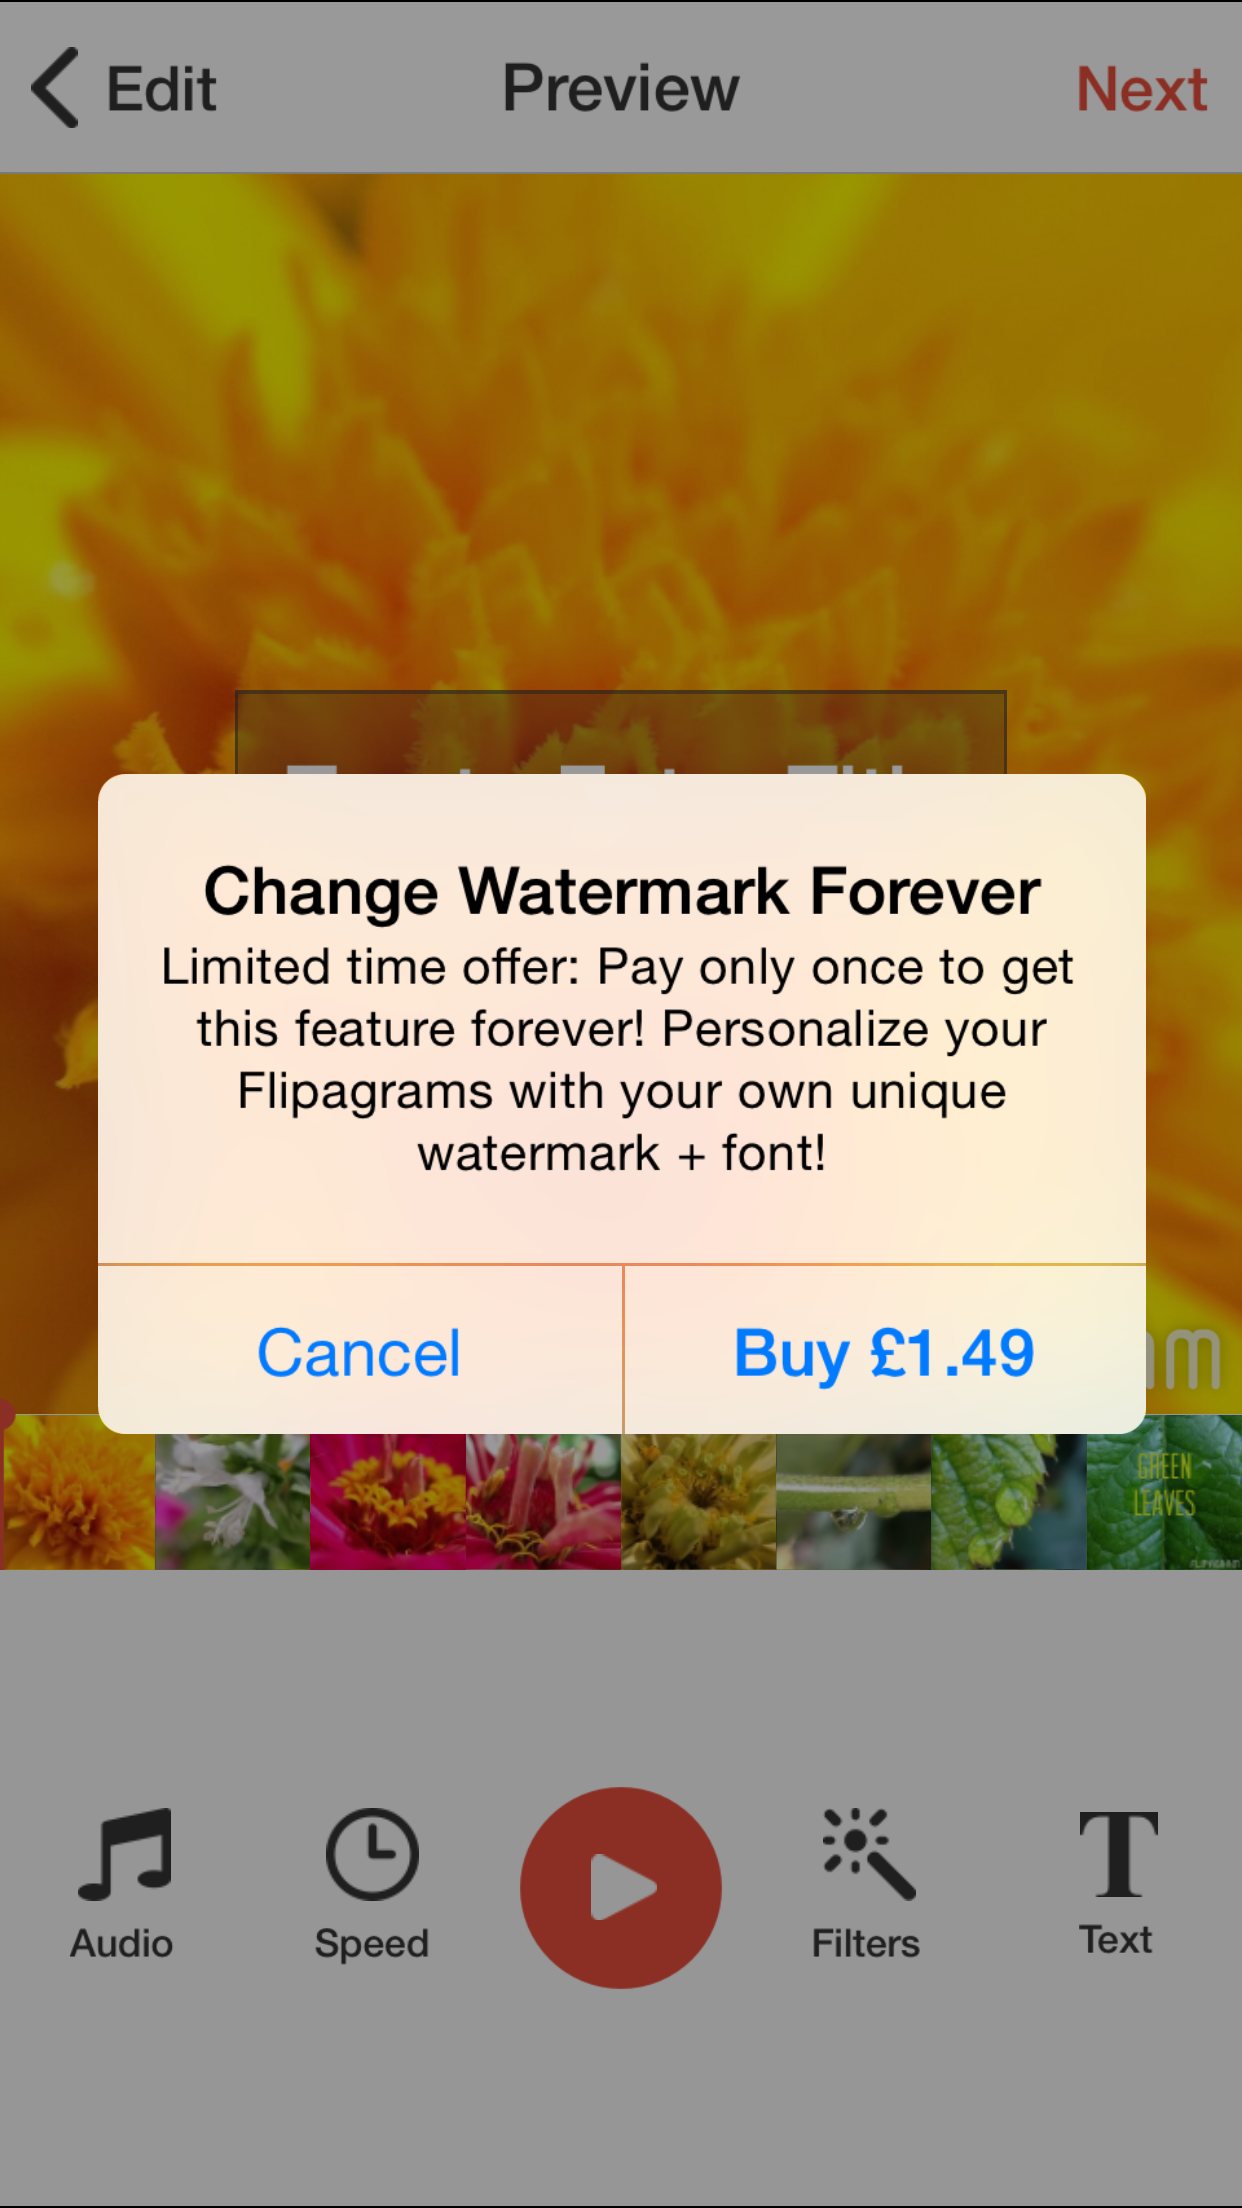
Pay to get rid-off Watermark
When you are happy with your slide show, tap on the ‘Next‘ icon to finalise the creation of the video.
Step 5
Add a caption to identify your Slide Show, tap on Next, and it’s Done!
Your video slide show has now been created and saved in your Flipagram’s own album as well as in the Camera Roll (if you turn on Auto-Save in the setting).
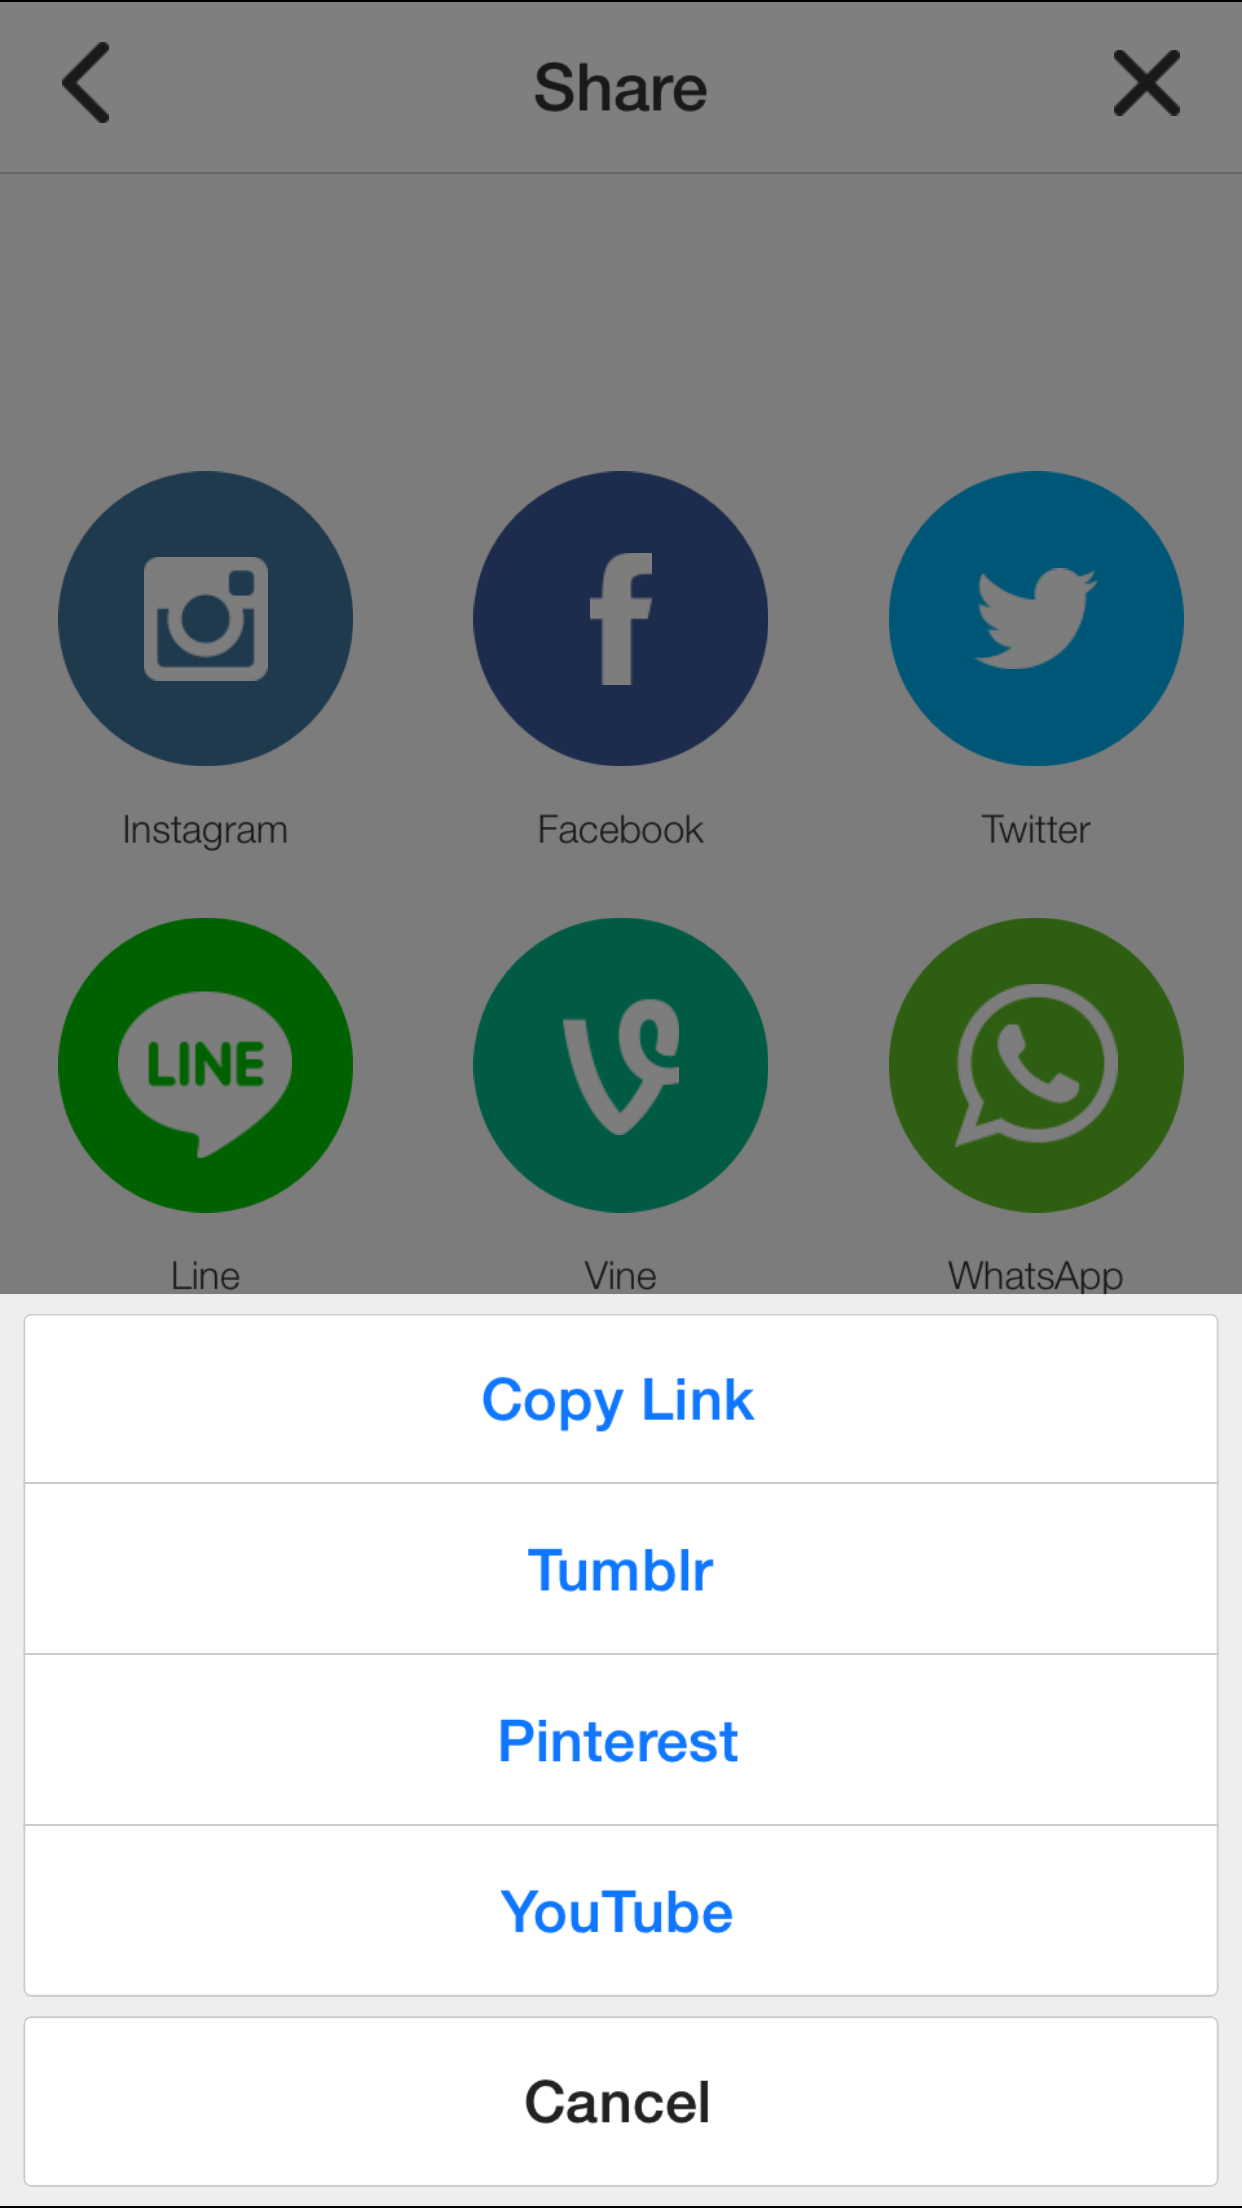
You can now share your creation to the world!
-
- Add Caption

-

- Share

-
- Share More
Here is the resulting Slide Show that I created above:
If you have any question or comment about this tutorial or youtube cameras in general please do not hesitate to write it in the comment below.
And if you found this tutorial useful for you please don’t be shy to share it to your friends and followers, the sharing buttons are just on the left hand side, and let me thank you personally for that.


5 Easy Steps to Create Photo Slide Show using your iPhone http://t.co/BXKJGhHUfs
5 Easy Steps to Create Photo Slide Show using your iPhone http://t.co/w0nbNOpBq1
5 Easy Steps to Create Photo Slide Show with your iPhone http://t.co/KVIZ5cjiBg vía @moblivious Congrats Chris! Didn’t know about it!
RT @PhilGonzalez: 5 Easy Steps to Create Photo Slide Show with your iPhone http://t.co/KVIZ5cjiBg vía @moblivious Congrats Chris! Didn’t kn…
RT @PhilGonzalez: 5 Easy Steps to Create Photo Slide Show with your iPhone http://t.co/KVIZ5cjiBg vía @moblivious Congrats Chris! Didn’t kn…
How do u post the flipagram on instagram
You save it to your Photo Album or share it directly from Flipagram, have a look at the last bit of my tutorial.
How do I tag my friend to the my flip agar I have made tnks
You mean in Instagram?
Are you kidding? is it borobudur temple ? 😮 and bromo mountain ? are you indonesian ?
Are you kidding? Of course I’m an Indonesian 🙂 Namanya juga udah Prakoso gitu loh 😉
I see flipagrams that my friend have created that go for 3 to 4 mins. How do I do this? Mine only go for 30secs. Please help!!
Hi Lorie,
You can use the Speed slider, which will be available after you pick the photos. Slide it to the left to make the slide goes longer (maximum 3 secs per photo). Let me know if you need more help.
The audio sounds during the preview but not when I finalize it. What should I do?
Where do you get the music from? Is it your own music stored in your iPhone?
[…] has got to be one of the most used Slide Show maker in the iOS world. The latest version has certainly shown its maturity in this somewhat crowded app […]
5 Easy Steps to Create Photo Slide Show with your iPhone http://t.co/5oSoQKM4i3
5 Easy Steps to Create Photo Slide Show with your iPhone http://t.co/FDbBmpaY8k
Can I add more than one song to my slideshow? I want to have multiple songs play back to back for my slide show. Is that possible?
Unfortunately not. What you can do is to put together your background music in other music editor and use the compilation in Flipagram. I know it’s not ideal.
hi,i’ve got ipad and i used this app on it but i couldnt find any place to recorde my own voice,and i dont even know hot record my voice and then put it on music collage,so could you guys help me?(by the sorry for my worse english typing)
How do add more pictures to the existing video that has been completed
Just load the video, and add more photos to it.
i have videos and photos in my flipagram and i have selected a song but when i play it the somgs come out when the videos are on but i dont want it to come when the videos are on i only want it on the pictures:/ how do i do this
You can’t it’s all or nothing.
How many songs can be added to flipagram
Only one.
When I try to add music it tells me to download my song in itunes to my device? How do you do that? That part is not covered in your tutorial.
Do you have that music in your iPhone? If not you need to upload it first.
Yes. When I click on my music button which is itunes, I can see all of my songs. On an android, your songs are on your phone, but with iphone they are in itunes.
You can see them but are they really ‘in’ your iPhone? If you go to your Music app, can you actually listen to it ‘offline’? If not then you need to download them first.
I’m trying to add moments to my video but I’m getting ‘fetching moments’ and it keeps spinning, I’ve closed the app and restarted but still keeps fetching…any suggestion?
Are using iCloud Library? If you do, it might be because it’s trying to download it from the iCloud Server. Try to open and play the video first via the Photo app.
Hi, I have created a short clip, and it has saved to storage fine, the problem is, when you look at the video in your gallery, the picture it uses as the placeholder is a photo half way through the video, not the first one, is there a way to make the first photo show.
Thanks
Sorry, not sure if you can do that for the Photo Album. However, if you post the video to Instagram or Vine you can choose the key frame that will be shown.
How do you stop music from playing while a video is on but continues playing only on the photo part of the flipagram
You can’t do this in Flipagram. Once you set the music, it will play continuously. What you can do though is to divide your Flipagram into parts. Let say you want to have a pause in the middle, you then create one Flipagram with music, save it. Then create the part without music, save this. And then create another part with music and save it. Lastly you combine these 3 clips together.
Can you add a new song doing it this or will it play the same one again? Otherwise, is there a music app you can suggest that allows you to combine 2 songs?
No, you can’t mix songs. What you can do is to create a couple of Flipagram videos (each with its own song) and then combine them into one Flipagram.
thats great! How do you combine the 3 into 1? Thanks!
Great tutorial- thanks! Is there an option of having more than one song? I can only manage to upload one.
Glad I could help. You can’t use more than one song in one video. But you can build up your video from parts that has different song. Do you get me?
Is there any way to make the pictures last more than 3 seconds? To time my slideshow to the song, I needed a 4.5 second per photo duration.
You can’t set the duration for the photo individually. It’s calculated evenly according to how long the video is and how many the photo there are.
is there a way i can pause the music i have playing in the slideshow while my video moments play in between pictures?
No. But you can put together a Flipagram from other smaller flipagrams.
Hi! For a limited time, they were giving out the “Watermarks” for free, so I got it, made it my own & loved it. Recently I deleted my Watermark because it didn’t go with the flipagram I had made and now I can’t get it back!!! HELP!!!
Have you tried ‘Restore Purchases’ in the settings?
Hi, I’m trying to select a song from My Music, but I only see some of my songs, (i have a lot of songs), and when I type in my song that I’m looking for in the search bar, nothing shows up. Am I able to use any of the songs that I have already purchased? Also can you switch up different songs to play, throughout one Flipgram slide show? For example, Can you play 10 seconds of a song, and then 10 seconds of a different song for the same slide show? If so how? Thanks for all of your help.
Are you sure you have the song offline? If you turn on your airplane mode, can you still play it?
For the second question, no you can’t change song mid video. But you can create 2 flipagram with different song and then merge it into one.
Hi, thanks for all of your help! ? I turned the airplane mode on, and I could not pull up the song when I went to my music/library. Then I turned it off and was able to see the song under my music/library. However, when I try to pull up the song for Flipgram, it only shows songs that I recently purchased about a month ago. I’m not able to pull up any old songs. I did upgrade recently to the new iPhone 6Splus, and these new songs that are showing up on Flipgram are newer songs that I’ve recently purchased since upgrading to the iPhone 6Splus. Could that have anything to do with it? When I type in older songs that I already had before the upgrade, nothing comes up.
How do I add more than one song to the slide show when is 10 minutes long?
You can’t add more than one song for each video, but you can create more than one video with different song and then merge it into one video.
How do you combine two flipagram videos into one?
You create each of them separately and save them locally. And then create yet another new one and load the two previous videos.
I have paid to get rid of the Flipagram watermark and now have my own. However, I would like to change to a smaller and different font. How do I do this?
How did you ‘paste’ the watermark onto your video?
I just followed the Flipagram directions for removing the Flipagram watermark and inserting my own.
Thankyou so much this was soooooo helpful for me. that do not know alot about Instagram which told me the video I made was too short. again reading this help me alottttttt which allowed me to post my video
Glad I could help. Feel free to share the guide to your friends 🙂
What if flipagram deletes your caption
What do you mean? Can you describe what happened?
I paid for Flipagram and still have logo watermark. How do you remove it permanently?
You mean in old videos you’ve created, before you paid?
I was just wondering is there a way on flipagram/ any other app to add music to your slide show but have it dimmed when a video comes on so you can hear the content of the video?
Your tutorial is very clear – thank you – except after I go thru all the edits, it doesn’t give me an option to remove that Flipagram watermark. Has anything changed?
It should be on the settings page in your profile.
Pics are moving to fast need 5secs between each one
You need to reduce the number of pictures. This is because the duration of the movie is already set and the time between each slide is divided evenly between them against the total duration.
Can I loop my song? My video is longer than song and I REALLY want the song to play throuhout
No you can’t.
How do you return to the starting page if flipagram every time I hit home it starts playing the last flipagram that I made. I’m trying to reach the very beginning after you download it where it says begin and tutorial
High Chris! Can you tell if it’s possible to add a spotter highlight or pointer arrow in my flips? I use the app to put together my daughters sports highlight videos. Thanks in advance.
You need to do it outside Flipagrams. Flipagram doesn’t have editing function like you want.
Thank you very much.
It is awesome.
Can I put my flipagram on a continuous loop?!